Grade 4/5 Line Studies
Spring 2013 / Prince of Wales School
Grade 4/5 Line Studies

Spring 2013 / Prince of Wales School
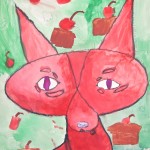
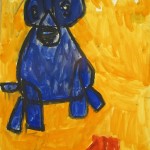
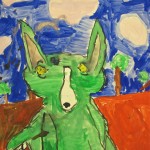
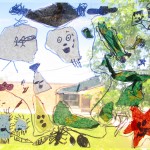
Grade 2/3: Animal Drawing and Painting
This was a great class, full of enthusiasm – and so I was happy to bring along one of my favourite books to share with them, one that would provide the impetus for a fun art lesson. “Why is Blue Dog Blue?” by George Rodrigue.
I read it out to them, with pauses in all the right places, which really got into the fun of the book. We enjoyed the illustrations and talked about the different ways Rodrigue painted Blue Dog in different places and with different backgrounds. Then we spent some time brainstorming: What colour would Blue Dog be when he is – ?
I gave them each a slip of paper that would start them out: Blue Dog is ______ when he is _______. It didn’t take long for them to complete because the ideas were already buzzing! The next step was to draw their version of Blue Dog and to put him in a situation that illustrated their sentence. Equipped with pencil and a large sheet of paper, they worked out their drawings, to follow up with black painted lines.
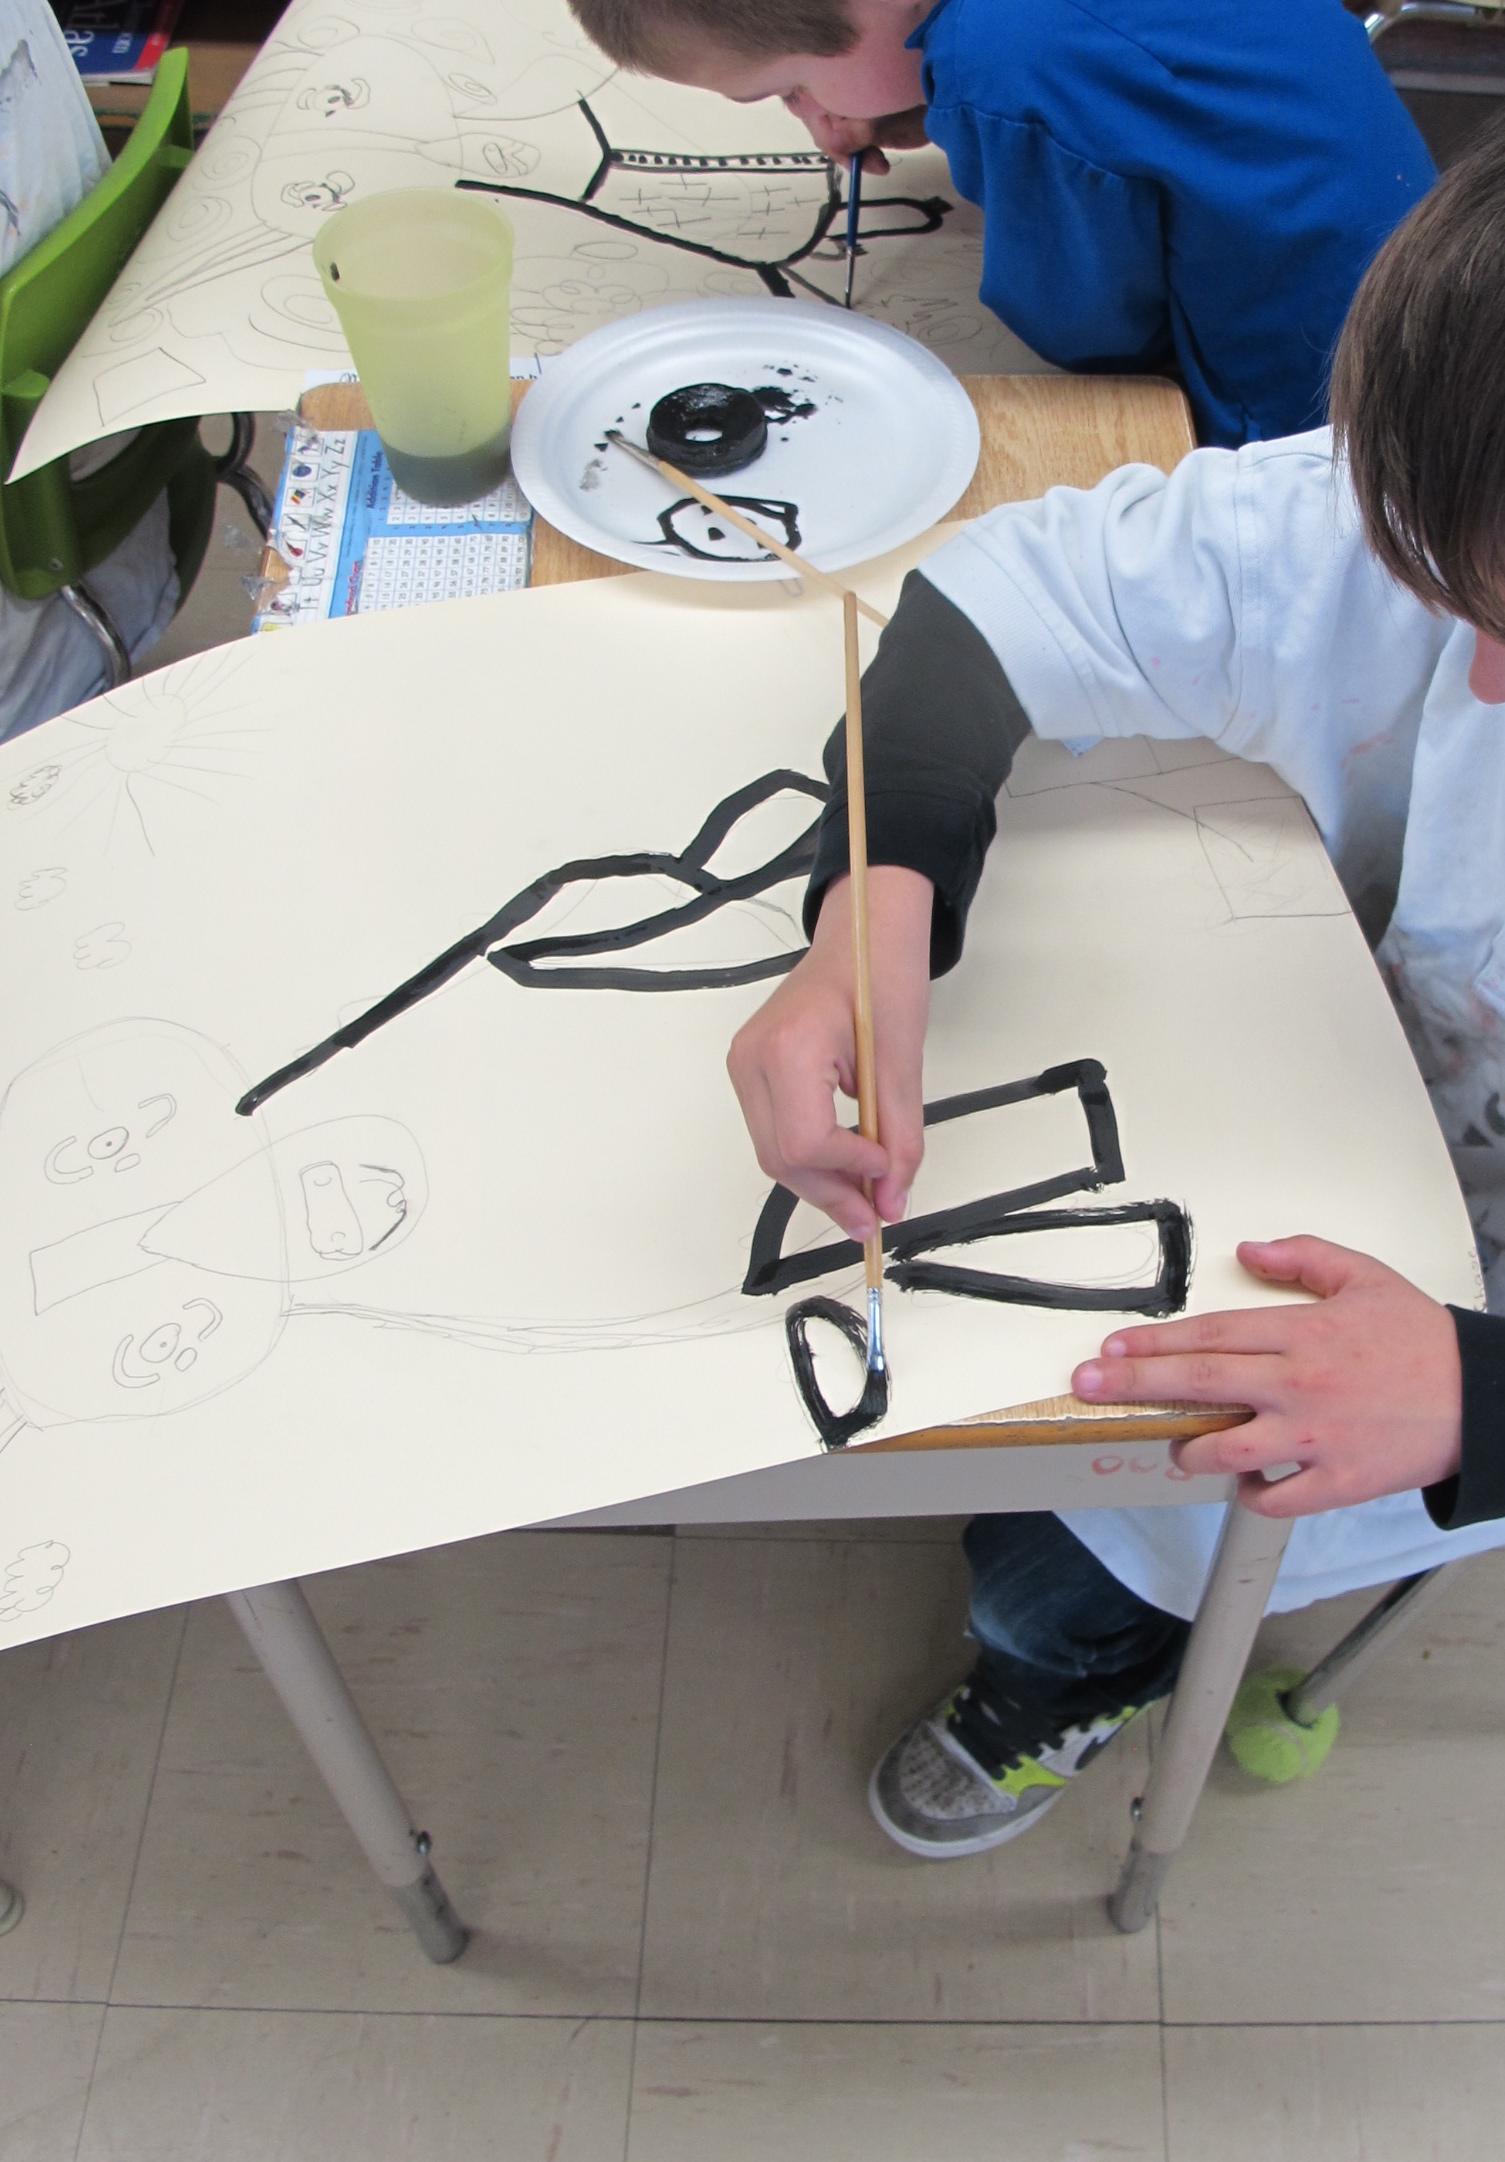
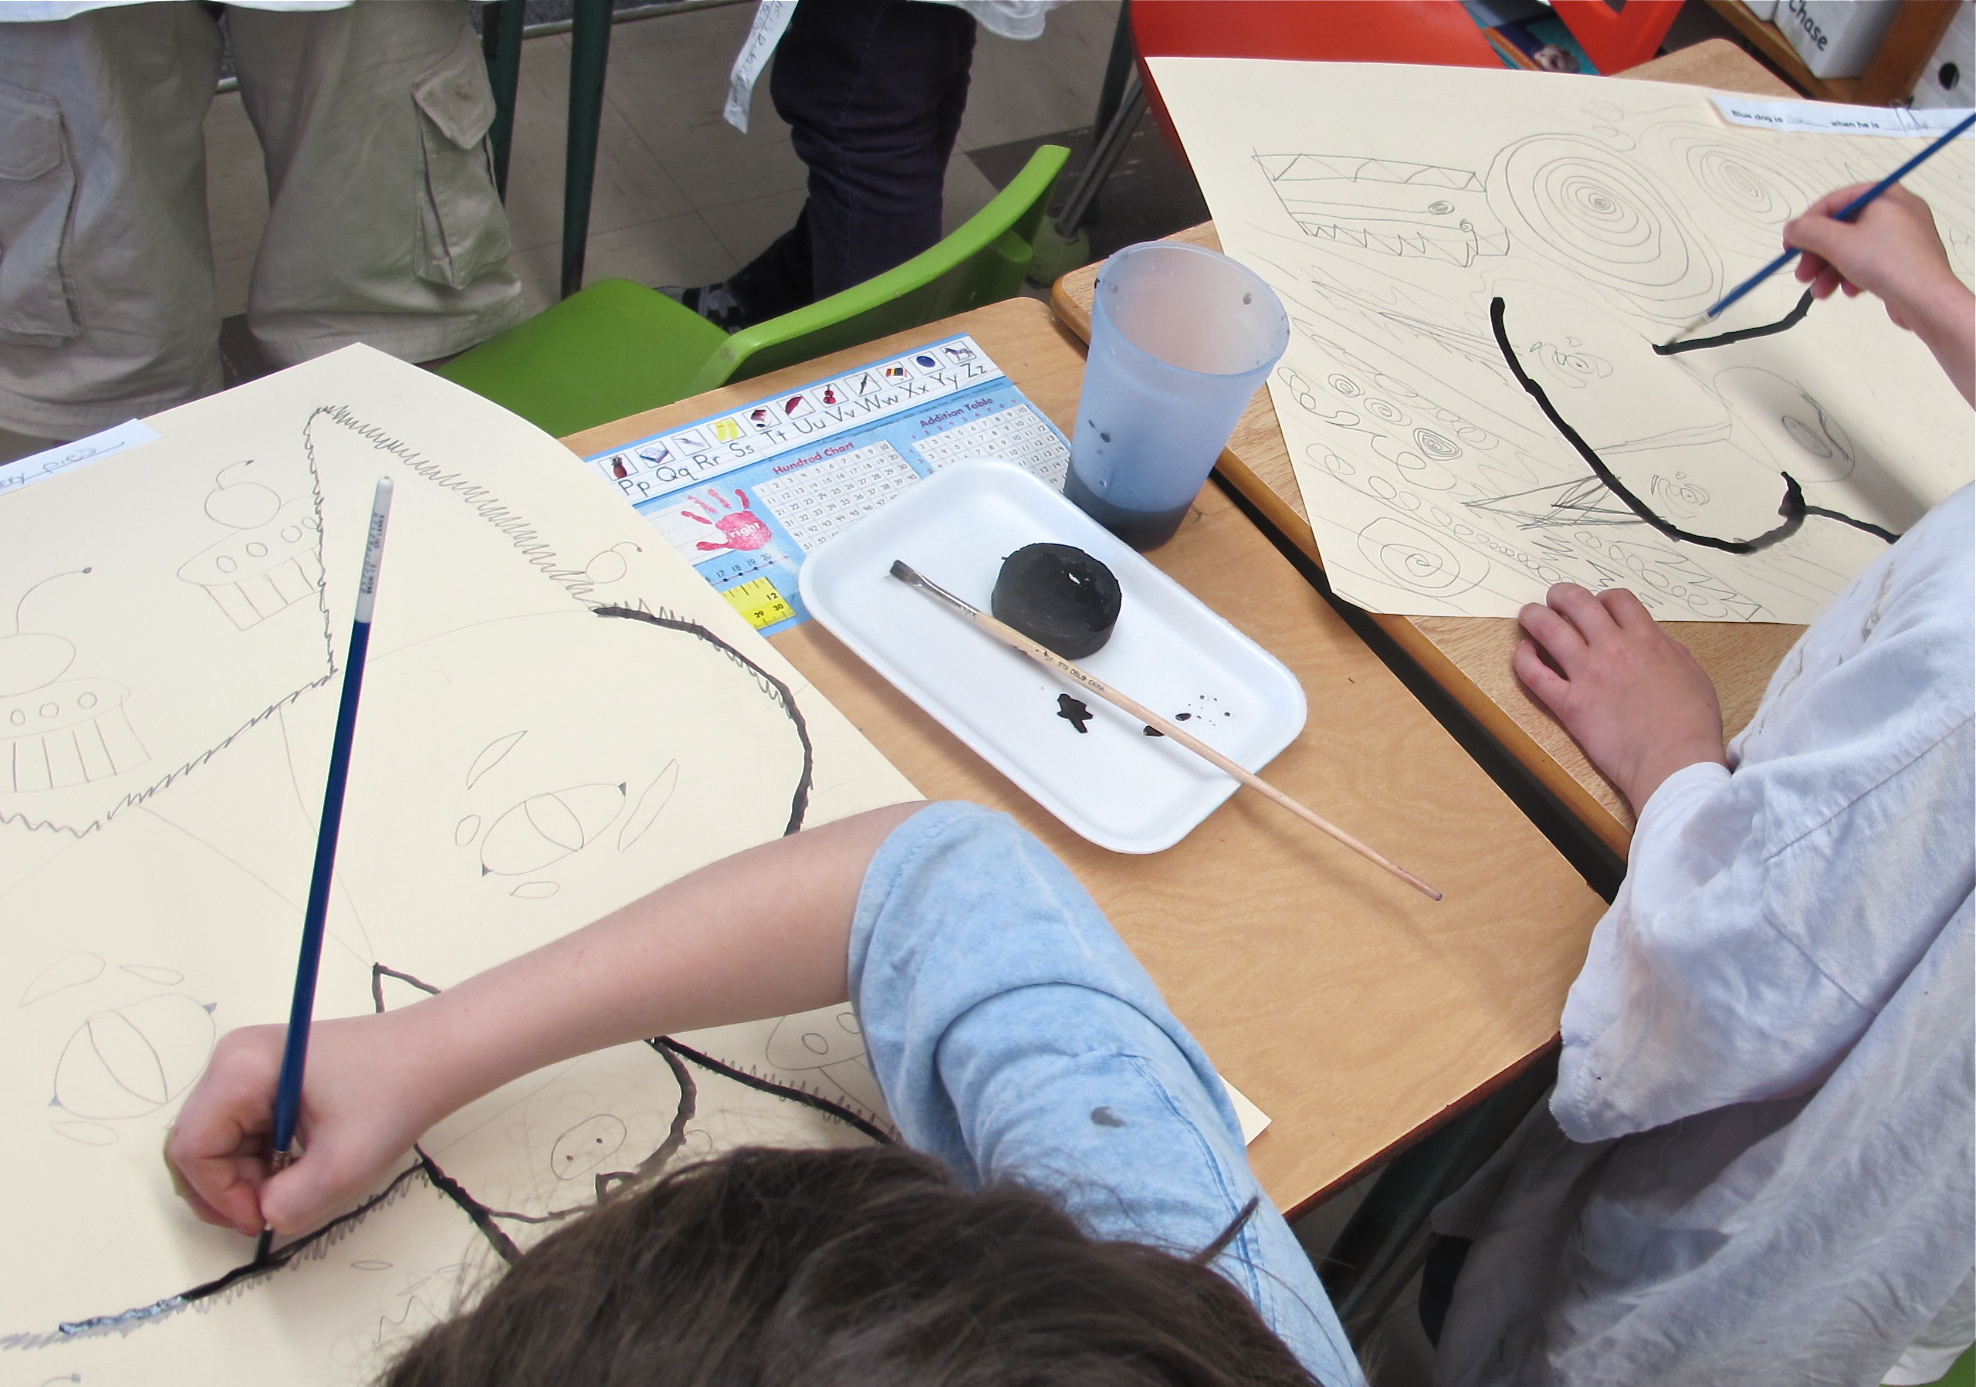
Once those were done, they could fill in with coloured paint. It was great fun, watching them enjoy their work along the way …
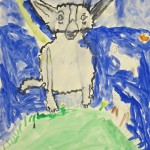

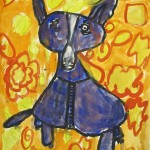
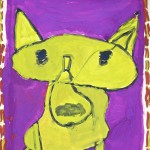
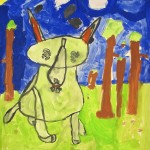
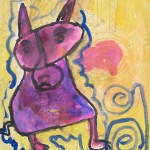

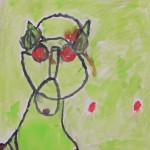
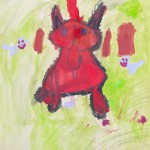
Plus, they were quite proud of their results.
Winter 2013 / Ferndale Elementary School
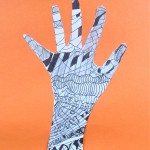
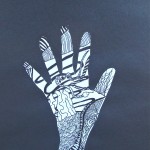
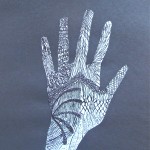
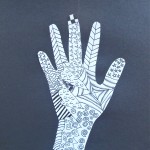
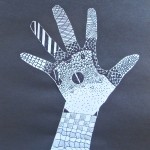
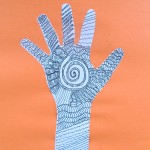
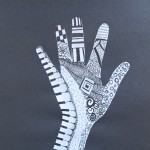
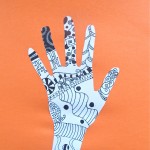
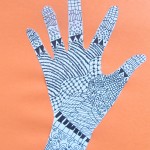
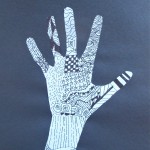
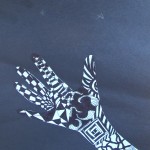
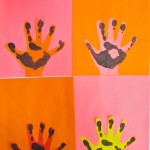
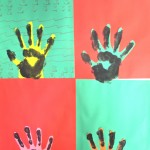
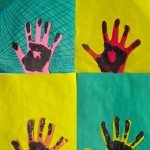
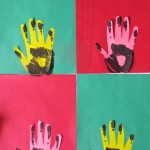
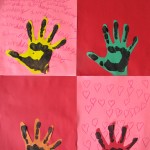
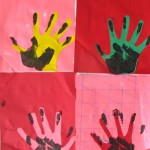
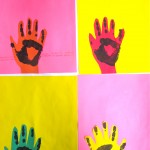
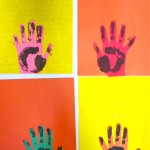
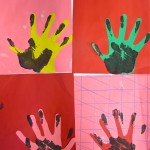
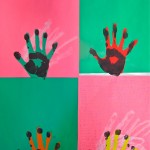
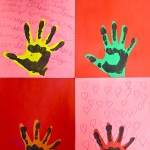
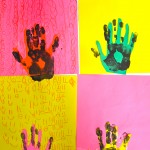
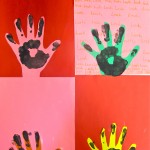
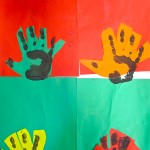
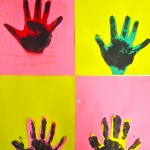
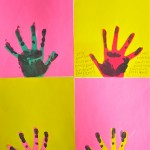
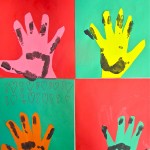
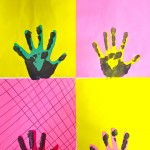
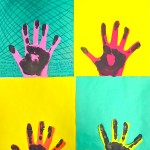
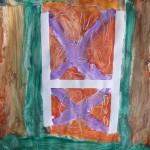
Grade 5/6: Andy Warhol Hand Prints
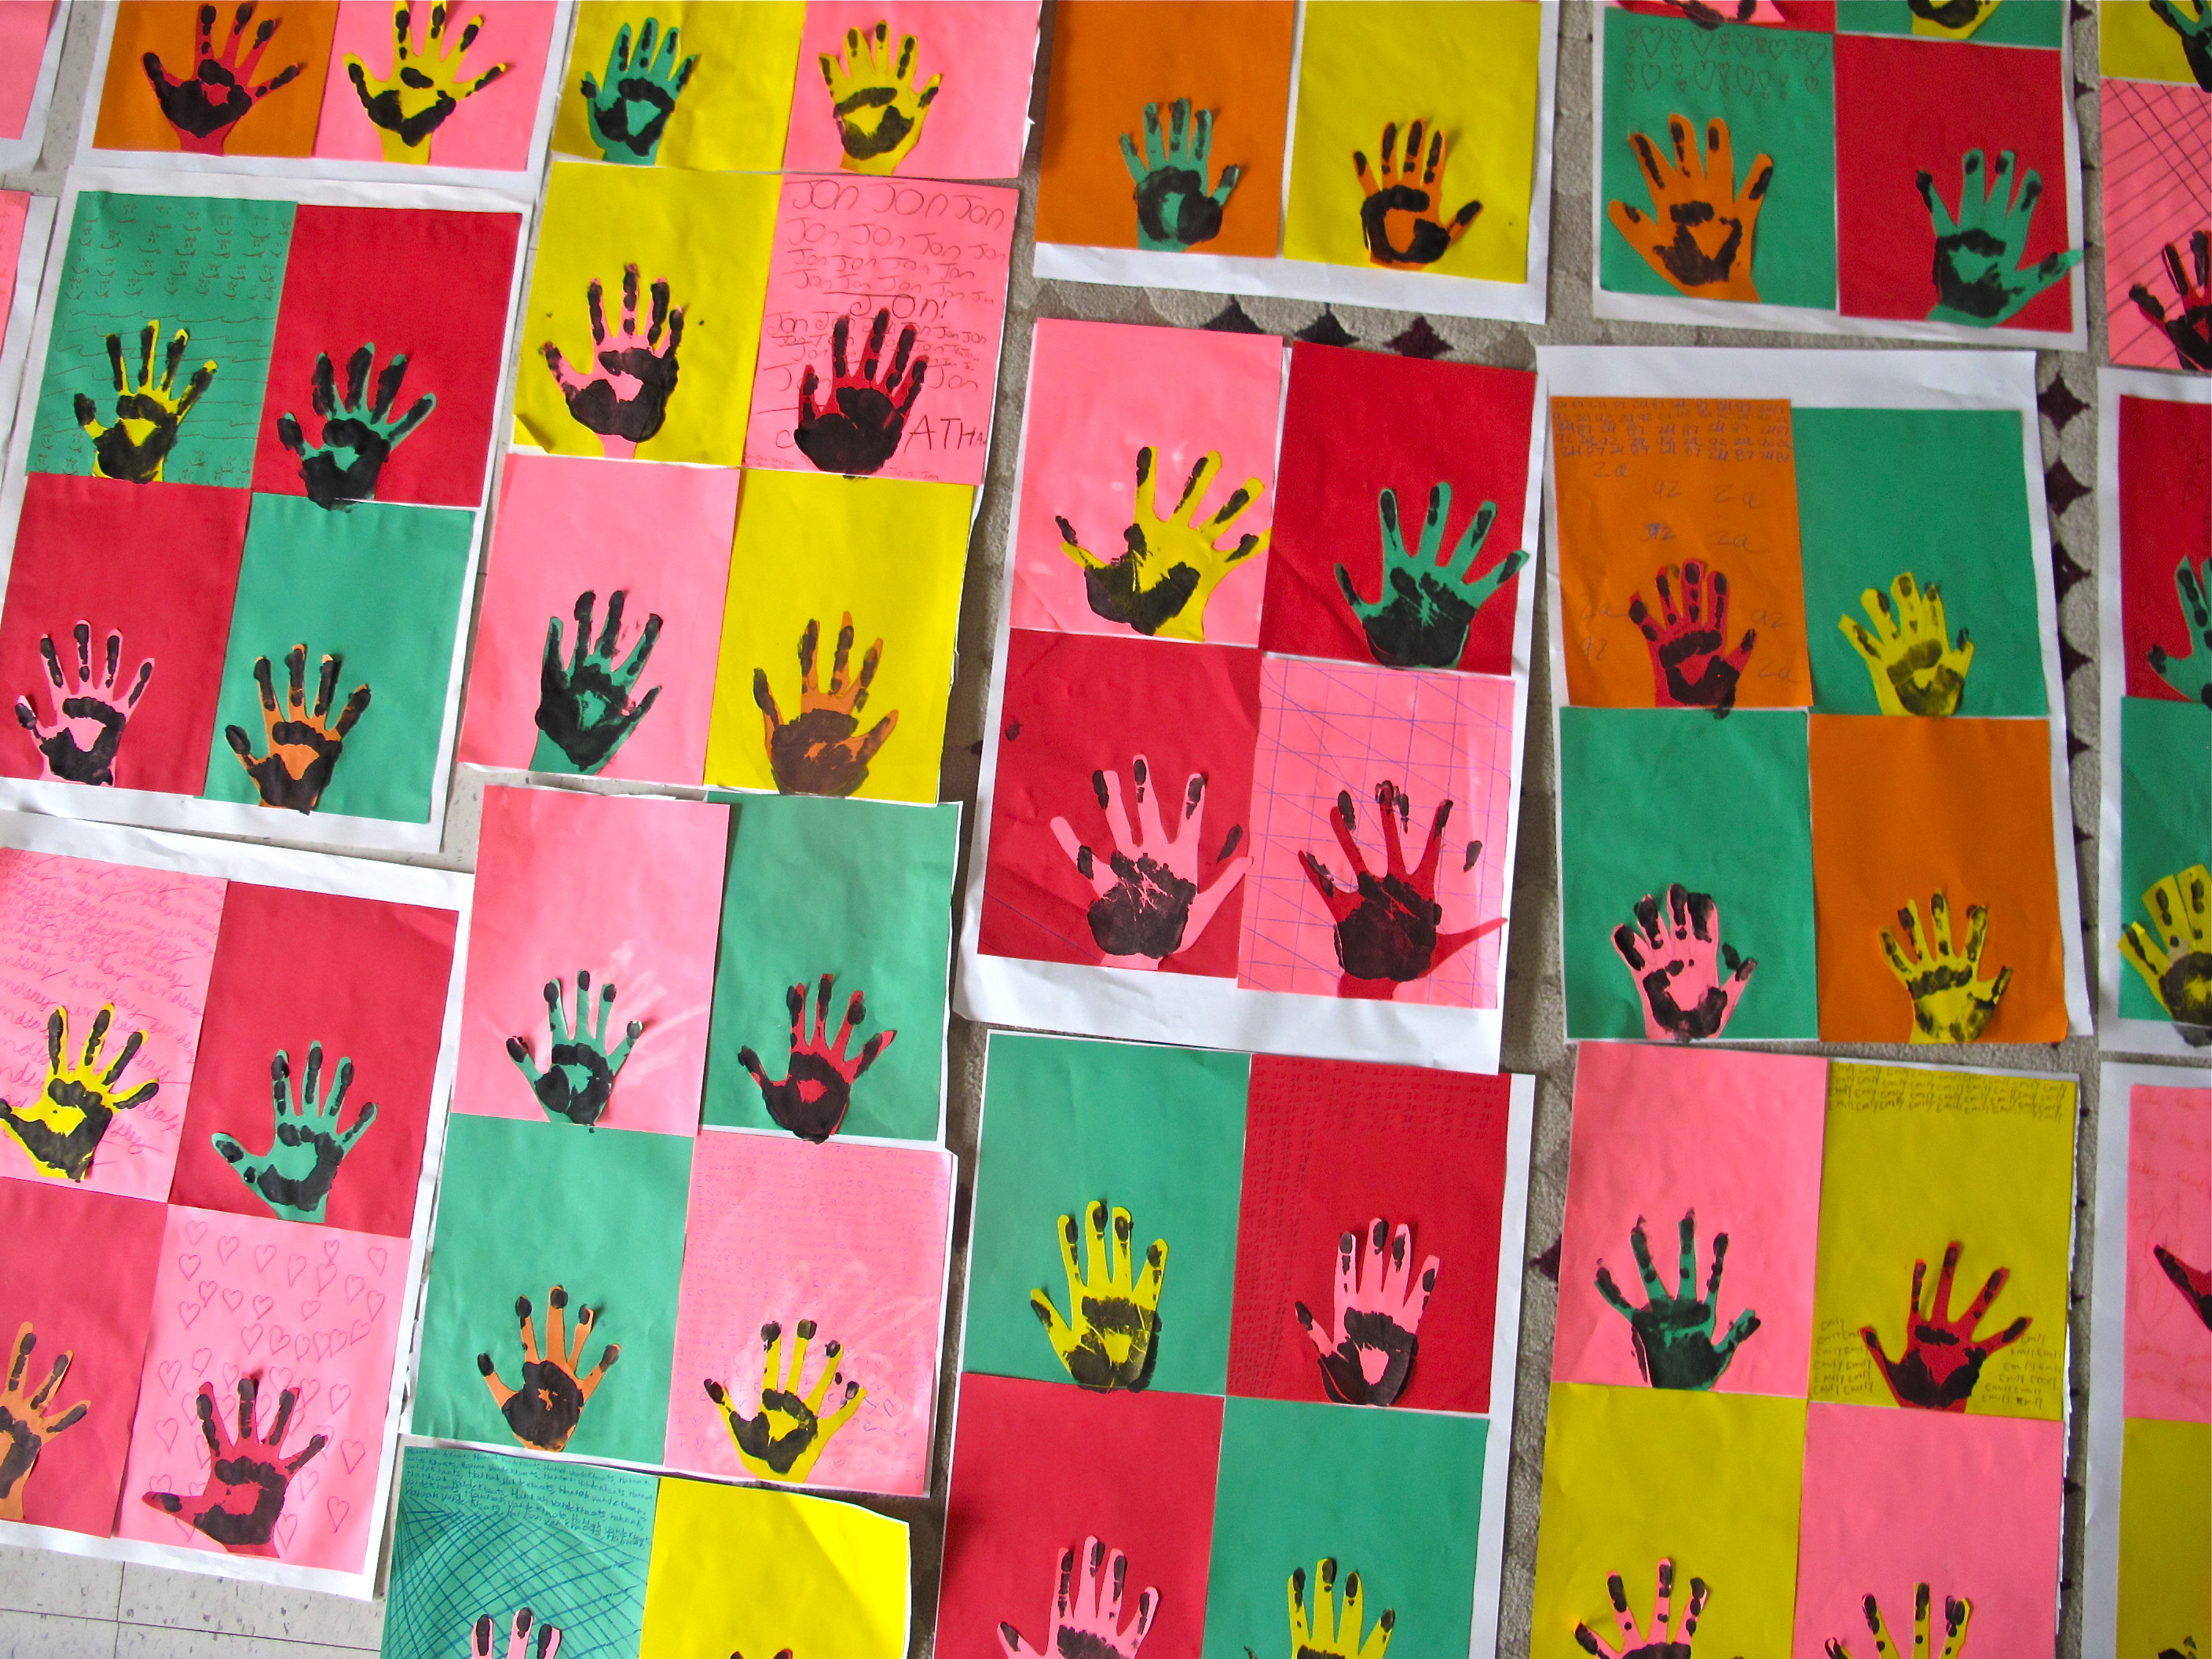
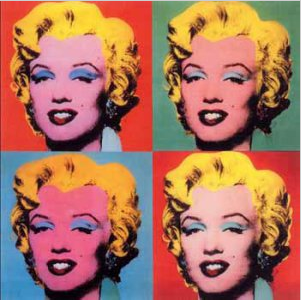
Another one-time art visit with a class (such a different way to work!), giving them a quick opportunity to kick it on the arty side of things … I introduced them to Andy Warhol and Marilyn Monroe, of course.
Bright, bold colours and a literal touch of themselves in it made this a winner of an art project. Having come from a recent debacle with some grade 8’s in my regular school (girls deciding to paint each other’s faces before I put a stop to it), I was a bit nervous about what would happen when I got these students to roll their hands with black paint for printing.
They were awesome! (way to go, Prince of Wales) So, I brought in the brightest paper I could find. They could choose whatever two colours they liked, with an eye to the colours contrasting one another. They needed 6 or 8 pages each, depending on how large their hands were.
The idea? Trace around each of their hands twice – in both of the contrasting colours. I strongly suggested they do this with their fingers splayed out – makes for a much more interesting interaction of colour later. It was a little awkward when they had to wield the pencil in their non-writing hand. They cut these out as carefully as they could – a few had some difficulty with the cutting. One girl had her arm in a cast, so she had a school mate help her. On one of the backgrounds, I had them write their names over and over across what would be still seen once the hand cutout was placed. I had them print this in a similar colour to that page in pencil crayon, so it would read more as texture, not taking away from the bold graphics of the hand foursome. In part, this was a ploy to keep them occupied (especially those speedy types) as I helped others.
Following my example artwork, I had them glue down their paper hands on the pages that were the opposite colour, centering at the bottom of the page, so they almost looked like windows with hands stretching up from below. Then they glued the four pages onto a single sheet of backing paper, placing the contrasting backgrounds diagonal to each other.
Not quite done yet! I manned the printing station at the front of the class then. (If I had known the classroom teacher, I would have had him do the same to make that step quicker. However, this gave me the opportunity to check in with each one, and encourage them individually.) I rolled each of their hands twice with black paint to lay a handprint right on top of the corresponding hands on each page. They LOVED that! For one, it is such a weird sensation to have one’s hand rolled with slippery wet black. When they laid it down, well, the artwork suddenly kicked! (if I do say so myself)
And no shenanigans. I was impressed.
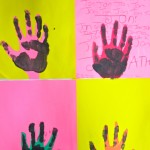


I know there are a lot of images here, but I promised them I would post them all – even though I am doing it so much later. (busy times in between)
Spring 2013 / Prince of Wales School
Thanks to Kathy Barbro at www.artprojectsforkids.org and Erin at www.laughpaintcreate.blogspot.ca for the ideas on this one. Awesome!
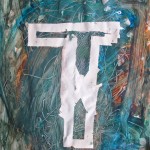
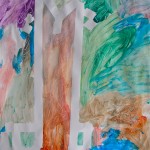
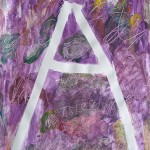
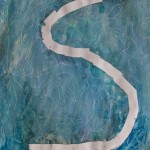
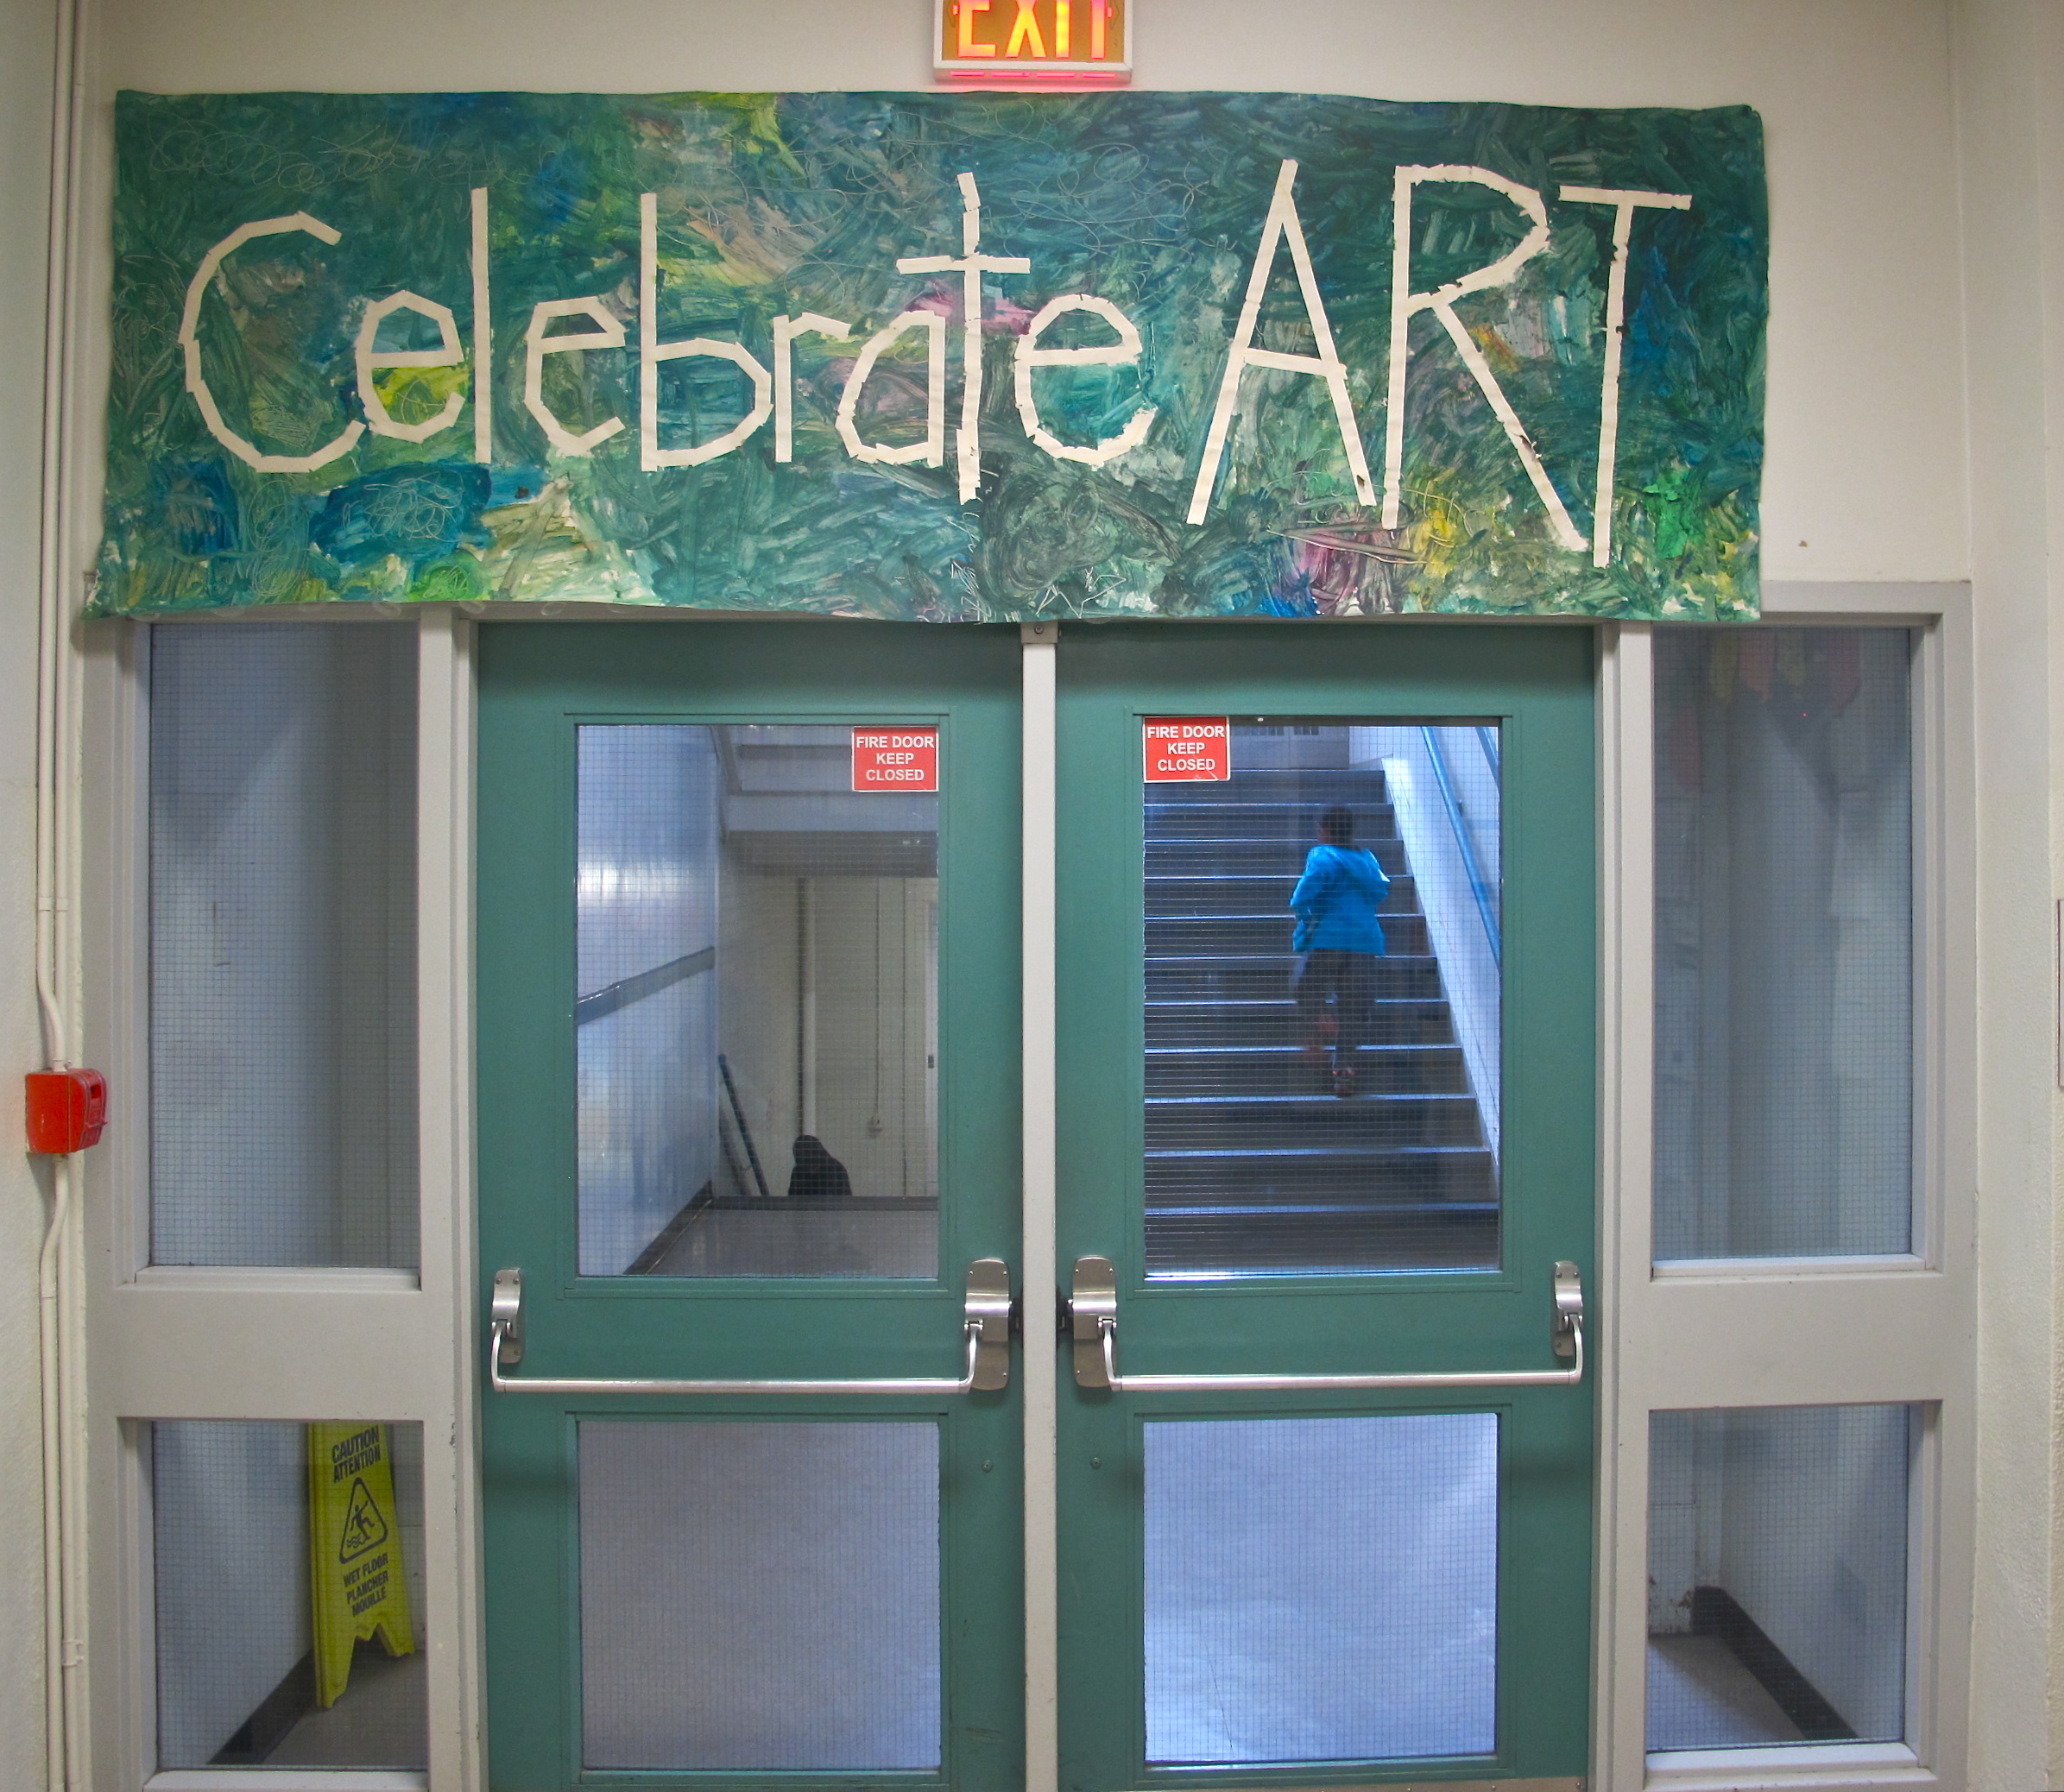
Grade 1/2: Tape Resist Paintings 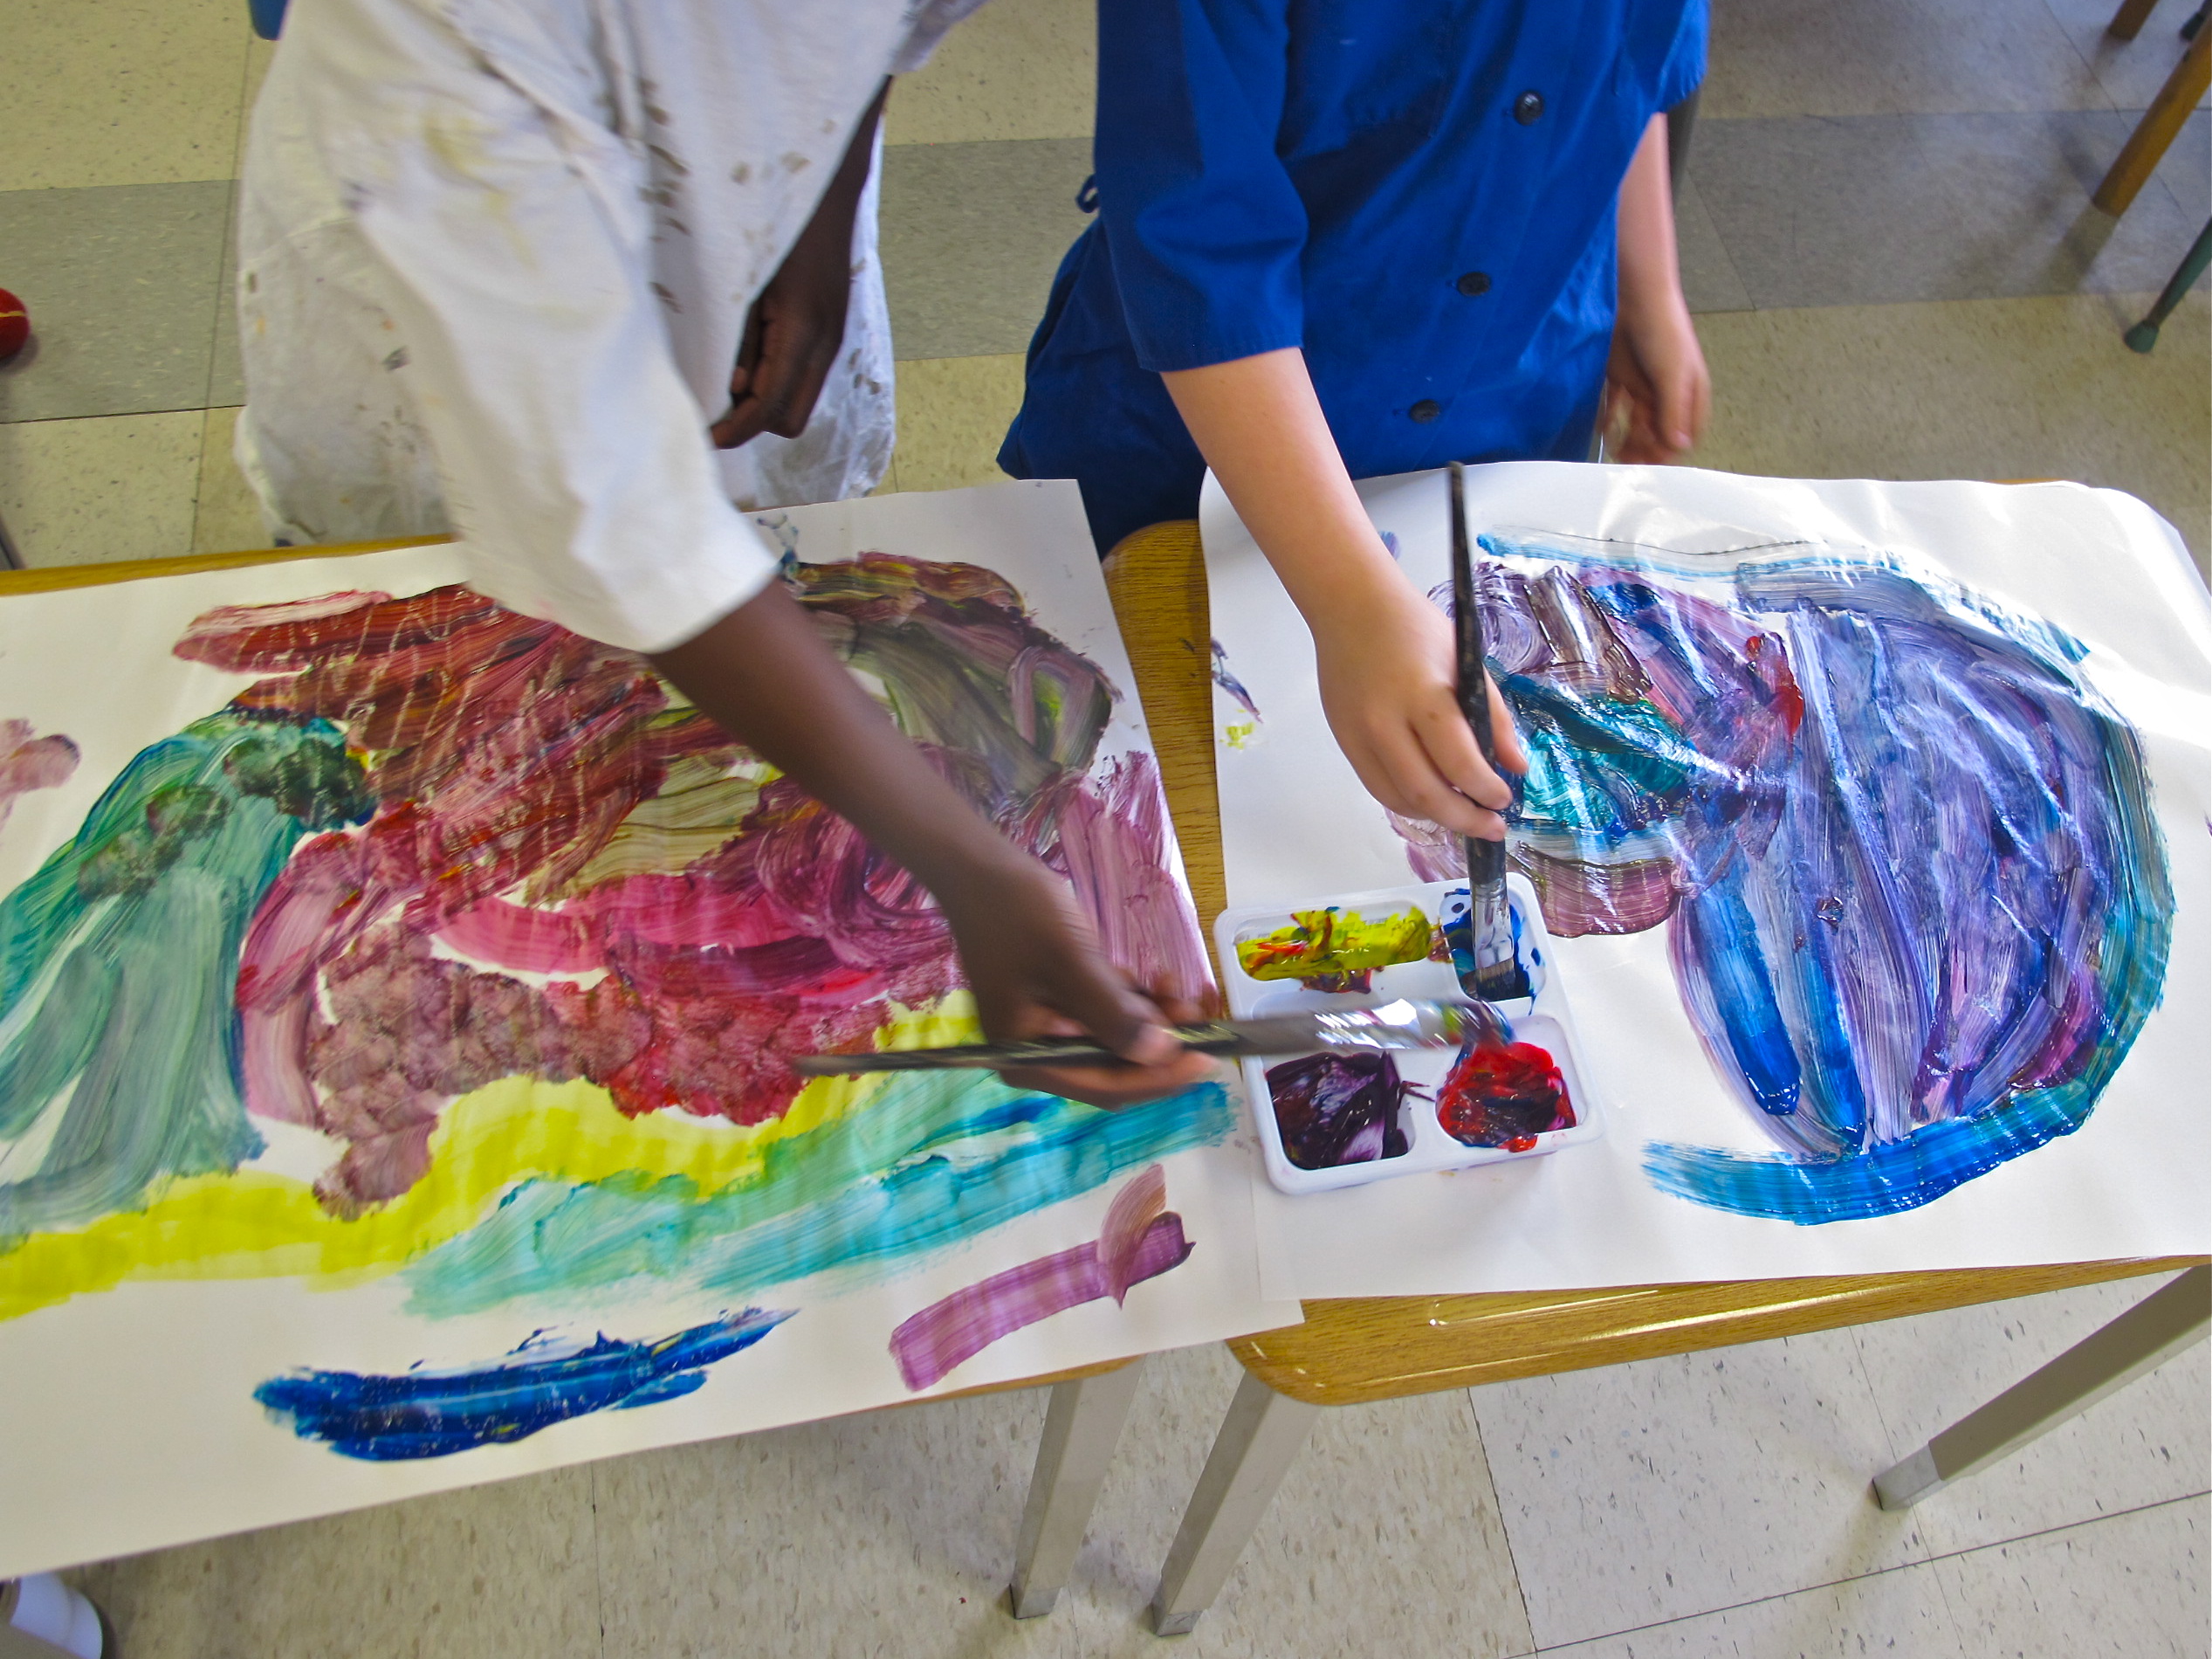
This was a first-time art lesson at this school, all in preparation for a school wide Celebration of the Arts. So, I started with this large and excited group of young students. Armed with green painter’s tape, smocks, paint and large brushes, I gave them a quick and energetic demonstration: laying down the tape in the shape of the first letter of my name, and then painting over it – mixing the colours right on the paper. Then, reverse the brush and use it to scratch designs back into the paint. Done!
The students were pumped to get at it, and so proud of their work along the way – it was just great to see. (and busy, too: “Mrs. Godwin, look at mine!”)
There was enough time to get them all working on a big sheet of paper I had rolled out on the floor. I got the accompanying teachers to lay down the letters in tape, and then let the kids at it with the paint. I had to watch out that they didn’t overdo it and render the banner paper a soggy mess (they were so into it!). Hands were washed in buckets, smocks off and they were away. It was a lot of clean-up for me, but worth it.

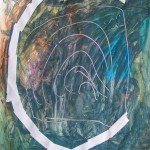


Rather a lot of them, but I couldn’t resist a single one.
Here’s the banner we made as well.
Spring 2013 / Prince of Wales Elementary School
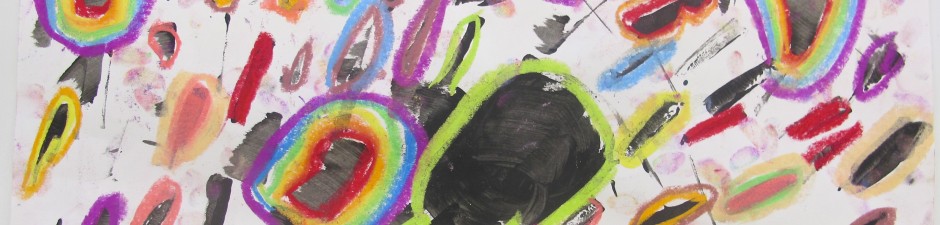
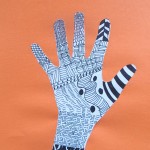
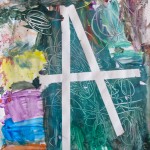
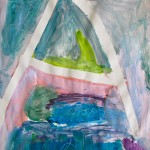
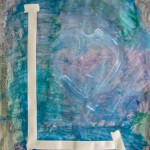
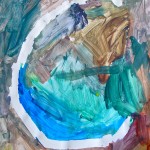
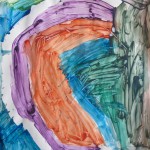
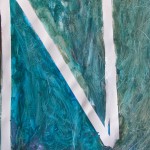
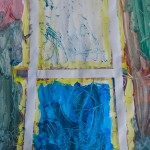
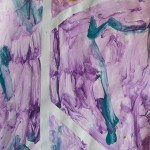
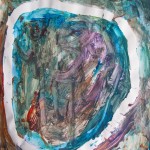
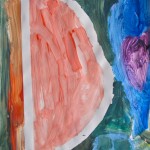
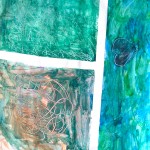
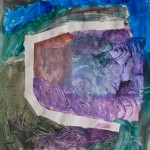
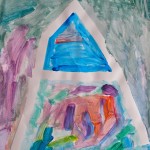
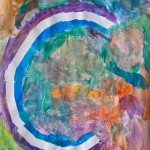
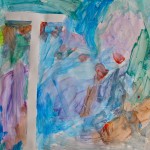
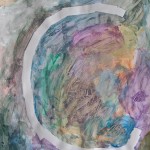
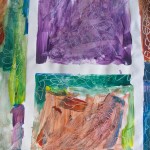
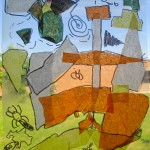
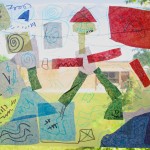
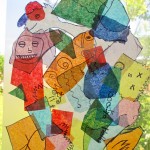
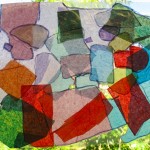
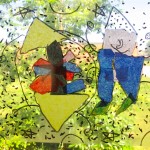
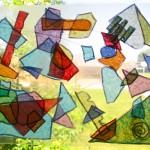
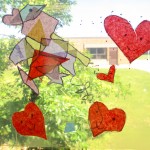
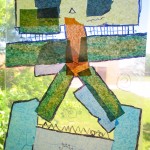
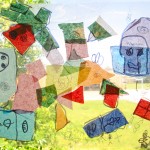
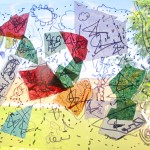
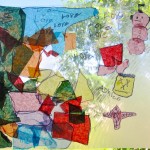
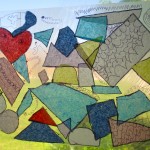
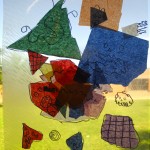
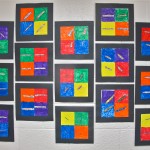
Grade 2/3 : Paper Collage for Windows
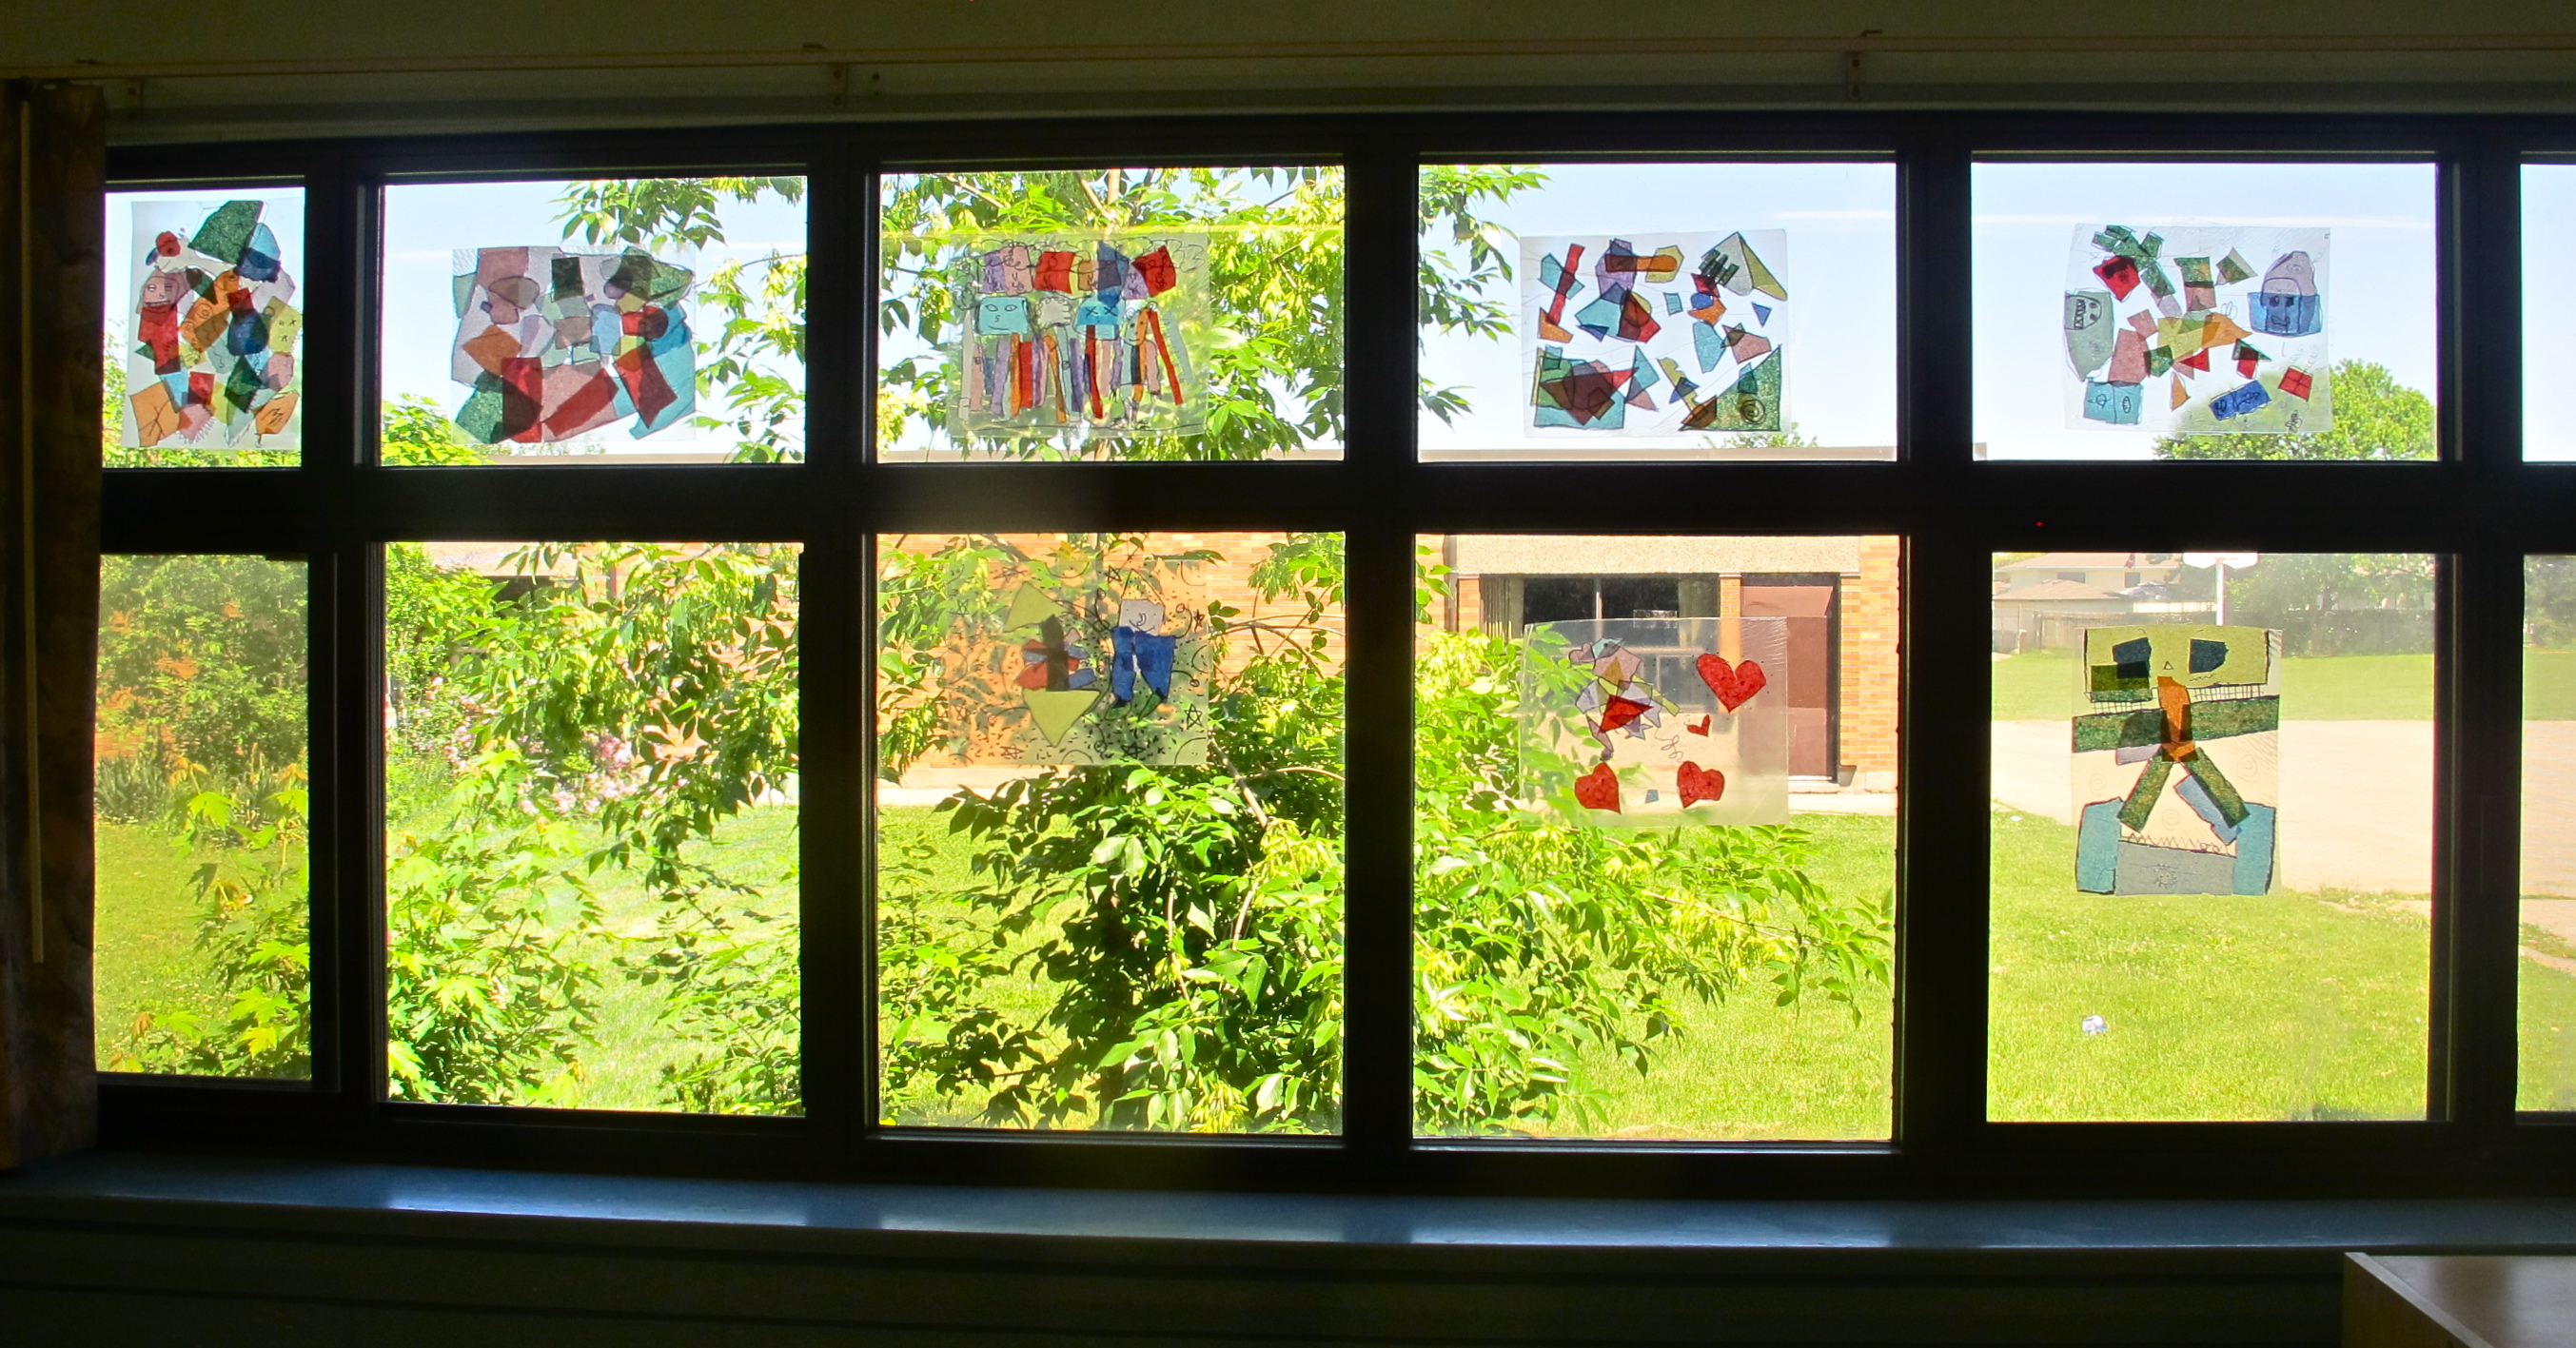
This is a fun and easy one, with jewel-like results that the kids (and I) LOVE!
Collage. What is it? What happens when we overlap different colours and shapes? What happens when those shapes and colours are translucent, such as can be found with tissue paper? What is translucent, anyway? What if we gave all that a strong light source, such as, well, the sunlight streaming in their classroom windows?
So I talked about stained glass briefly, and showed them some examples. Where might they see stained glass? Had any of them ever seen it before?
Confession: I have to say that this lesson is partly driven by the fact that I hate wasting stuff, and anytime I get a hold of multiples or recurring bits of stuff, I am trying to figure out ways to make that into an art project. Maybe that is part of being an art teacher. Maybe it is because I have always been a bit of a scrounge. I scrounge for me. I scrounge for other people!
Like the copious amounts of laminating film that result at the school laminator whenever class projects and display materials are being prepared. Like the small little coloured bits of tissue paper sitting in a basket in the art room back at Parliament Oak. With all that in hand, I hit the road to yet another class …
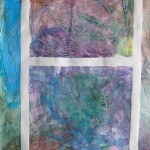
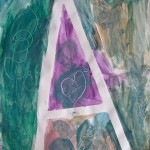
BTW. This project was NOT about them making a picture of something they could recognize: “Oh, yeah, that’s a -“. Nope: abstract. With a piece of laminating film and tissue papers at the white board, I demonstrated building a collage in front of the class. Using a glue stick to just tack on the pieces and scissors to cut out shapes, I got the students to help me by make placement choices as we built it together. (they were all in their seats, offering suggestions). When we were satisfied with the collage, I took it over to the window to an appreciative “Aaaaah!” as it lit up in the sunlight. They were raring to get at making their own, then!
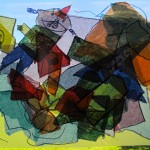
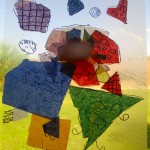
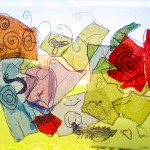
They each got their own rectangular piece of used laminating film, scissors, glue stick, and they could choose some tissue papers from a selection of pre-cut swatches in the aforementioned basket. I reminded them that they only needed to tack the shapes down by just touching the glue stick to the tissue paper pieces they cut out. Or, if that was causing problems, a touch of the glue to the spot on the film they wanted to put them. We also encouraged them to overlap the pieces, and to use different colours, and to move the laminating film around so they would look at their ‘pictures’ differently.
The next class was a shorter one. (Or maybe we laminated their projects during a break – I can’t remember) Now that their collages were safely sealed in plastic, it was time to break out the Sharpies. They had to make a choice about which side was the front (’cause the overlapping papers make it look different, don’t ‘cha know). That was the side they were now going to add some black lines and shapes (they could outline what was there, or draw in new shapes) to complete. I love the way they approached their mark-making as the whimsy of their personalities came to the fore.
How they enjoyed the hanging of that artwork! Definitely worth doing with them, not after the class let out. We also noticed that they would change the way the light comes into the room at different times of day. Maybe some of them will be even ‘wearing’ the colours on their skin and clothes as a result. Hmmm.
Anyway, here are the close-ups. (I also like the way the background shapes and colours outside the windows become a part of them.) Ni-i-ice.

Spring 2013 / Ferndale School
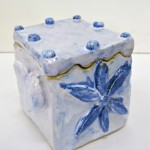
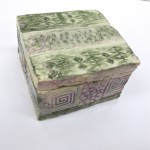
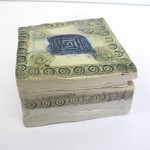
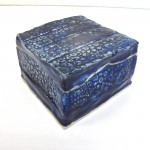
Grade 6/7/8: Beginning Clay and Glaze Techniques
It’s time for clay!
We started with pinch pots in one class, and slab-built boxes in the other. In short, here are a few of the results.
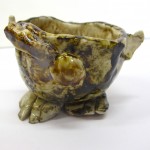
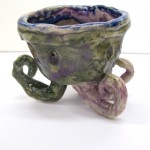
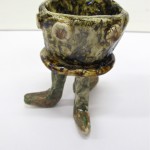
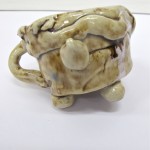
For the grade 6 class, I presented them with a collection of pictures of footed bowls, from historical and contemporary sources. Some examples involved humour (BIG feet), and various construction methods were represented. We started with making pinch pots, and then they could take it from there to fashion some kind of feet for that. I think they enjoyed working with clay (except my own son, who dislikes the feeling of it on his hands), and did pretty well for a first-time project in this material. My challenges with them were to keep a couple of students from applying too much water and thereby weakening their vessels, getting everyone to attach handles (and feet) properly, and attend to little finishing details. My experience with this firing range has been limited, so also was our palette (and budget for) glazes. Still, they were pleased to make something that could be used for drinking (or at least holding). I would like to do more with them in clay next year.
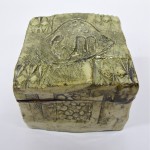
The grade 7/8 class is a large one, and difficult to keep up with the nitty gritty of clay projects (literally). However, I have been teaching them for a while, and I knew I could push them in what was for some, their first real clay project. Having an art room now makes a difference!
I demonstrated techniques of wedging and building a slab box (involving rulers and a little math), emphasizing the need for strong joints by scoring and slipping. A moist, NOT wet, working station ( I remember my own frustrating first attempts at clay in junior high, with a teacher who I now know didn’t know much about that) – though once again, some did not believe me in this. I tried to limit their access to bowls of water, by providing them each with a small wet sponge to use instead. They worked on canvas-stretched boards or tables.
Later, I demonstrated some different techniques in decorating – incised designs using tools such as patterned rollers, stamps, various textured objects, drawing with pencils, and scoring pintools/ribs. Raised designs could be achieved by adding coils of clay or extra pieces of slab (remember to score and slip!). They could employ small feet using these, or keep the bottom slab flat and smooth.
The first (double period) class was taken up with my demonstrations, and them wedging and rolling the clay (not too thin!), getting their slabs of clay measured and cut out and stacked for next time. This would allow the clay to dry to a stiffness that would allow them to build without it slumping or marking up the surface.
Spring is a busy time of year with school trips, and other activities that sometimes pre-empt Art class, so one challenge throughout was to keep the projects workable in the various stages of construction. As always, some students just blast right through the project, others work more carefully with attention to detail, and still others see it as an opportunity to chat with each other – with minimal working results. Such is the animal with a large class, I suppose. The class teacher and I tried our best to keep up with everyone…
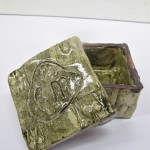
The next couple of classes did not occur until about three or four weeks later. Time to build those boxes! I demonstrated joining using scoring and slip. When all four sides were attached, I showed them how to strengthen the inner (and outer, if necessary) seams by pressing a coil of clay along them, always supporting them on the other side with their hand. The idea in this stage of construction is not to disturb too much of their surface design. The inside of the box should be smoothed and cleaned out before the top slab attached. Outer edges could be smoothed with a rib or a fettling knife.
Now, to make the lid. Using a wire clay cutter and a friend to hold the box in place, they pulled it through all four sides. If the box was too stiff for this, a fettling knife was used. If the cut line included some kind of jog, all the better for keeping the lid on later. We did not add the step of creating an inner lip or stops to hold the lid in place. I encouraged them to carefully clean up any sharp edges and making sure the bottoms were smooth (so as not to scratch any table surfaces afterwards).
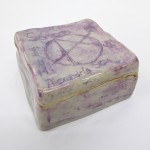
After they they dried thoroughly I bisque fired the boxes, and the next class was all about applying coloured stains and glaze.
Final class: We painted on and rubbed off our few glaze stains (iron oxide, manganese dioxide, and a few purchased blends), and then I had them paint a couple of coats of glaze – either white or clear – over. At first, they were puzzled at how this works, but were interested in the process of firing. After the class finished, I was reminded of my own excellent high school art teacher Ted Downard (who taught me a love for clay), who spent quite a lot of time wiping edges and bottoms of pots (and grumbling about it) so the glaze did not fuse the lids on or the pots to the kiln shelf. ahem. The kids don’t always get it that the glaze turns to liquid glass while firing. (smile)
This all occurred close to the end of the school year, and so many really saw the finished pieces at the School BBQ and Art Show. Proud results overall!
Next time, we are doing clay earlier in the year. (smile again)
Spring 2013 / Parliament Oak Elementary School
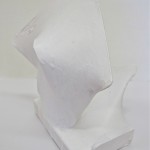
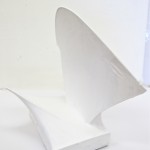
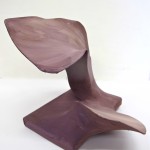
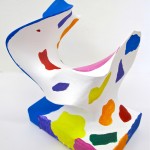
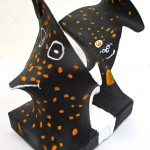
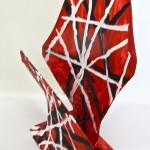
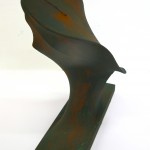
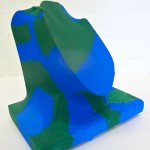
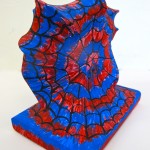
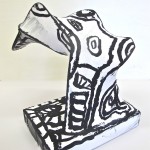
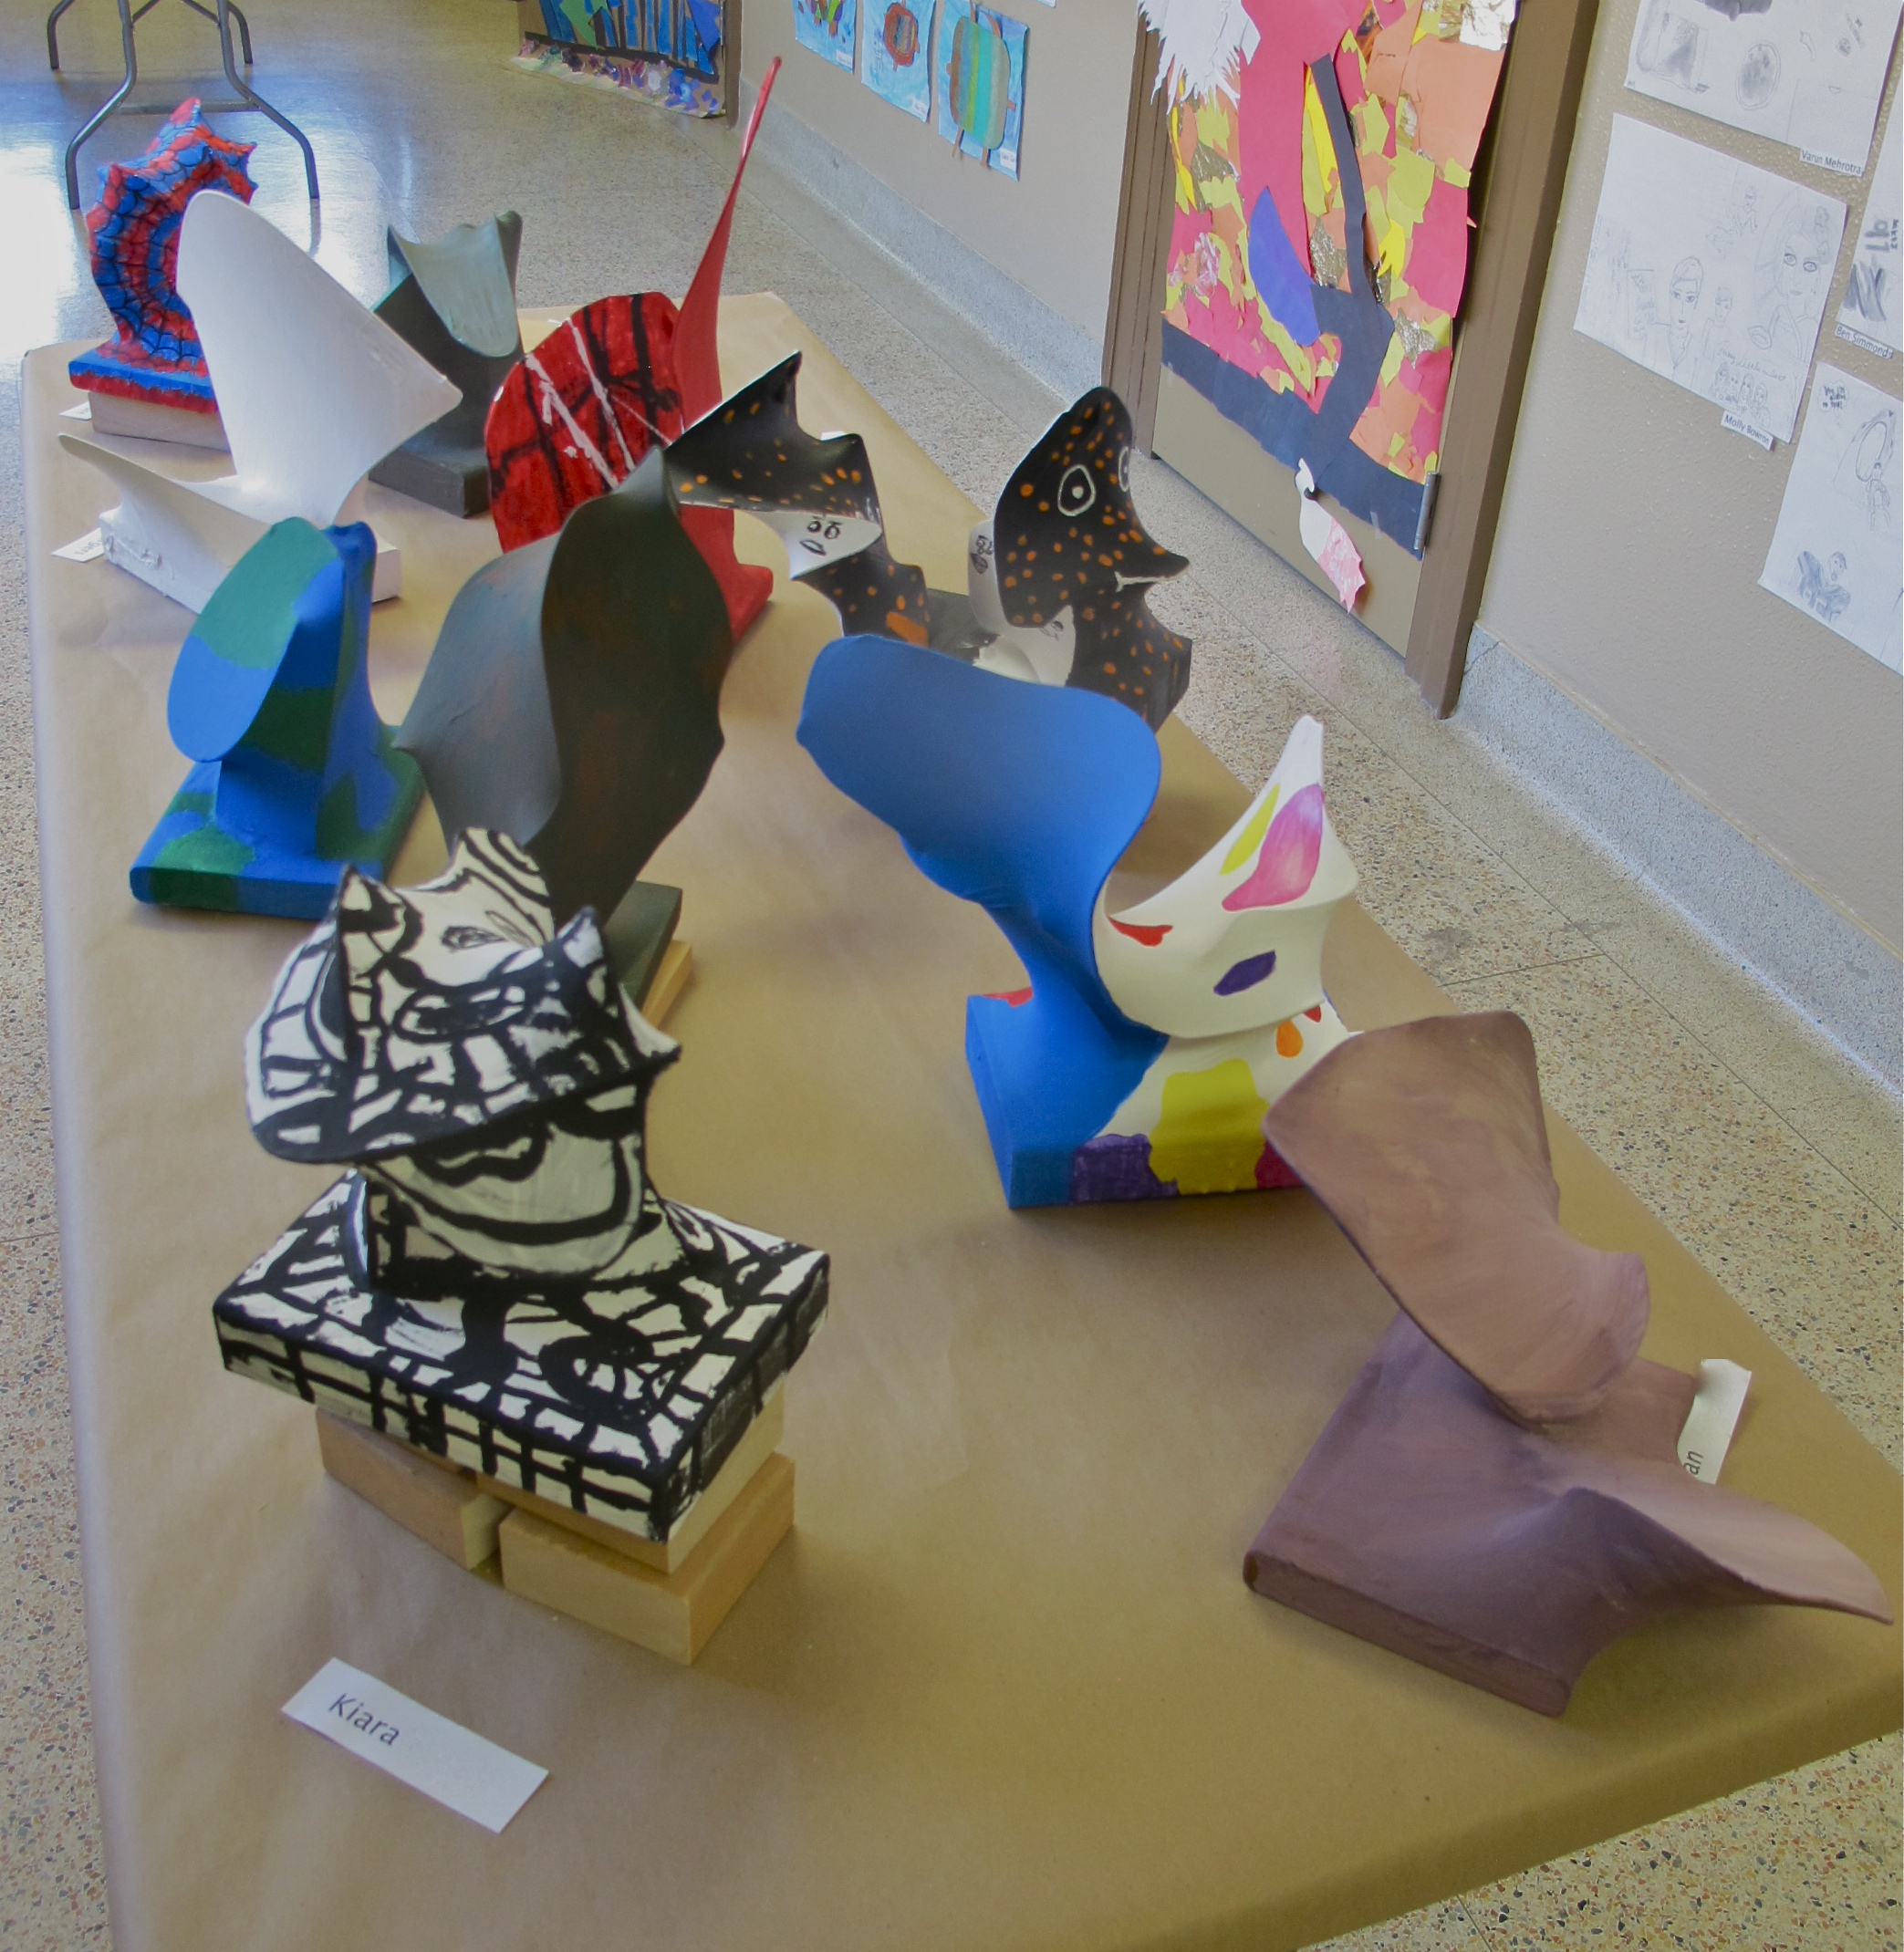
Grade 7/8: Using Wire and Nylon to Create Free-form Sculpture
After seeing this project on several websites, I decided to give it a go with one of my smaller classes. It also seemed like an excellent way to introduce them to some famous sculptors and their work.
To begin with, we approached from the technical point of view. We bent wire coat hangers (after cutting off the hooks), and I showed them how shapes both positive and negative emerge when they stretched a nylon stocking over the wire. I supplied them with predrilled blocks of wood to serve as bases. I drilled more holes than they could use, and countersunk them at the bottom to accommodate a bend in the wire and hot glue to hold them in place. Having extra holes mean they can make artistic choices in positioning the forms.
I must say there was some hilarity in handling the stockings, especially among the boys! (some of them borrowed the extra bits, and were later seen in the halls with nylons on their heads – yoiks)
We stretched the nylon right over the base block across the bottom and hot glued it in place. The next step was to paint over the entire nylon surface with several coats of latex primer/housepaint until no longer porous.
This took two single classes to complete. On the third, I introduced them to these different sculptors and their work:
HENRY MOORE JOAN MIRO JEAN DUBUFFET BRUCE HEAD
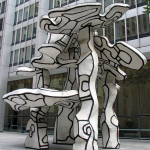
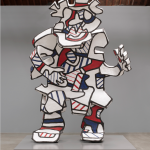
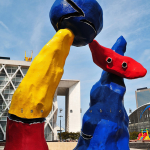
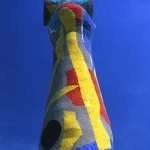
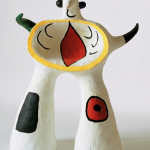

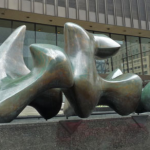
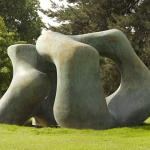
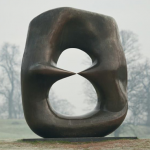
As needed, they could sketch out some ideas for the surface treatment of their sculptures in the style of one of these artists. Then it was time to break out the paint! I continued to encourage them to refer to the images of the sculptors’ work in front of them. One student did not complete as he was injured (not in Art class) and missed; another decided that her own penchant for all things Spiderman took precedence. Her interest and enthusiasm for the project would have quickly dissipated had I imposed my directive, so I went with it. As they all rather like to chat along the way, this took several more classes to complete. However, I think it was their favourite project of the year! The resulting sculptures got quite a bit of attention. What do you think? Remember, you can click on an image to see it larger.
Spring 2013 / Parliament Oak Elementary
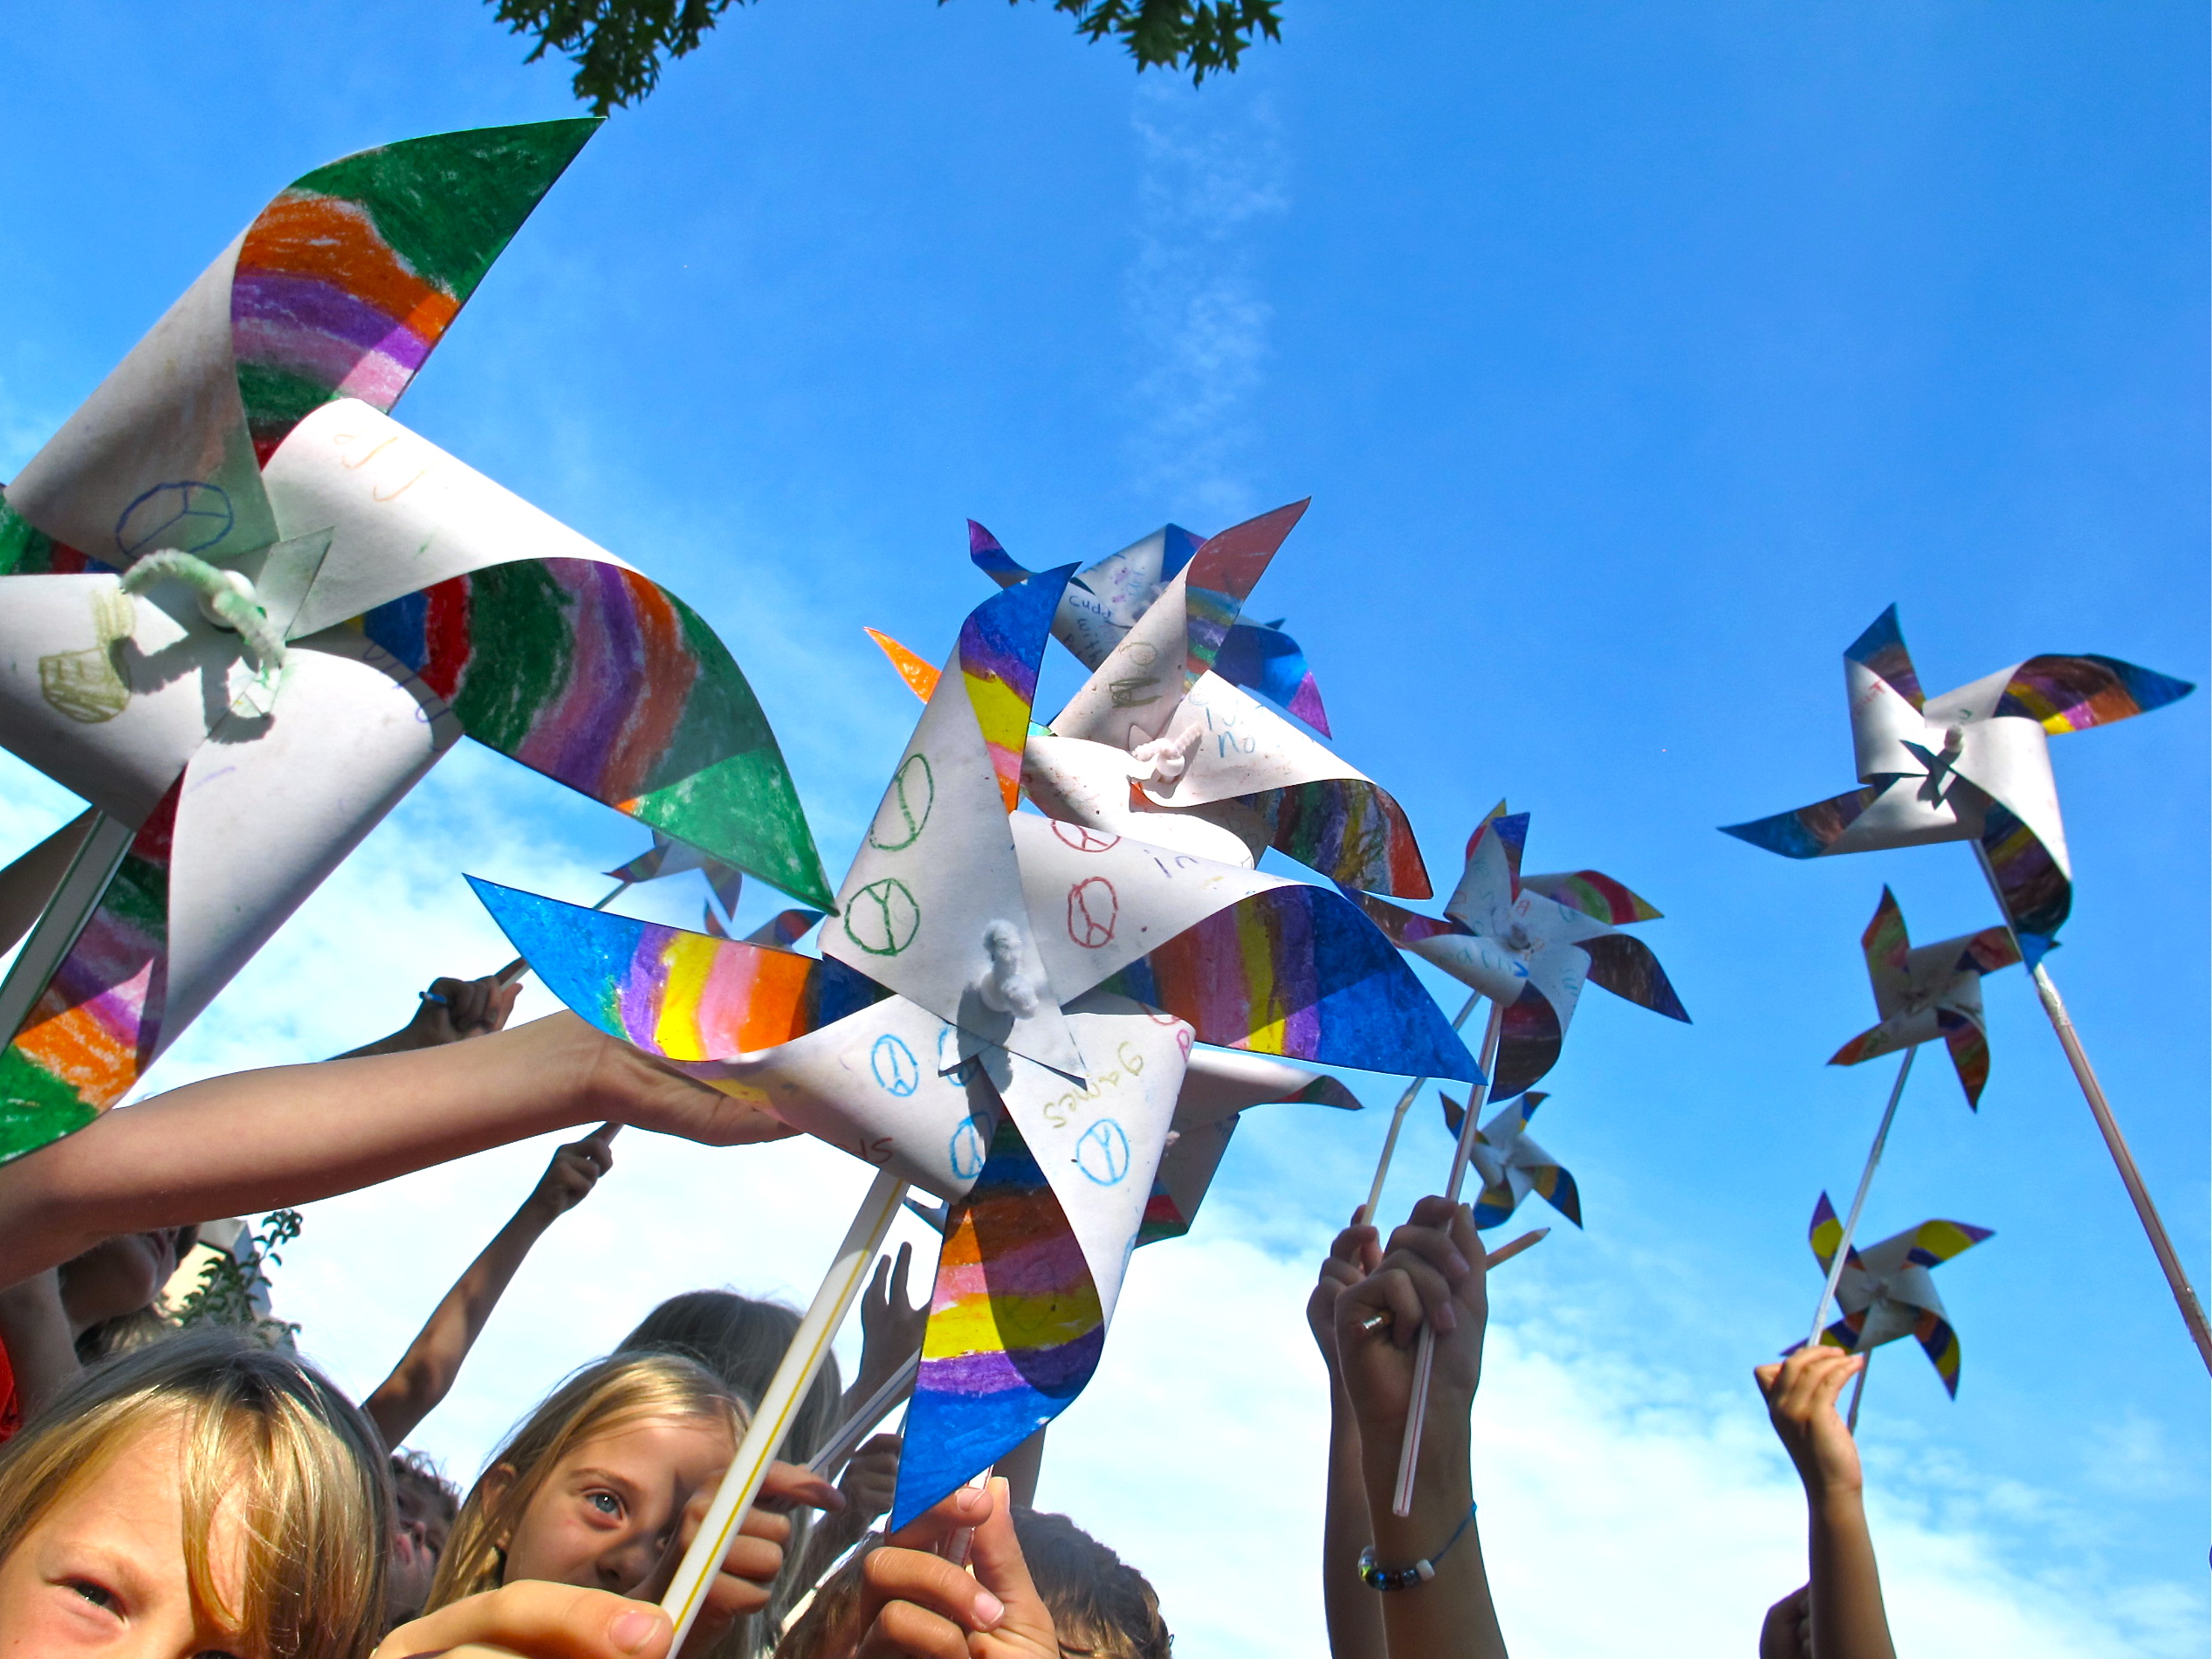
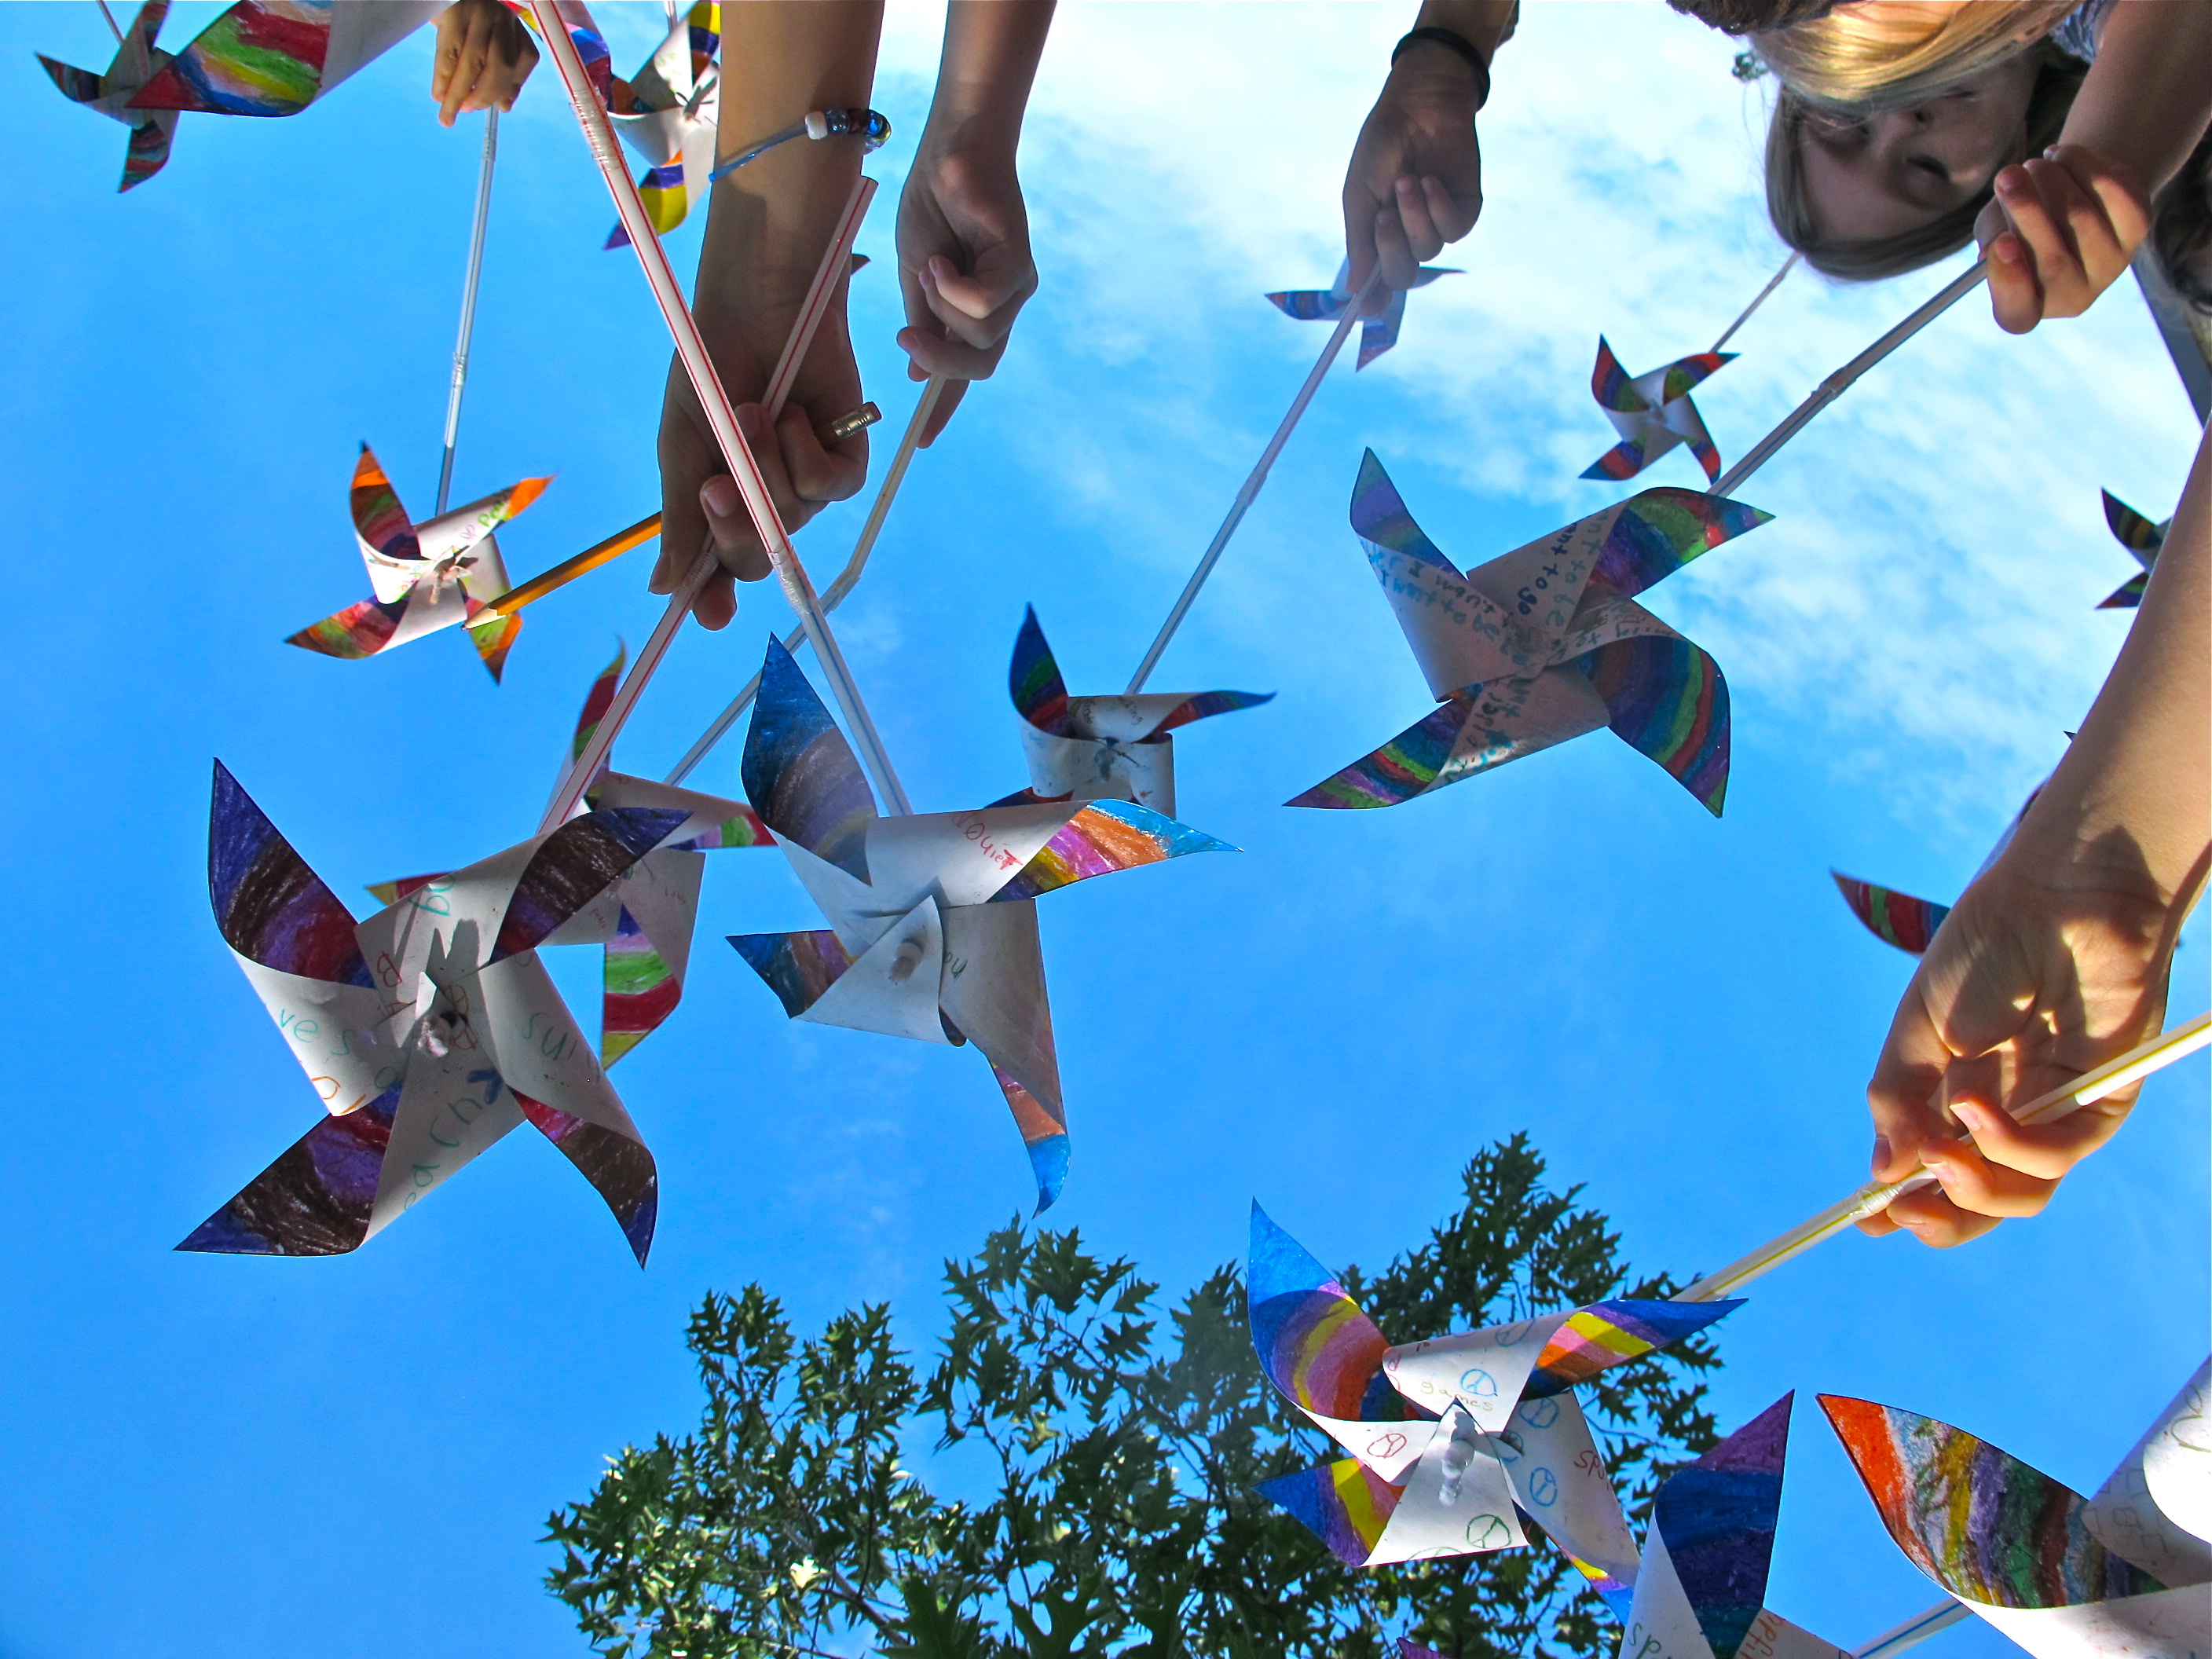
September 21 was the International Day of Peace. I came across the website “Pinwheels for Peace” – too late to register BUT not too late to do it, even unofficially.
And you know what? The grade 3/4 class at Parliament Oak school were more than happy to join in on it. I used their template for the pinwheels, but threw in an arty twist.
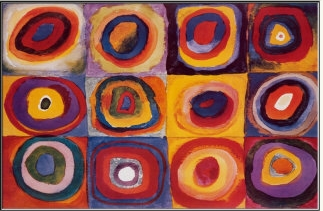 Kandinsky circles, of course!
I gave them a quick intro and demonstration of concentric coloured circles in a square. They used markers to render saturated coloured circles on one side. On the other side, I had them write and draw their ideas of what peace means to them in pencil crayon. After that, we assembled the pinwheels – using pipe cleaners, beads and straws.
Then we assembled on the front lawn, with enough breeze to make the pinwheels go…
P-E-A-C-E.
September 2013 Parliament Oak School
www.pinwheelsforpeace.com
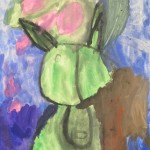
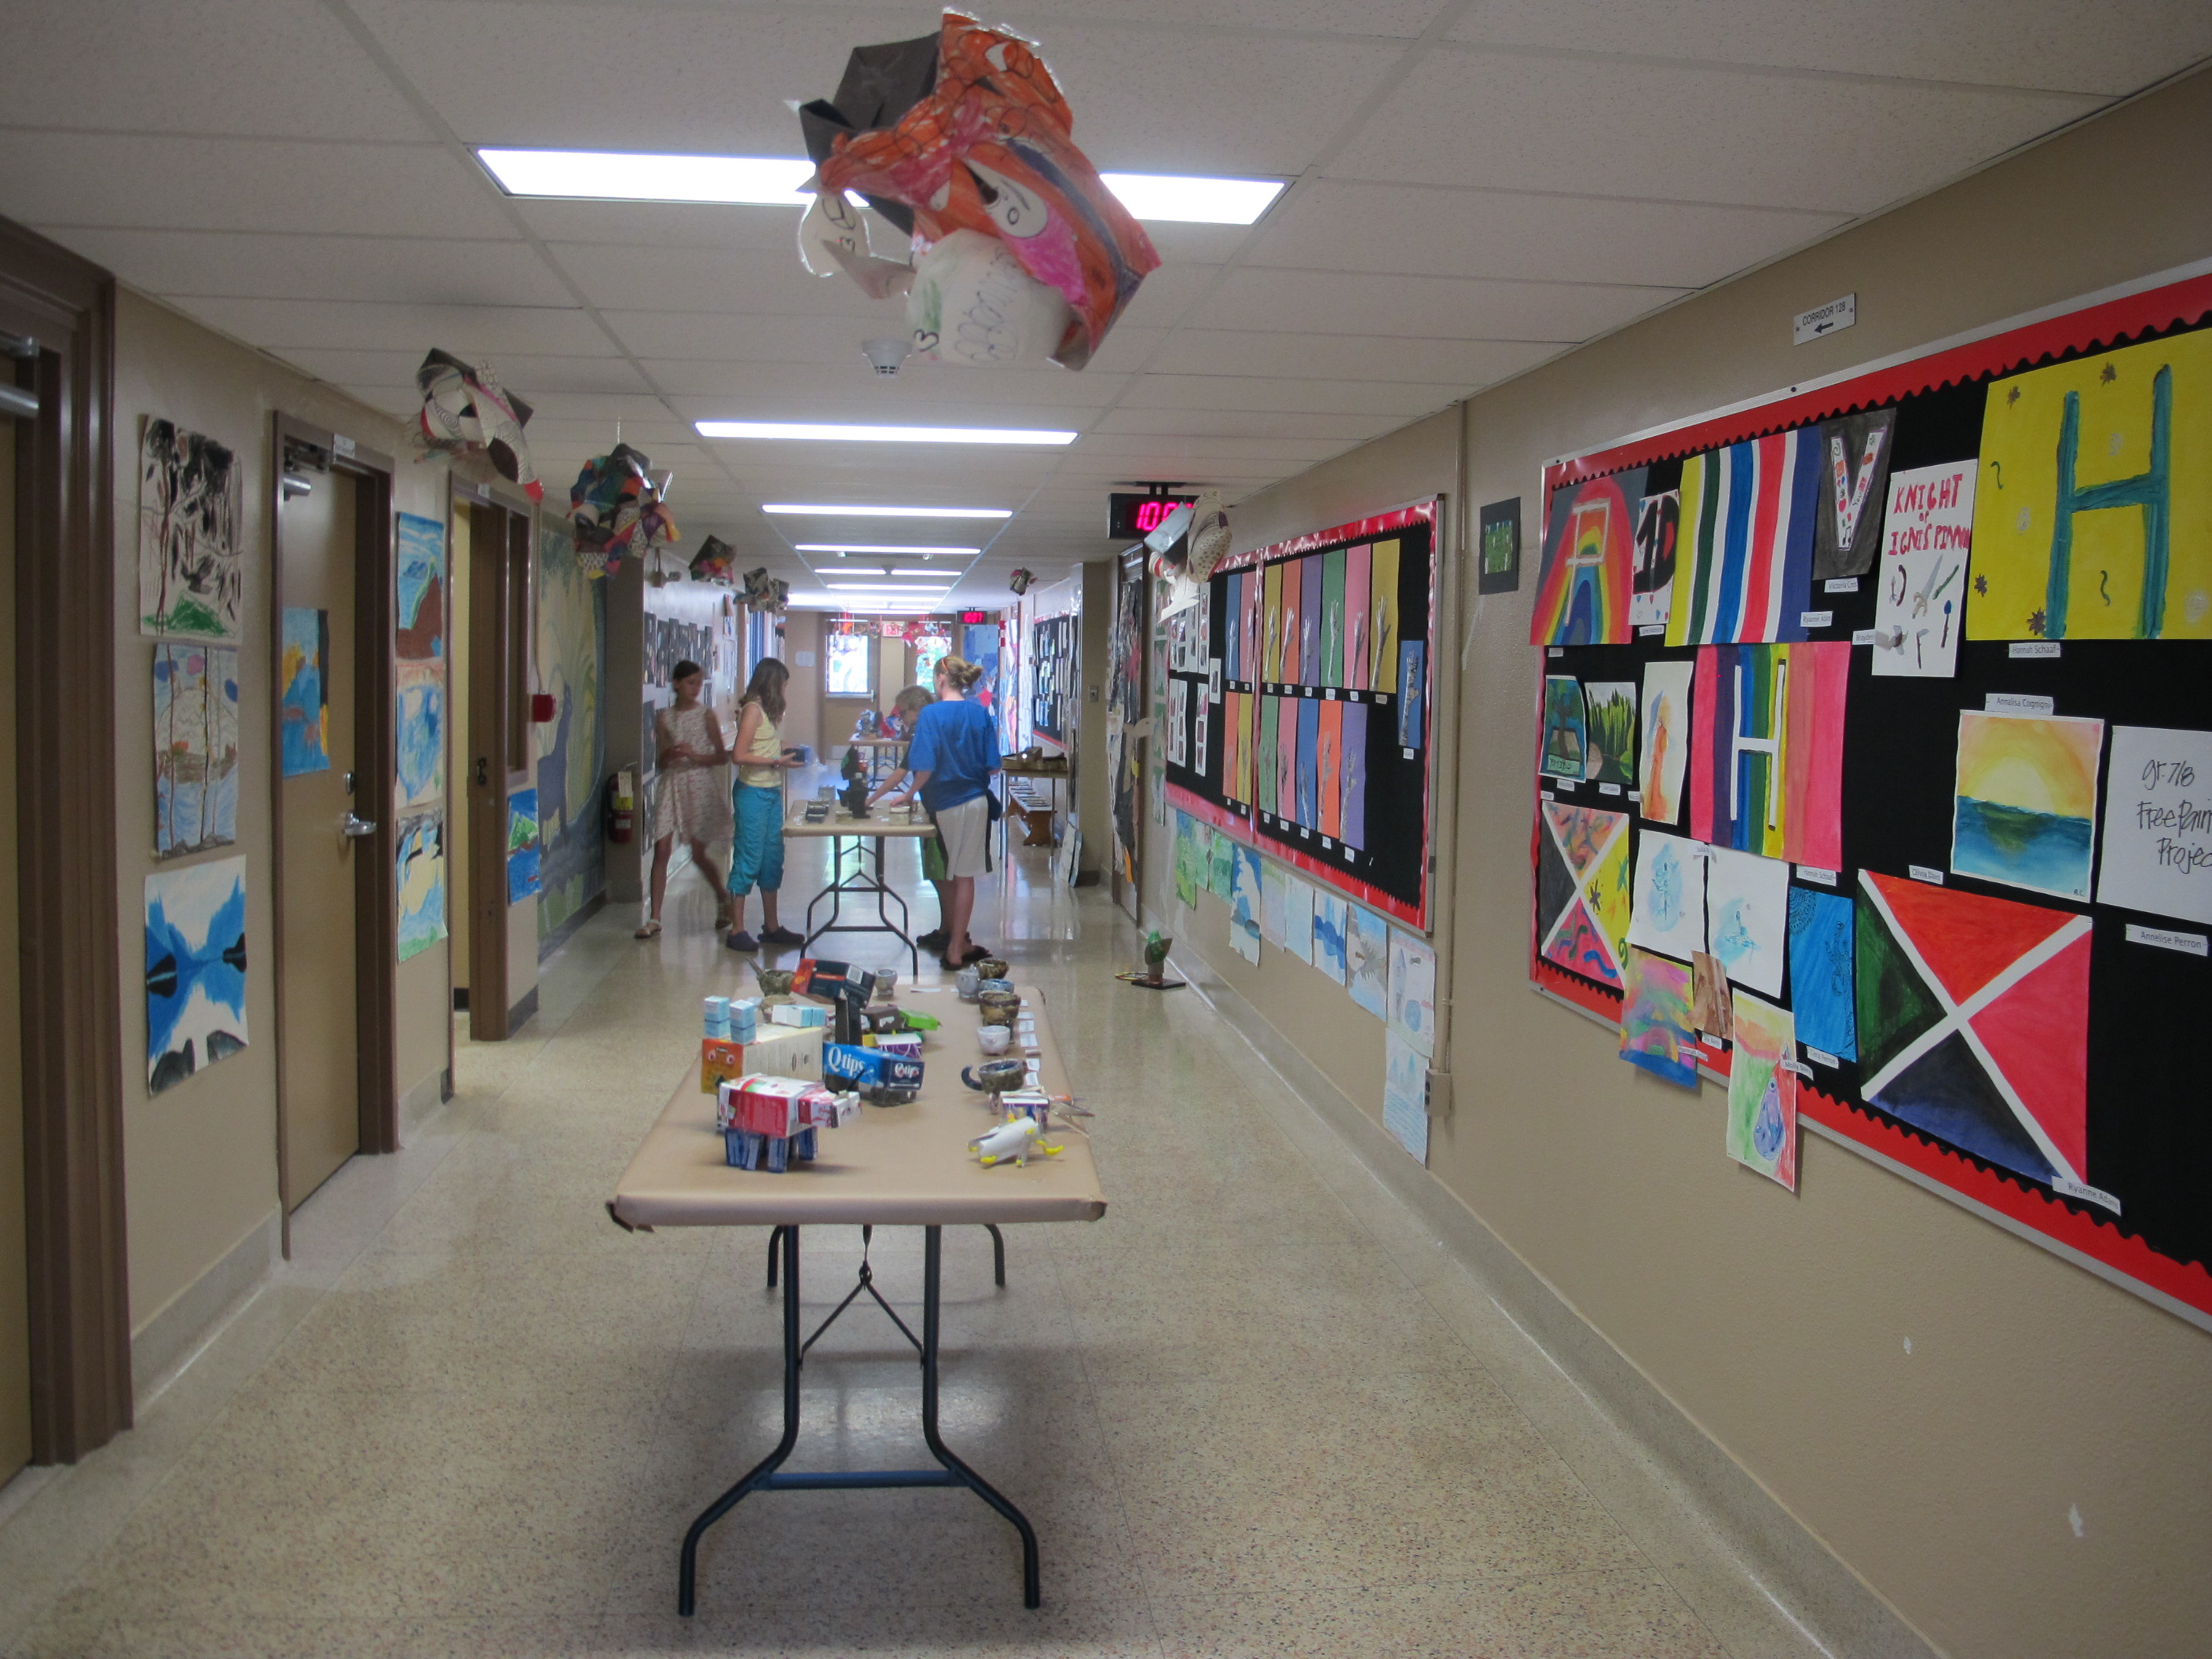
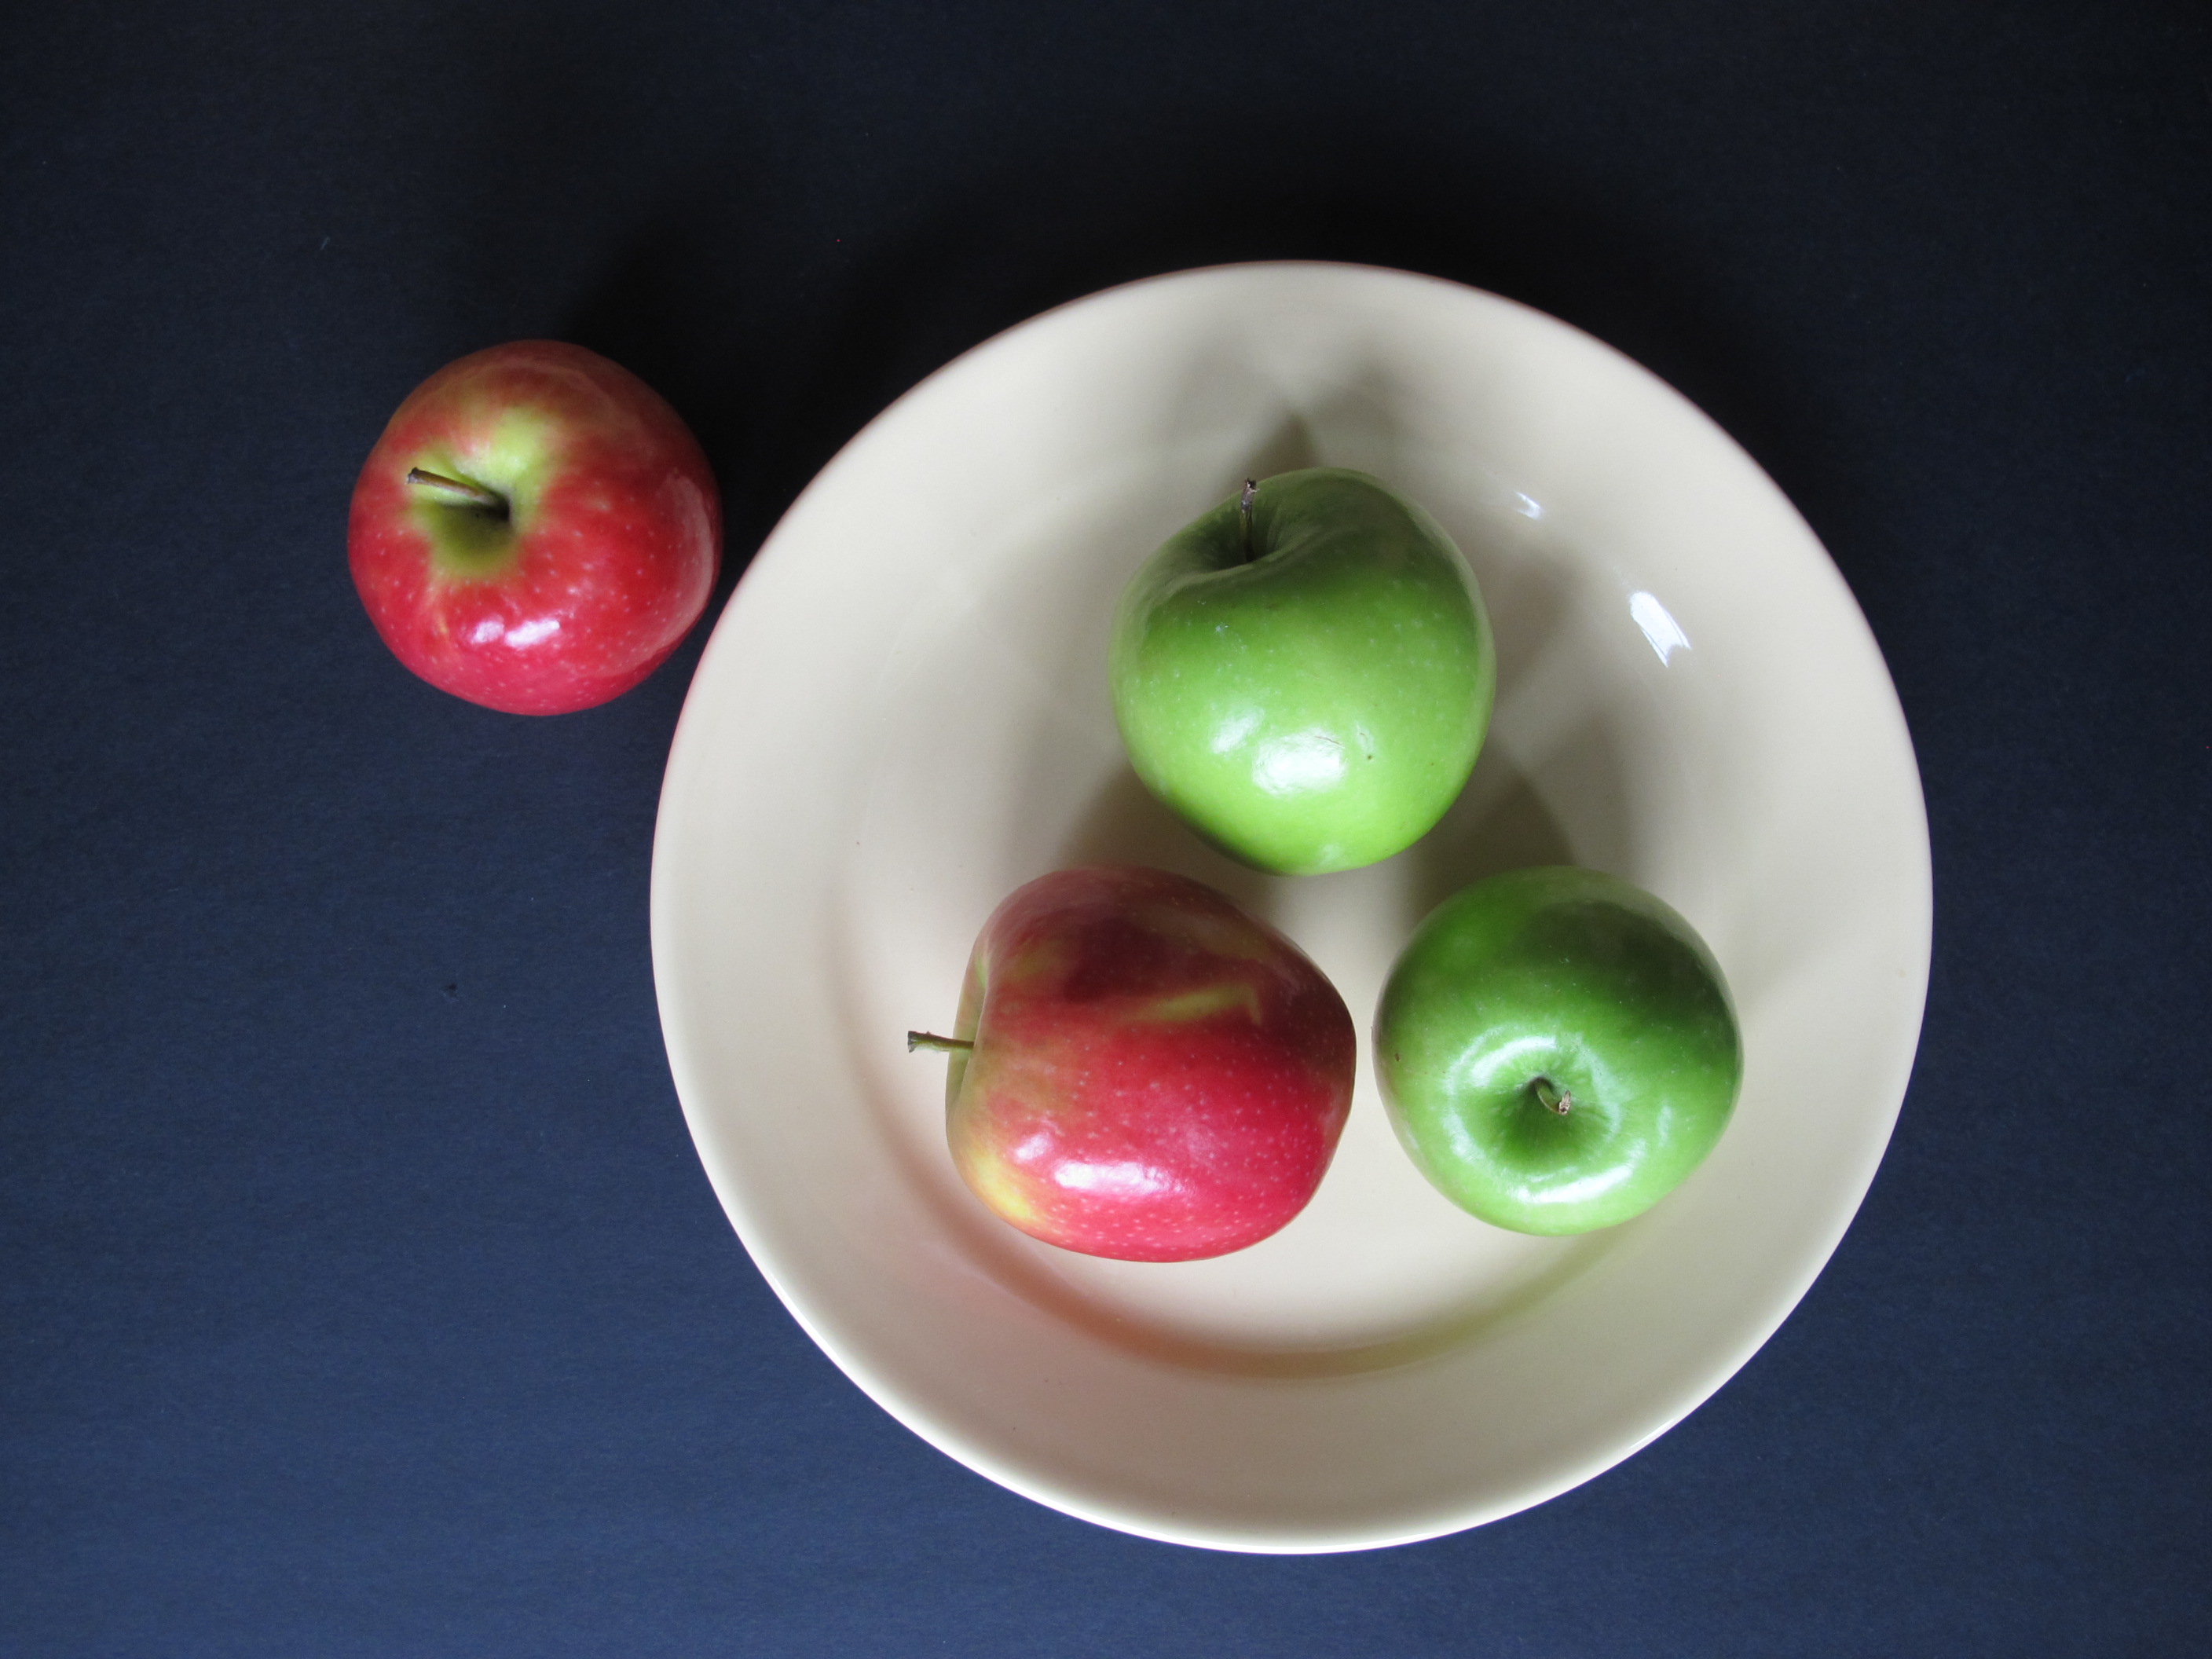
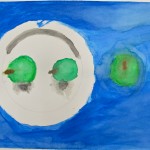
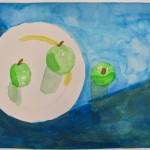
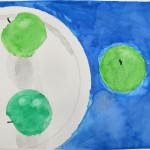
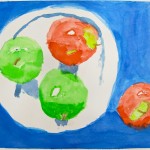
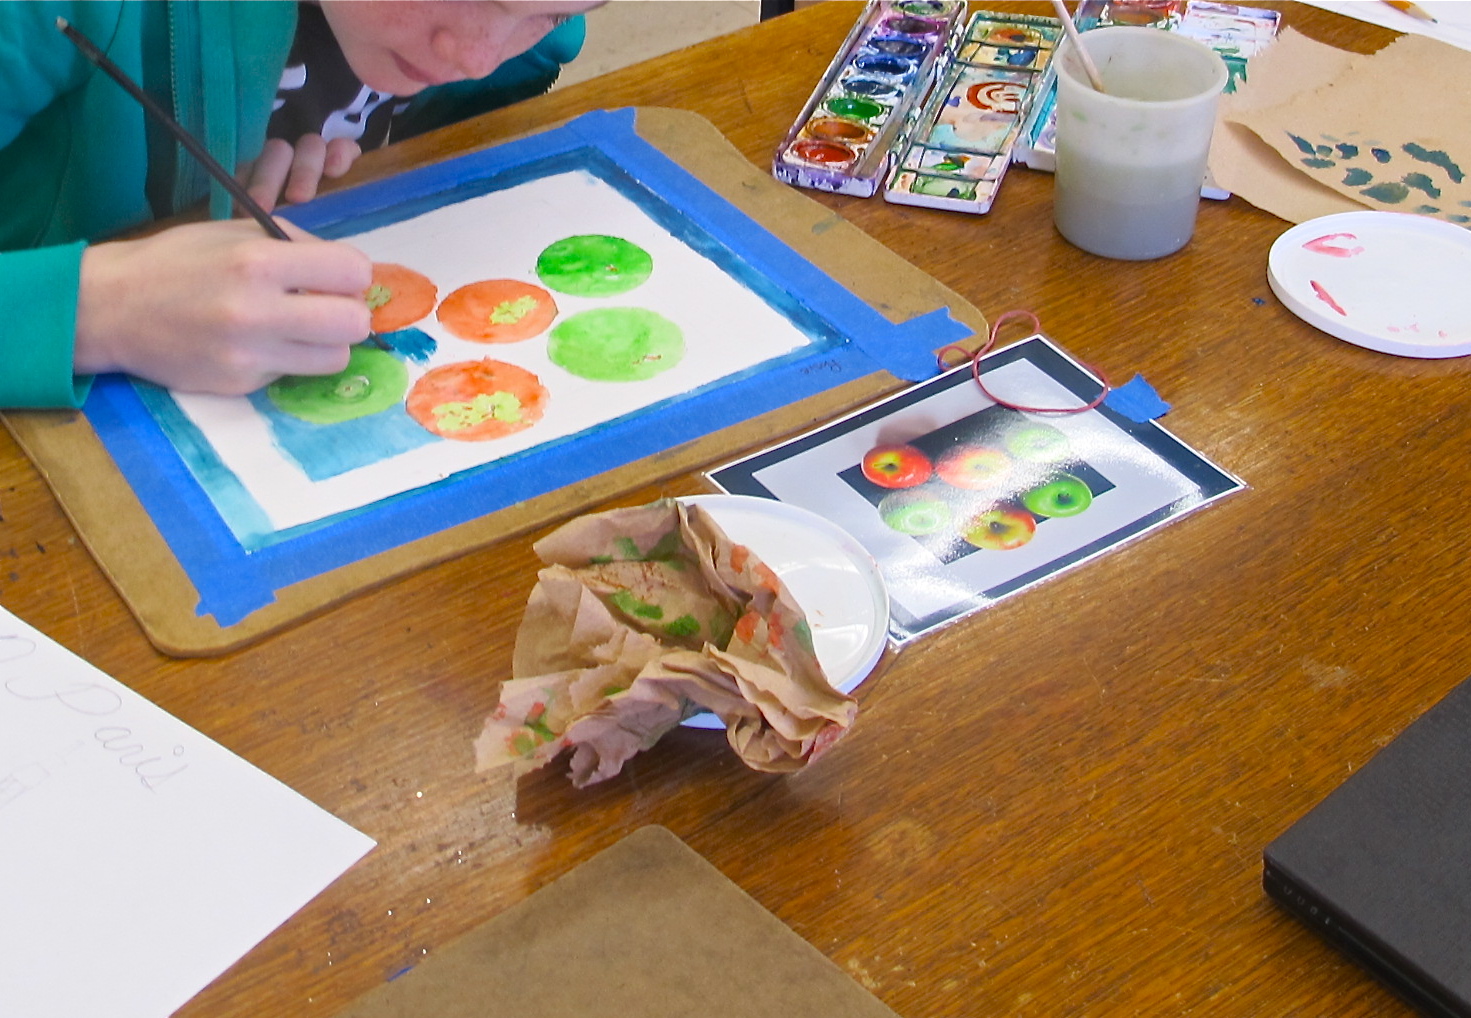
Grade 6: Still Life Paintings 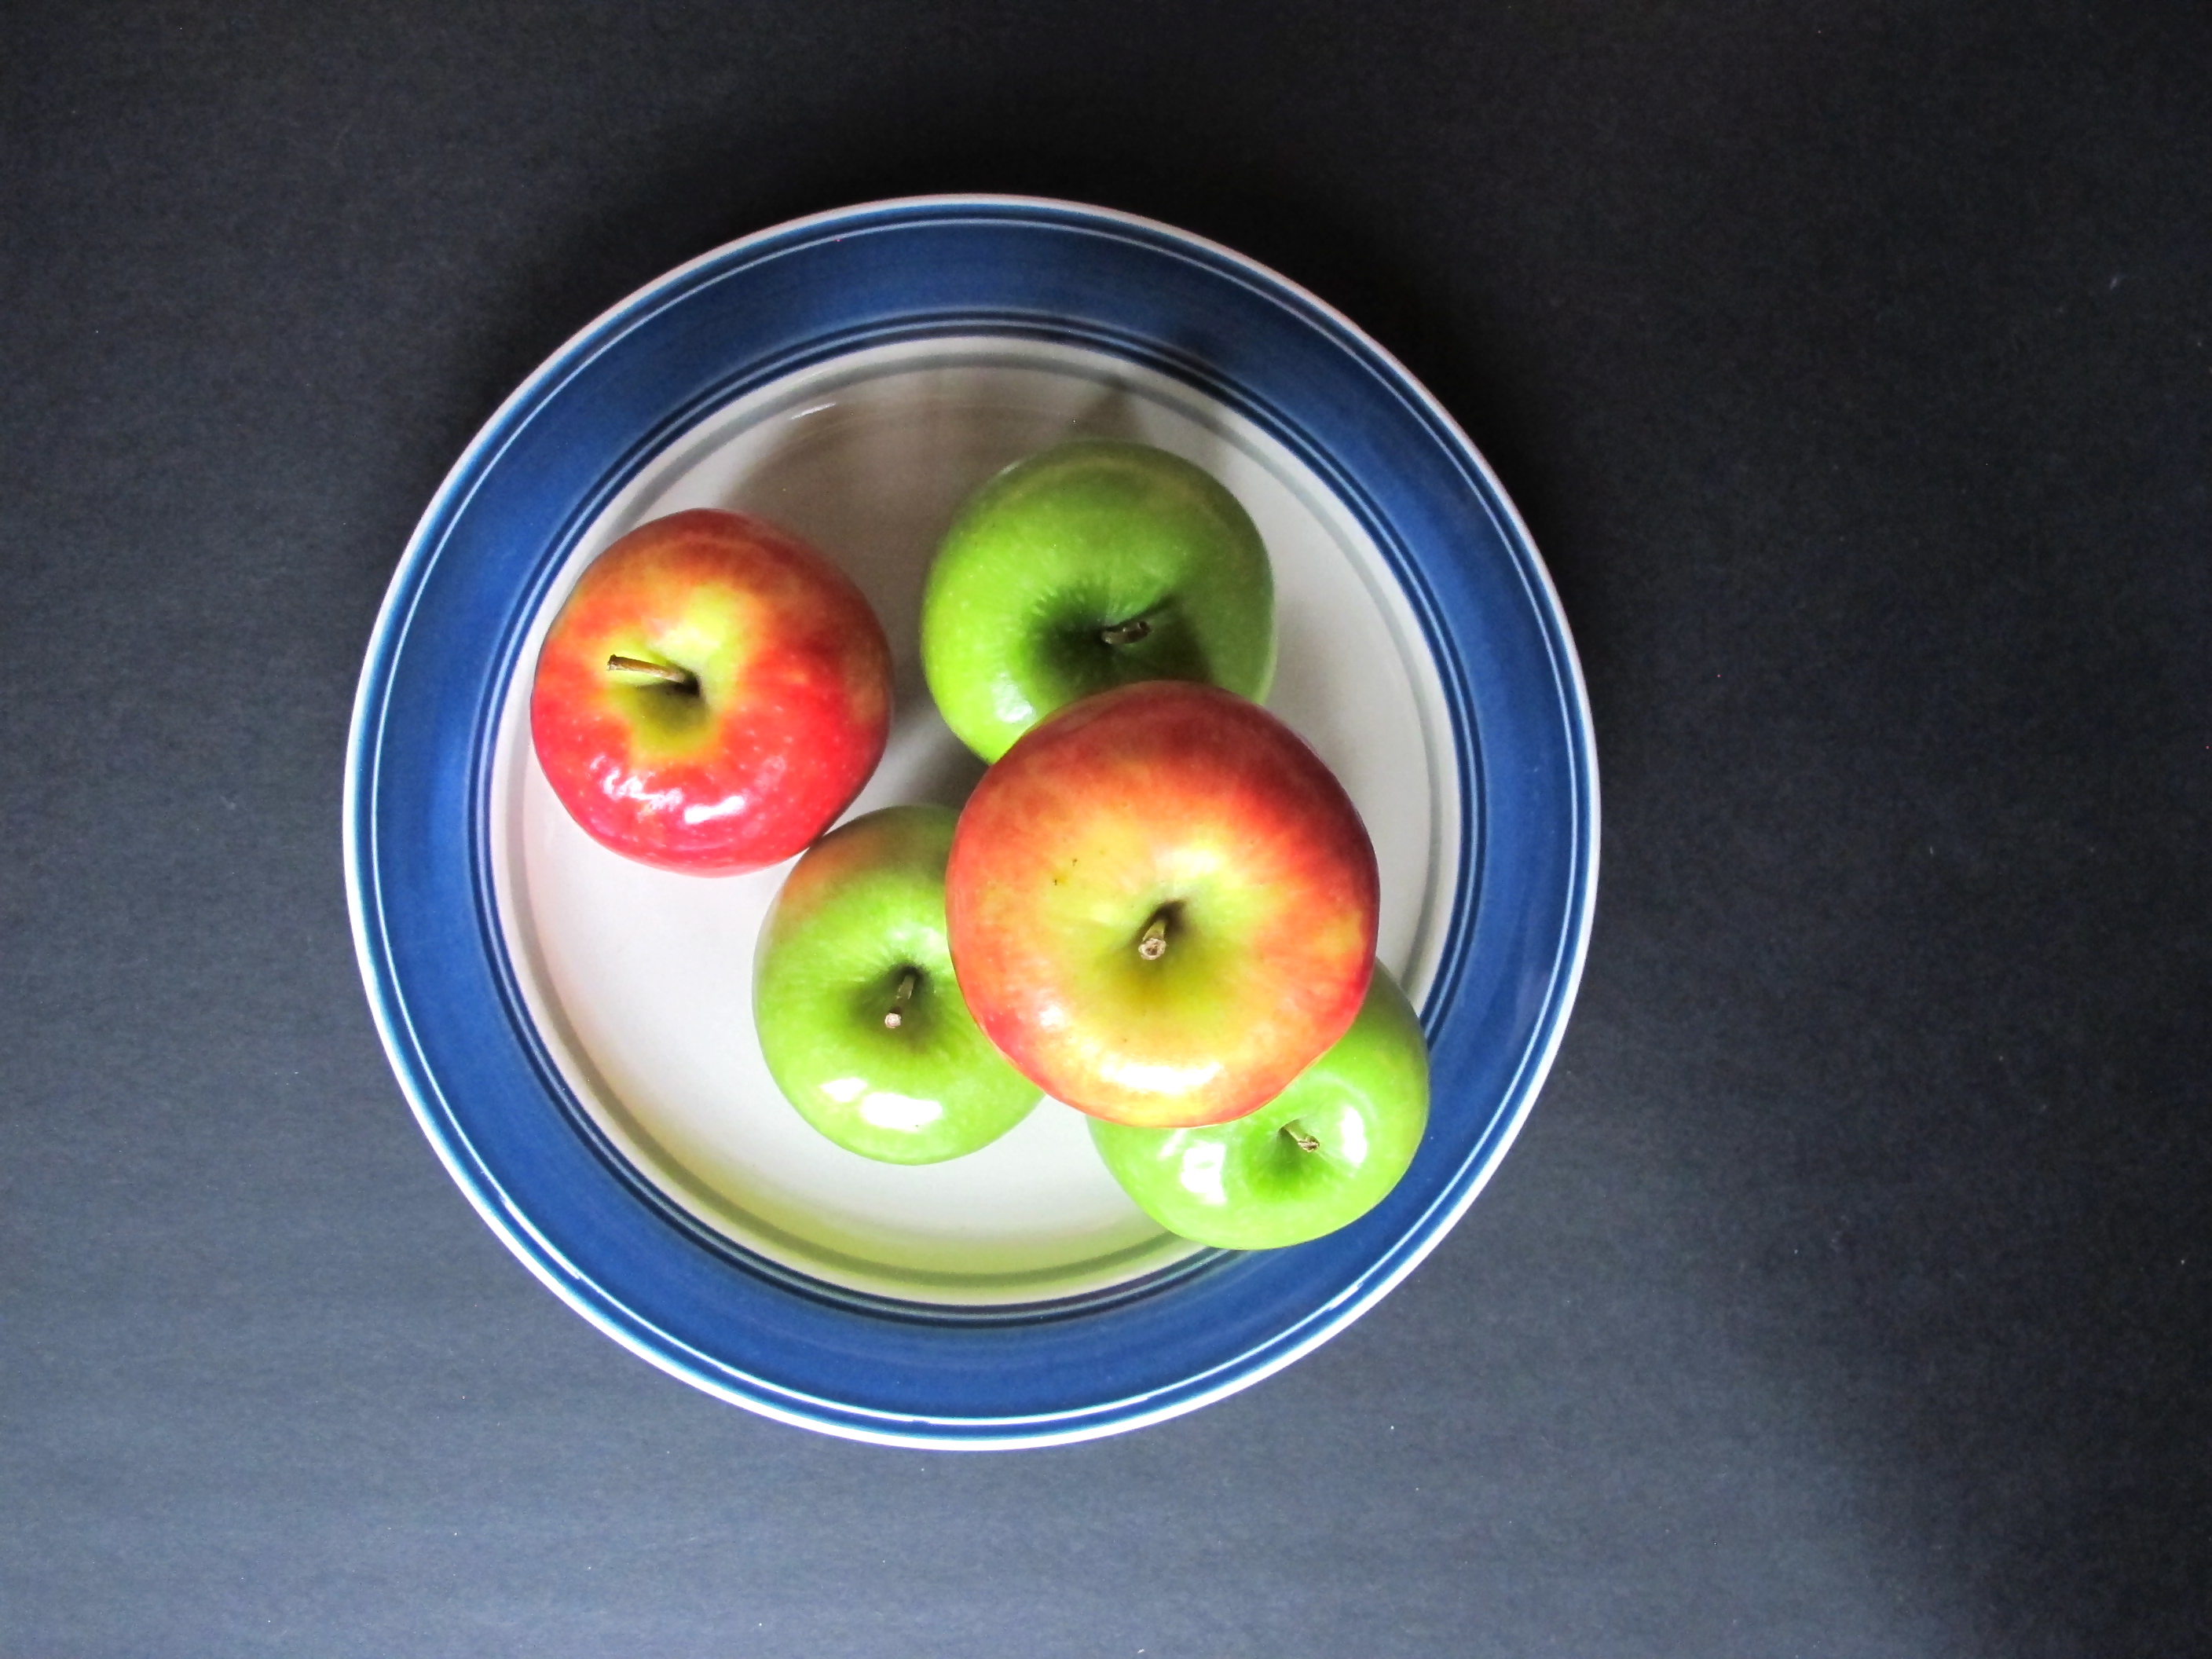
Time to try out some watercolour painting? There was some positive anticipation to be had for this one! I composed several still life variations using apples on a plate, photographed them, and made the resulting images available to the students. I gave them their choice of photographs, we stretched out the watercolour paper on boards, and then they commenced drawing out the compositions lightly in pencil.
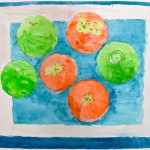

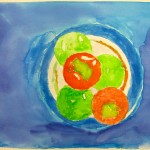
I demonstrated some basic watercolour techniques – with several reminders to remember the importance of water in watercolours…
As with most new techniques, there were mixed reviews on the results – the reality does not always jibe with the imagination. But, with some distance of waiting to view them until the next class, and the encouragement of the teacher and I, they became more satisfied with their efforts. Besides, they look pretty good against the black background of the hall bulletin board, now that they are up there!
Thanks again to the art website “Use Your Coloured Pencils” for another good idea. You rock.
Parliament Oak School / Spring 2013
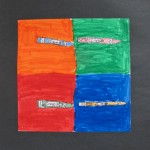
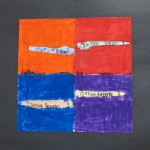
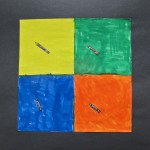
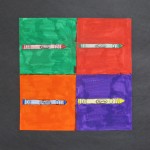
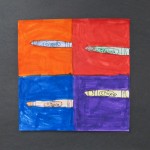
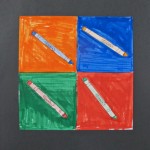
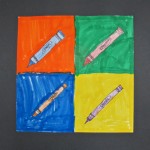
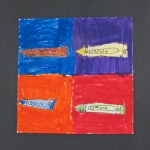
Grade 2/3: Crayons, Complementary Colours, & Andy Warhol
I brought in a great big colour wheel, and we began to talk about complementary colours, and colours both hot and cool.
I find it is helpful to give the hot and cool colours some identifying action (and sound effects too). Cool is a double snap of the fingers: “Snap! Snap!” – for when one is walkin’ down the street ever so cool. Hot is a touch of a finger to the tongue and then to the side of the butt, with an accompanying “Sizzle” sound. Ow – hot!
The kids enjoyed that.
+
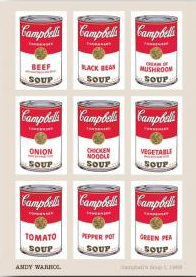
I talked a bit about Andy Warhol, using the classroom computer to find images of his Campbell soup cans: shameless repetitions of an everyday, labelled item on a brilliant ground.
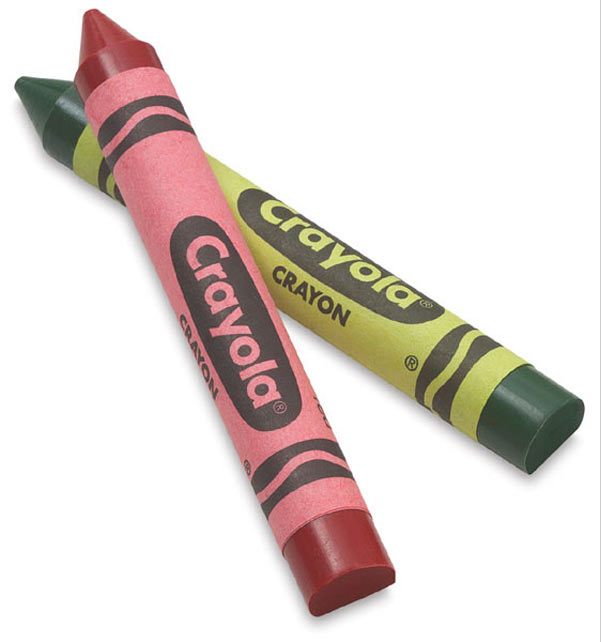
Then came the crayons, 10 brand new packages – crayons perfectly formed and ready for drawing. Not to colour with, mind you – they were to draw the actual crayons, not once but four times. Which meant that every square page supplied needed to be folded twice to form 4 squares.
With a crayon on their desk and pencils in their hands, they now had to draw that crayon, making a choice about how they were going to orient it (horizontal, diagonal, vertical), and observing the details. I suggested that each square crayon be oriented the same way. Look at the shape, look at the label – those two wiggly black stripes at either end, the letters ‘Crayola’. Now, they had to do that three more times! ‘Aaawww …” (But they weren’t really disappointed – they just wanted to get to the colour)
After they outlined their line drawing with Sharpie markers (NOT the squares), they could colour their crayon using the pencil crayons. To round out the lesson (and really make it pop), they needed to choose 2 sets of complementary colours and then fill in the backgrounds with corresponding markers. Suddenly, the project was lookin’ gud!

Spring 2013 / Ferndale School