Grade 4/5: Ink-Blown Trees 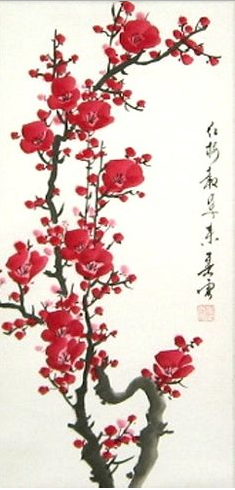
This is a fun one to do. Smocks on, pull out some straws (large diameter), velvety black india ink – and you’ve got a party!
Spring is barely here, and already the plum blossoms in Victoria have come and gone. (Or so I hear regularly, from my parents who are ever so glad to live there.) Here in Niagara, we have to make our own Plum Blossom Spring …
I showed them some examples of traditional Japanese Sumi-e ink paintings of plum trees in blossom, and of the signature chop that Japanese artists often use to sign their work. This project would give them an opportunity to do both, albeit using simpler methods.
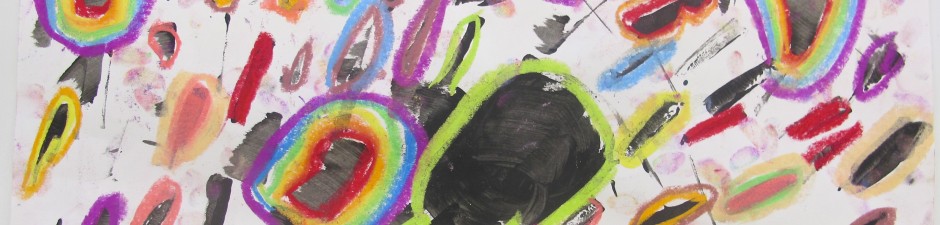
We gave each student a long piece of white paper, with the short side nearest them. Using an eyedropper filled with good quality india ink, I dropped a puddle at the base of each page. Now, their job was to blow up and out, along the page, following the trails of ink to spread out in smaller and smaller branches, sometimes fanning out in surprising ways.
Pssst. If you are doing this with your class, MAKE SURE they take some breaks to just relax and breathe, or they will get dizzy. Don’t want any hyperventilating arteeeessts out there!
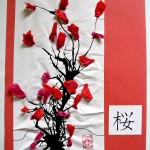

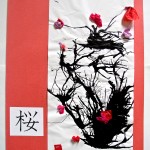
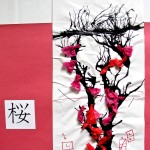
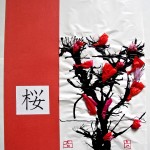
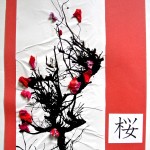
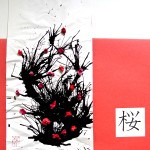
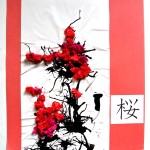
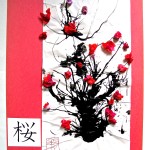
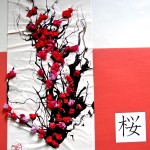
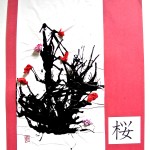
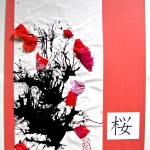
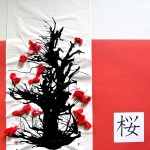
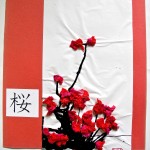
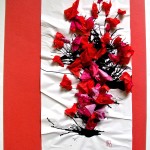
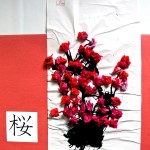
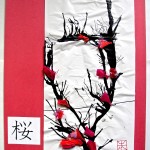
While the ink was drying (if needed, use a hair dryer to help with this), students collected the brilliant red, hot pink and pale pink tissue paper squares I had pre-cut (some 1″x1″, some 2″x2″). Cupping a few together (slightly askew) in 2 0r 3 layers, they glued each layer in the centre only, to make the plum blossoms. some would be larger for those closer to the viewer, and others smaller for the back of the tree. When they had assembled at least 20 flowers, and their ink tree was dry, then it was time to glue the flowers on. Hint: Remember to tell them to attach them to the branches, not free floating just anywhere.
Once again, I showed them some examples of chops (wood or clay block printed signatures), noting how they were oriented in a square or rectangle, perhaps with one character or letter in the upper part, and the second initial in the lower portion of the rectangle/square. Another reference for this might be some of the design work seen in the Arts and Crafts Movement of the early 20th century in England and the U.S.
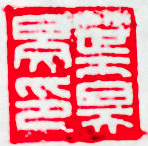
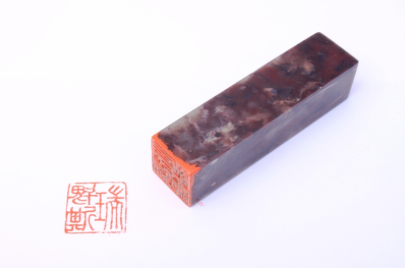
On a scrap of paper, using a pencil, they now had to design their own chop – using their initials, or the initials of their nickname, for example. Once they had worked that into a pleasing ‘mini’ design, it was time to draw that on their plum blossom drawing, near the bottom, in red Sharpie marker.
Later, I mounted the artworks on large red construction paper, with the Japanese word for ‘peace’ as accompaniment. Don’t they look good?
Spring 2014 / Prince of Wales School
You must be logged in to post a comment.