Grade 2/3: Painted Monarch Butterflies
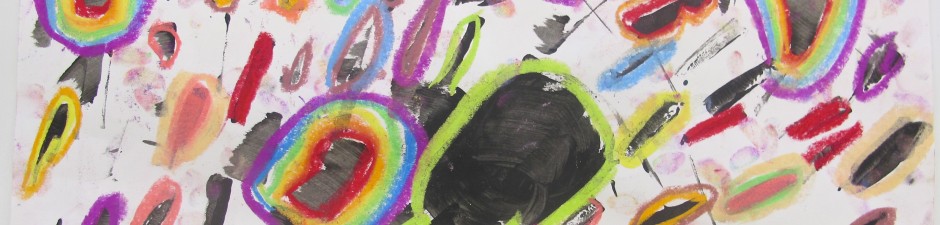
Monarch butterflies are a familiar sight in these parts. Using various photographs of monarch butterflies, we talked about their migration patterns and then the parts of the butterflies themselves. I highlighted the details of the pattern found on the wings; shapes and colours. They’re so beautiful! What amazing creatures.
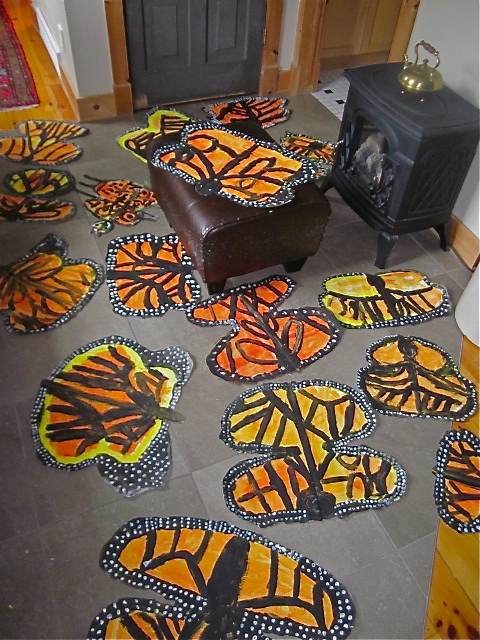
The Monarchs ‘migrating’ right through our house
Now, the main ideas of this particular Art Lesson: symmetry and mirror image. What are they? Could they see examples of mirror image and symmetry on the butterflies?
The Process:
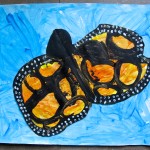
1. Give each student a large sheet of thick white paper, folded in half cross-wise. Have them open the paper so it is like a large book in from of them. Each student then gets a large paintbrush, loaded with yellow paint. Have them paint a large “B” on the right hand side of the fold line. Large, I mean, fill that side of the page with the B. (Best to demonstrate right then) While the paint is still wet, close the right side over the B and press down all over to make an imprint. Open it up, and there you have the two wings: symmetry!
By the way, the kids’ desks were too small and too close for the open paper, so I had them working in two’s and threes on the floor.
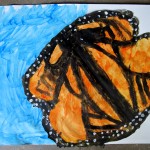
2. Give each group a try of orange and yellow paint (No water – we want the paint thick). Get them to fill in the wings with the orangey yellow paint. Thick and luscious, please. This would be a good opportunity to let it dry even a little, if time allows – or if it is a single class.
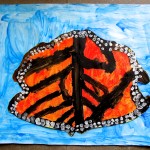
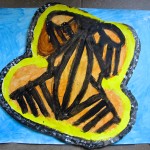
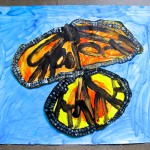
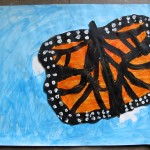
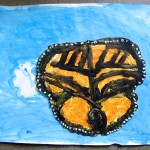
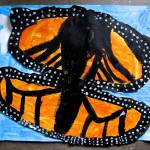
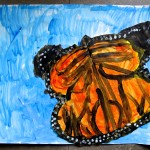
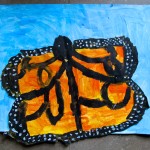
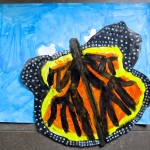
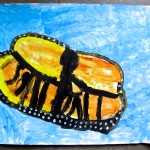
3. Back into their groups – btw, it might be good for each group to have a photograph of a monarch butterfly to refer to. Each group gets a tray of black paint (no water), and every student a medium or large paintbrush. Review mirror image by demonstrating that one line or shape on one wing is immediately mirror imaged on the other. The wings are transected by black lines and the outer edges should be completely lined as well. Don’t forget to paint the body of the butterfly in black along the fold crease on the page – the head, the thorax, the abdomen, and even antennae, if they like.
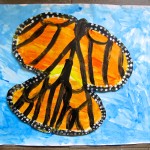
4. Now, they can allow a little time for the black paint to dry by turning their attention to the other part of the project. Set aside the butterflies, remove the black paint and blackened brushes, and give each student a new large sheet of white paper. More large brushes and brilliant blue paint: it’s time to paint the sky!
I demonstrated the way brush strokes can imitate the shapes of clouds, and that leaving some areas white MAKES clouds. Cover the whole page with your sky, please … yep, nice!
5. Put aside the blue skies and return to the butterflies. Using the other end of the blue brush, dip them into the small containers of white paint that have been just waiting to be used, and apply a series of dots only to the outer black stripe edging the wings. Encourage them to look again at the photographs of the Monarch butterflies, and notice where those small dots of white occur and where they do not.
That’s it for the day (day two?). The two pages need time to dry. Hopefully they put their names on the back of their pages even before they put paint to page. What remains is to put them together.
Day Two (or is it Three?):
Psst: Have small squares or strips of corrugated cardboard ready, enough for each student to evenly spread across their butterfly.
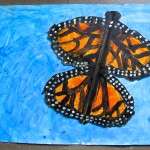
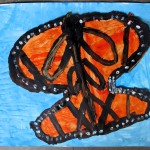
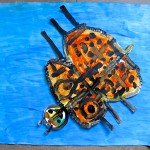
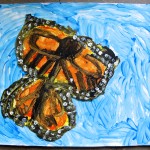
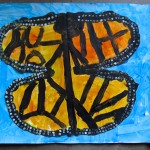
1. Cut out the butterflies (a demonstration on how to make rough cuts would be helpful here). Then, turn them over and glue on the corrugated cardboard bits evenly across the butterfly, using white drippy glue (yes, that’s the expression I use to differentiate from gluesticks). When those are all on, apply more drippy glue to each them, turn over the butterfly and have the students place them on their prepared sky page. Doesn’t have to be in the middle, and the butterfly can even extend a little off the page. It should look like it is just flying over the surface, and the picture just happened to catch a look at it in mid-flight. The result?
Show stoppers, every one. This project should be big and bold.
This is a good project to do when you have extra volunteers in the classroom. It does make for a lot of cleanup with any brushes in use and the various paint colours and trays. Just be warned – but it’s worth it!
Spring 2014 / Prince of Wales School
You must be logged in to post a comment.