Grade 6/7/8: Beginning Clay and Glaze Techniques
It’s time for clay!
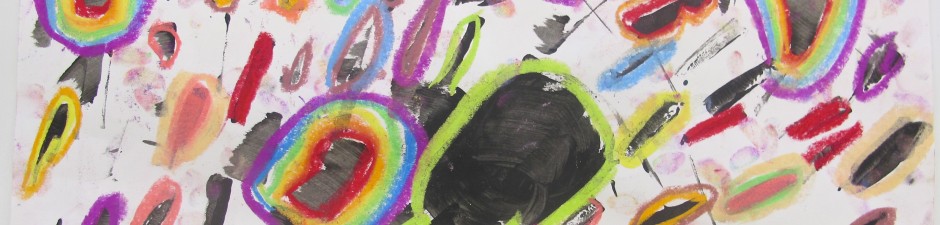
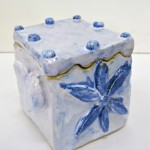
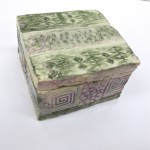
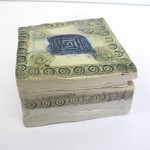
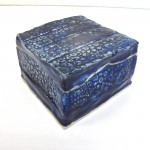
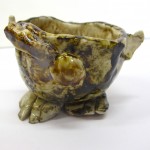
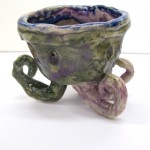
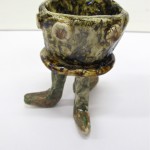
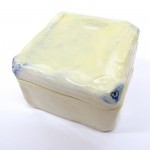
We started with pinch pots in one class, and slab-built boxes in the other. In short, here are a few of the results.
-
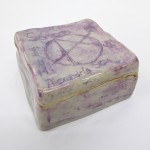
- Annalisa
-
- Cierra
-
- Diego
-
- Leah
-
- Rosie
-
- Max
-
- Ethan
-
- Ethan
-
- Alex
-
- Nicole
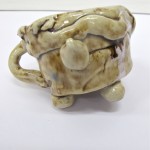
For the grade 6 class, I presented them with a collection of pictures of footed bowls, from historical and contemporary sources. Some examples involved humour (BIG feet), and various construction methods were represented. We started with making pinch pots, and then they could take it from there to fashion some kind of feet for that. I think they enjoyed working with clay (except my own son, who dislikes the feeling of it on his hands), and did pretty well for a first-time project in this material. My challenges with them were to keep a couple of students from applying too much water and thereby weakening their vessels, getting everyone to attach handles (and feet) properly, and attend to little finishing details. My experience with this firing range has been limited, so also was our palette (and budget for) glazes. Still, they were pleased to make something that could be used for drinking (or at least holding). I would like to do more with them in clay next year.
The grade 7/8 class is a large one, and difficult to keep up with the nitty gritty of clay projects (literally). However, I have been teaching them for a while, and I knew I could push them in what was for some, their first real clay project. Having an art room now makes a difference!
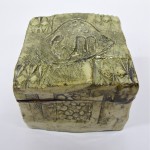
I demonstrated techniques of wedging and building a slab box (involving rulers and a little math), emphasizing the need for strong joints by scoring and slipping. A moist, NOT wet, working station ( I remember my own frustrating first attempts at clay in junior high, with a teacher who I now know didn’t know much about that) – though once again, some did not believe me in this. I tried to limit their access to bowls of water, by providing them each with a small wet sponge to use instead. They worked on canvas-stretched boards or tables.
Later, I demonstrated some different techniques in decorating – incised designs using tools such as patterned rollers, stamps, various textured objects, drawing with pencils, and scoring pintools/ribs. Raised designs could be achieved by adding coils of clay or extra pieces of slab (remember to score and slip!). They could employ small feet using these, or keep the bottom slab flat and smooth.
The first (double period) class was taken up with my demonstrations, and them wedging and rolling the clay (not too thin!), getting their slabs of clay measured and cut out and stacked for next time. This would allow the clay to dry to a stiffness that would allow them to build without it slumping or marking up the surface.
Spring is a busy time of year with school trips, and other activities that sometimes pre-empt Art class, so one challenge throughout was to keep the projects workable in the various stages of construction. As always, some students just blast right through the project, others work more carefully with attention to detail, and still others see it as an opportunity to chat with each other – with minimal working results. Such is the animal with a large class, I suppose. The class teacher and I tried our best to keep up with everyone…
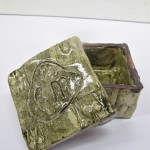
The next couple of classes did not occur until about three or four weeks later. Time to build those boxes! I demonstrated joining using scoring and slip. When all four sides were attached, I showed them how to strengthen the inner (and outer, if necessary) seams by pressing a coil of clay along them, always supporting them on the other side with their hand. The idea in this stage of construction is not to disturb too much of their surface design. The inside of the box should be smoothed and cleaned out before the top slab attached. Outer edges could be smoothed with a rib or a fettling knife.
Now, to make the lid. Using a wire clay cutter and a friend to hold the box in place, they pulled it through all four sides. If the box was too stiff for this, a fettling knife was used. If the cut line included some kind of jog, all the better for keeping the lid on later. We did not add the step of creating an inner lip or stops to hold the lid in place. I encouraged them to carefully clean up any sharp edges and making sure the bottoms were smooth (so as not to scratch any table surfaces afterwards).
After they they dried thoroughly I bisque fired the boxes, and the next class was all about applying coloured stains and glaze.
Final class: We painted on and rubbed off our few glaze stains (iron oxide, manganese dioxide, and a few purchased blends), and then I had them paint a couple of coats of glaze – either white or clear – over. At first, they were puzzled at how this works, but were interested in the process of firing. After the class finished, I was reminded of my own excellent high school art teacher Ted Downard (who taught me a love for clay), who spent quite a lot of time wiping edges and bottoms of pots (and grumbling about it) so the glaze did not fuse the lids on or the pots to the kiln shelf. ahem. The kids don’t always get it that the glaze turns to liquid glass while firing. (smile)
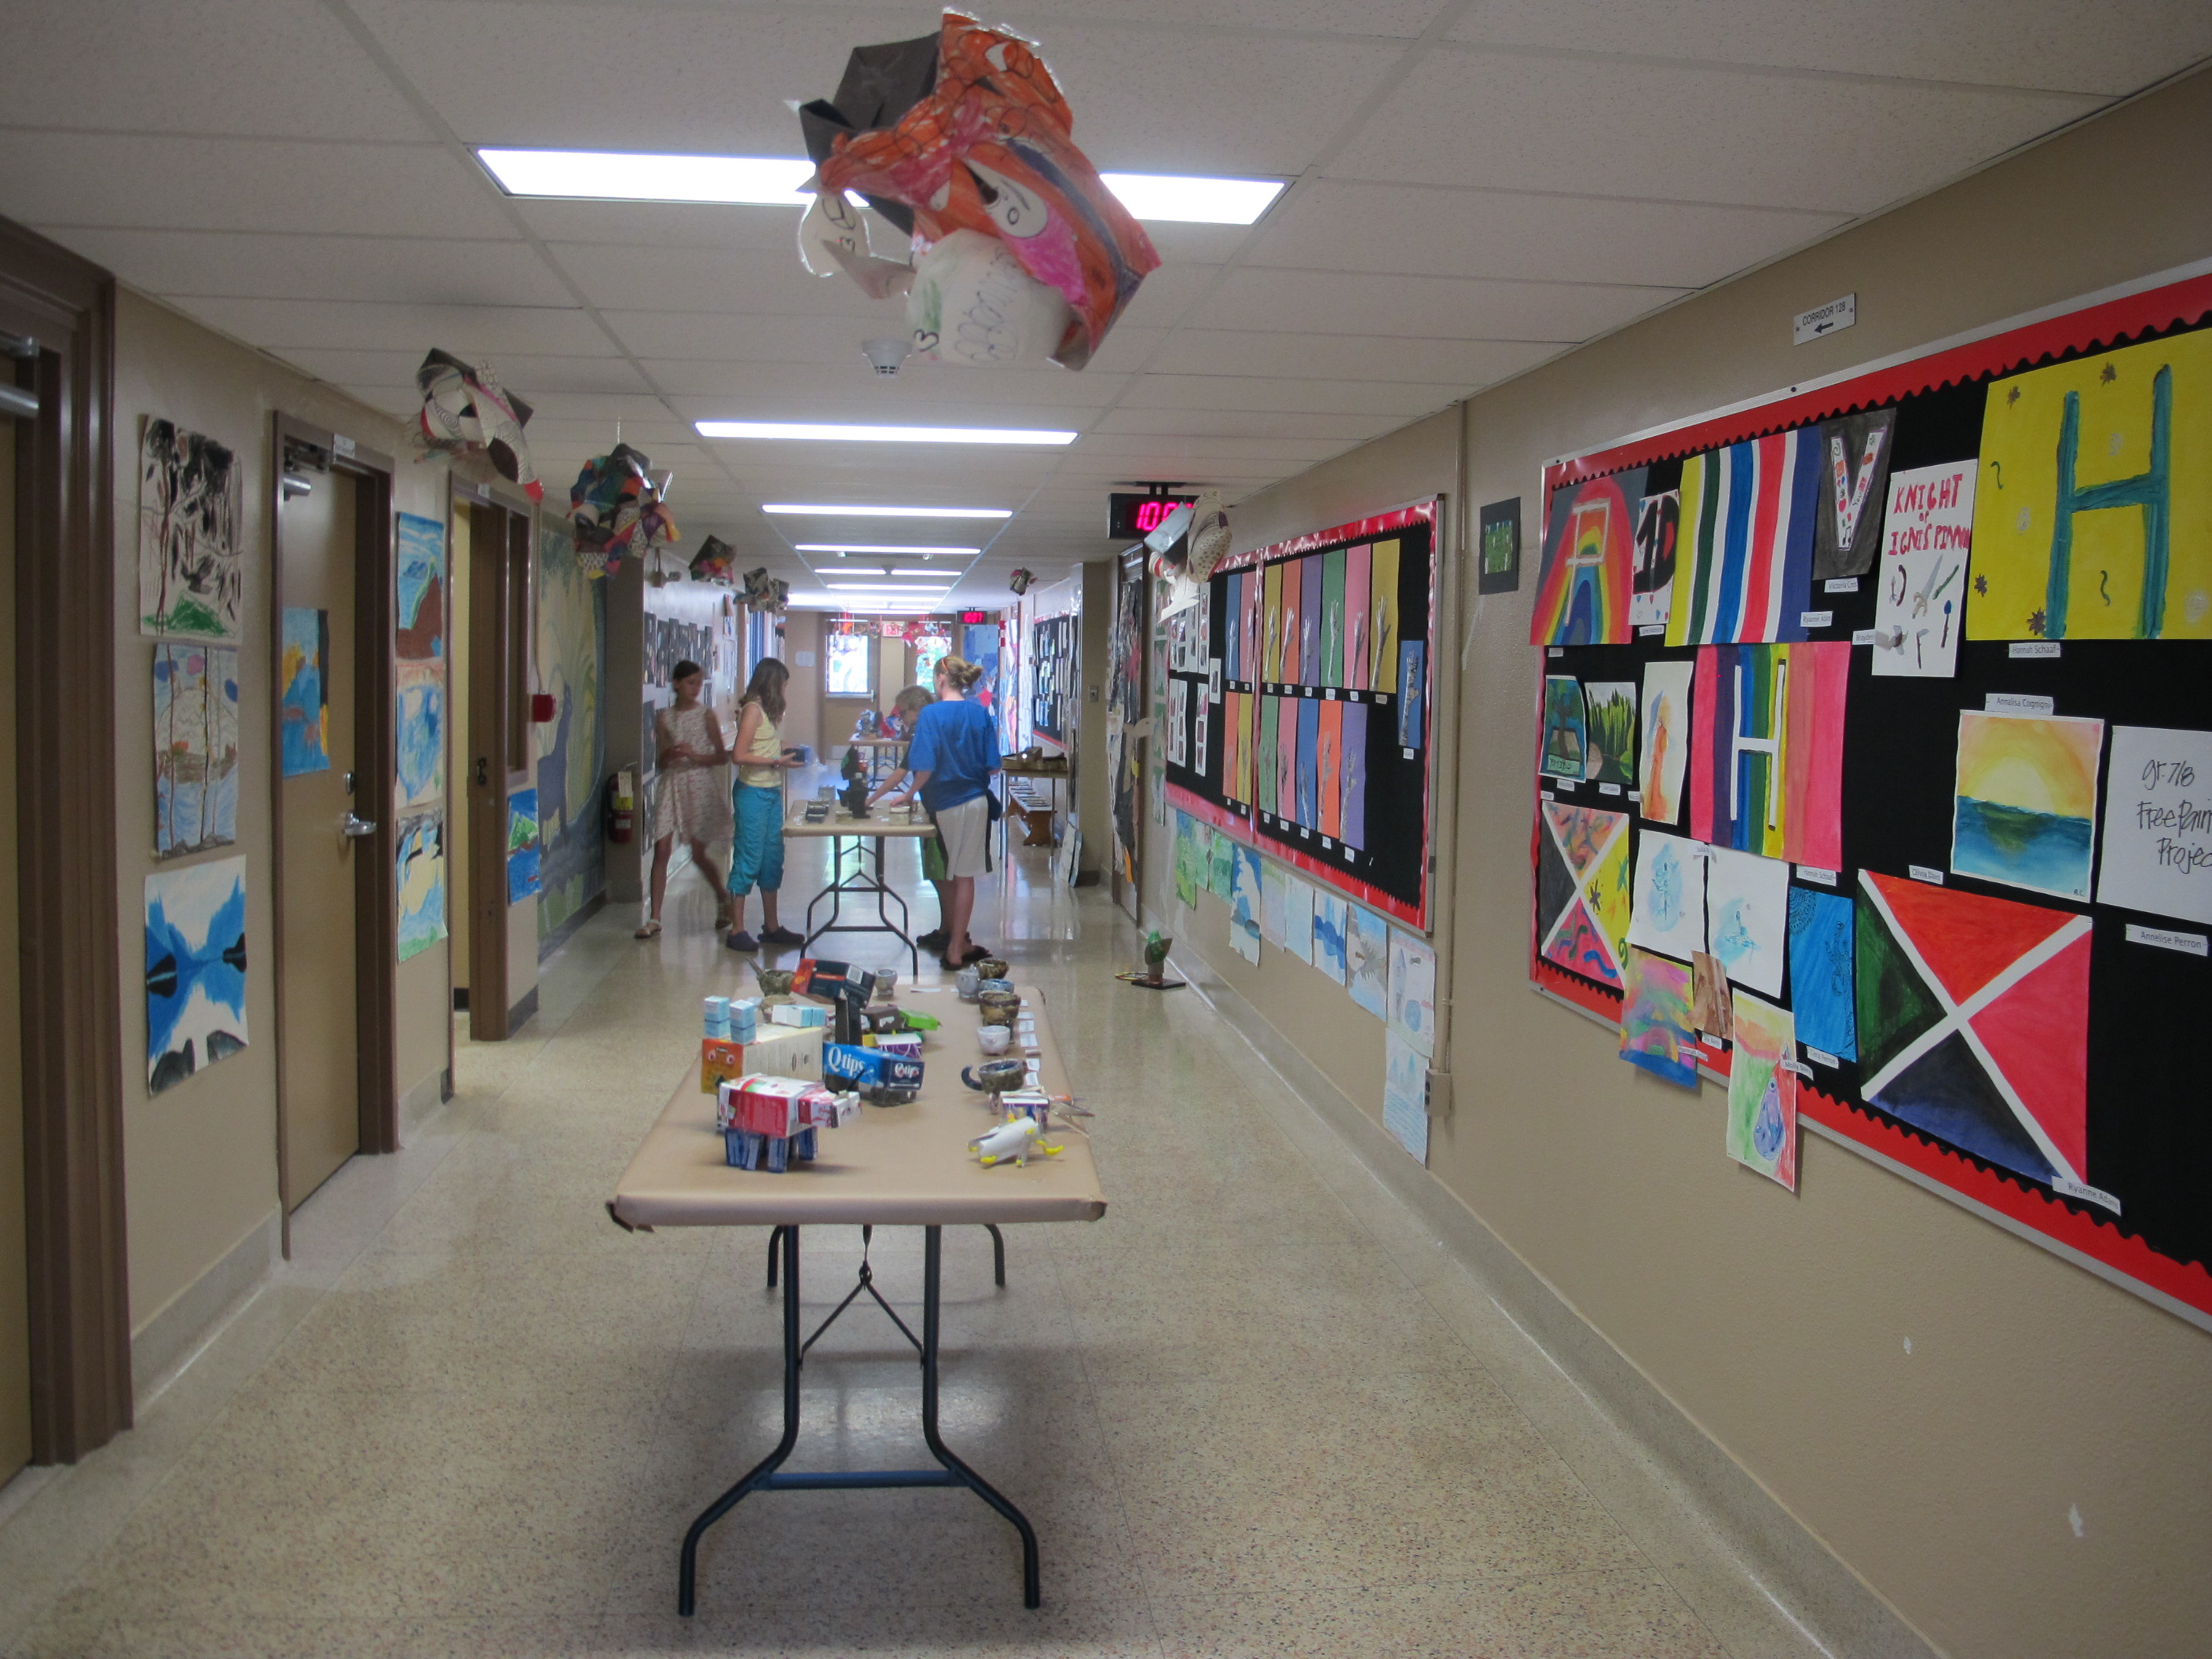
This all occurred close to the end of the school year, and so many really saw the finished pieces at the School BBQ and Art Show. Proud results overall!
Next time, we are doing clay earlier in the year. (smile again)
Spring 2013 / Parliament Oak Elementary School
You must be logged in to post a comment.