Grade 2/3 : Paper Collage for Windows
This is a fun and easy one, with jewel-like results that the kids (and I) LOVE!
Collage. What is it? What happens when we overlap different colours and shapes? What happens when those shapes and colours are translucent, such as can be found with tissue paper? What is translucent, anyway? What if we gave all that a strong light source, such as, well, the sunlight streaming in their classroom windows?
So I talked about stained glass briefly, and showed them some examples. Where might they see stained glass? Had any of them ever seen it before?
Confession: I have to say that this lesson is partly driven by the fact that I hate wasting stuff, and anytime I get a hold of multiples or recurring bits of stuff, I am trying to figure out ways to make that into an art project. Maybe that is part of being an art teacher. Maybe it is because I have always been a bit of a scrounge. I scrounge for me. I scrounge for other people!
Like the copious amounts of laminating film that result at the school laminator whenever class projects and display materials are being prepared. Like the small little coloured bits of tissue paper sitting in a basket in the art room back at Parliament Oak. With all that in hand, I hit the road to yet another class …
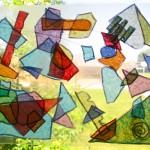
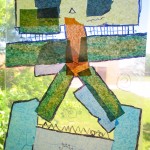
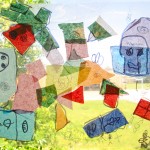
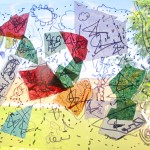
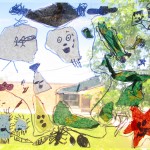
BTW. This project was NOT about them making a picture of something they could recognize: “Oh, yeah, that’s a -“. Nope: abstract. With a piece of laminating film and tissue papers at the white board, I demonstrated building a collage in front of the class. Using a glue stick to just tack on the pieces and scissors to cut out shapes, I got the students to help me by make placement choices as we built it together. (they were all in their seats, offering suggestions). When we were satisfied with the collage, I took it over to the window to an appreciative “Aaaaah!” as it lit up in the sunlight. They were raring to get at making their own, then!
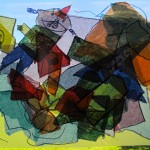
They each got their own rectangular piece of used laminating film, scissors, glue stick, and they could choose some tissue papers from a selection of pre-cut swatches in the aforementioned basket. I reminded them that they only needed to tack the shapes down by just touching the glue stick to the tissue paper pieces they cut out. Or, if that was causing problems, a touch of the glue to the spot on the film they wanted to put them. We also encouraged them to overlap the pieces, and to use different colours, and to move the laminating film around so they would look at their ‘pictures’ differently.
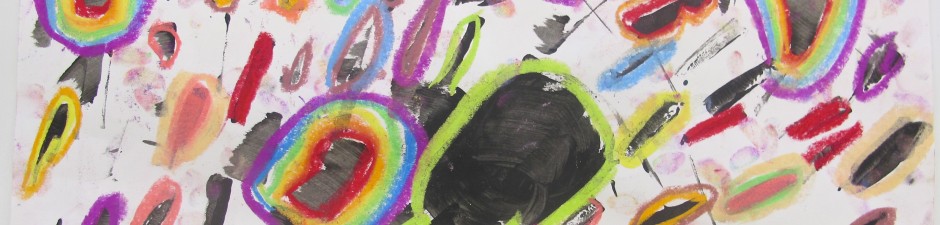
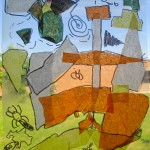
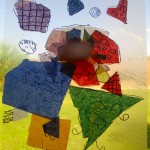
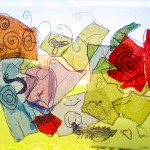
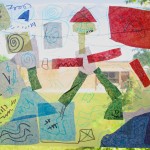
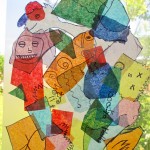
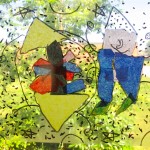
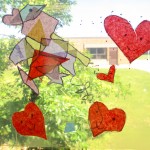
The next class was a shorter one. (Or maybe we laminated their projects during a break – I can’t remember) Now that their collages were safely sealed in plastic, it was time to break out the Sharpies. They had to make a choice about which side was the front (’cause the overlapping papers make it look different, don’t ‘cha know). That was the side they were now going to add some black lines and shapes (they could outline what was there, or draw in new shapes) to complete. I love the way they approached their mark-making as the whimsy of their personalities came to the fore.
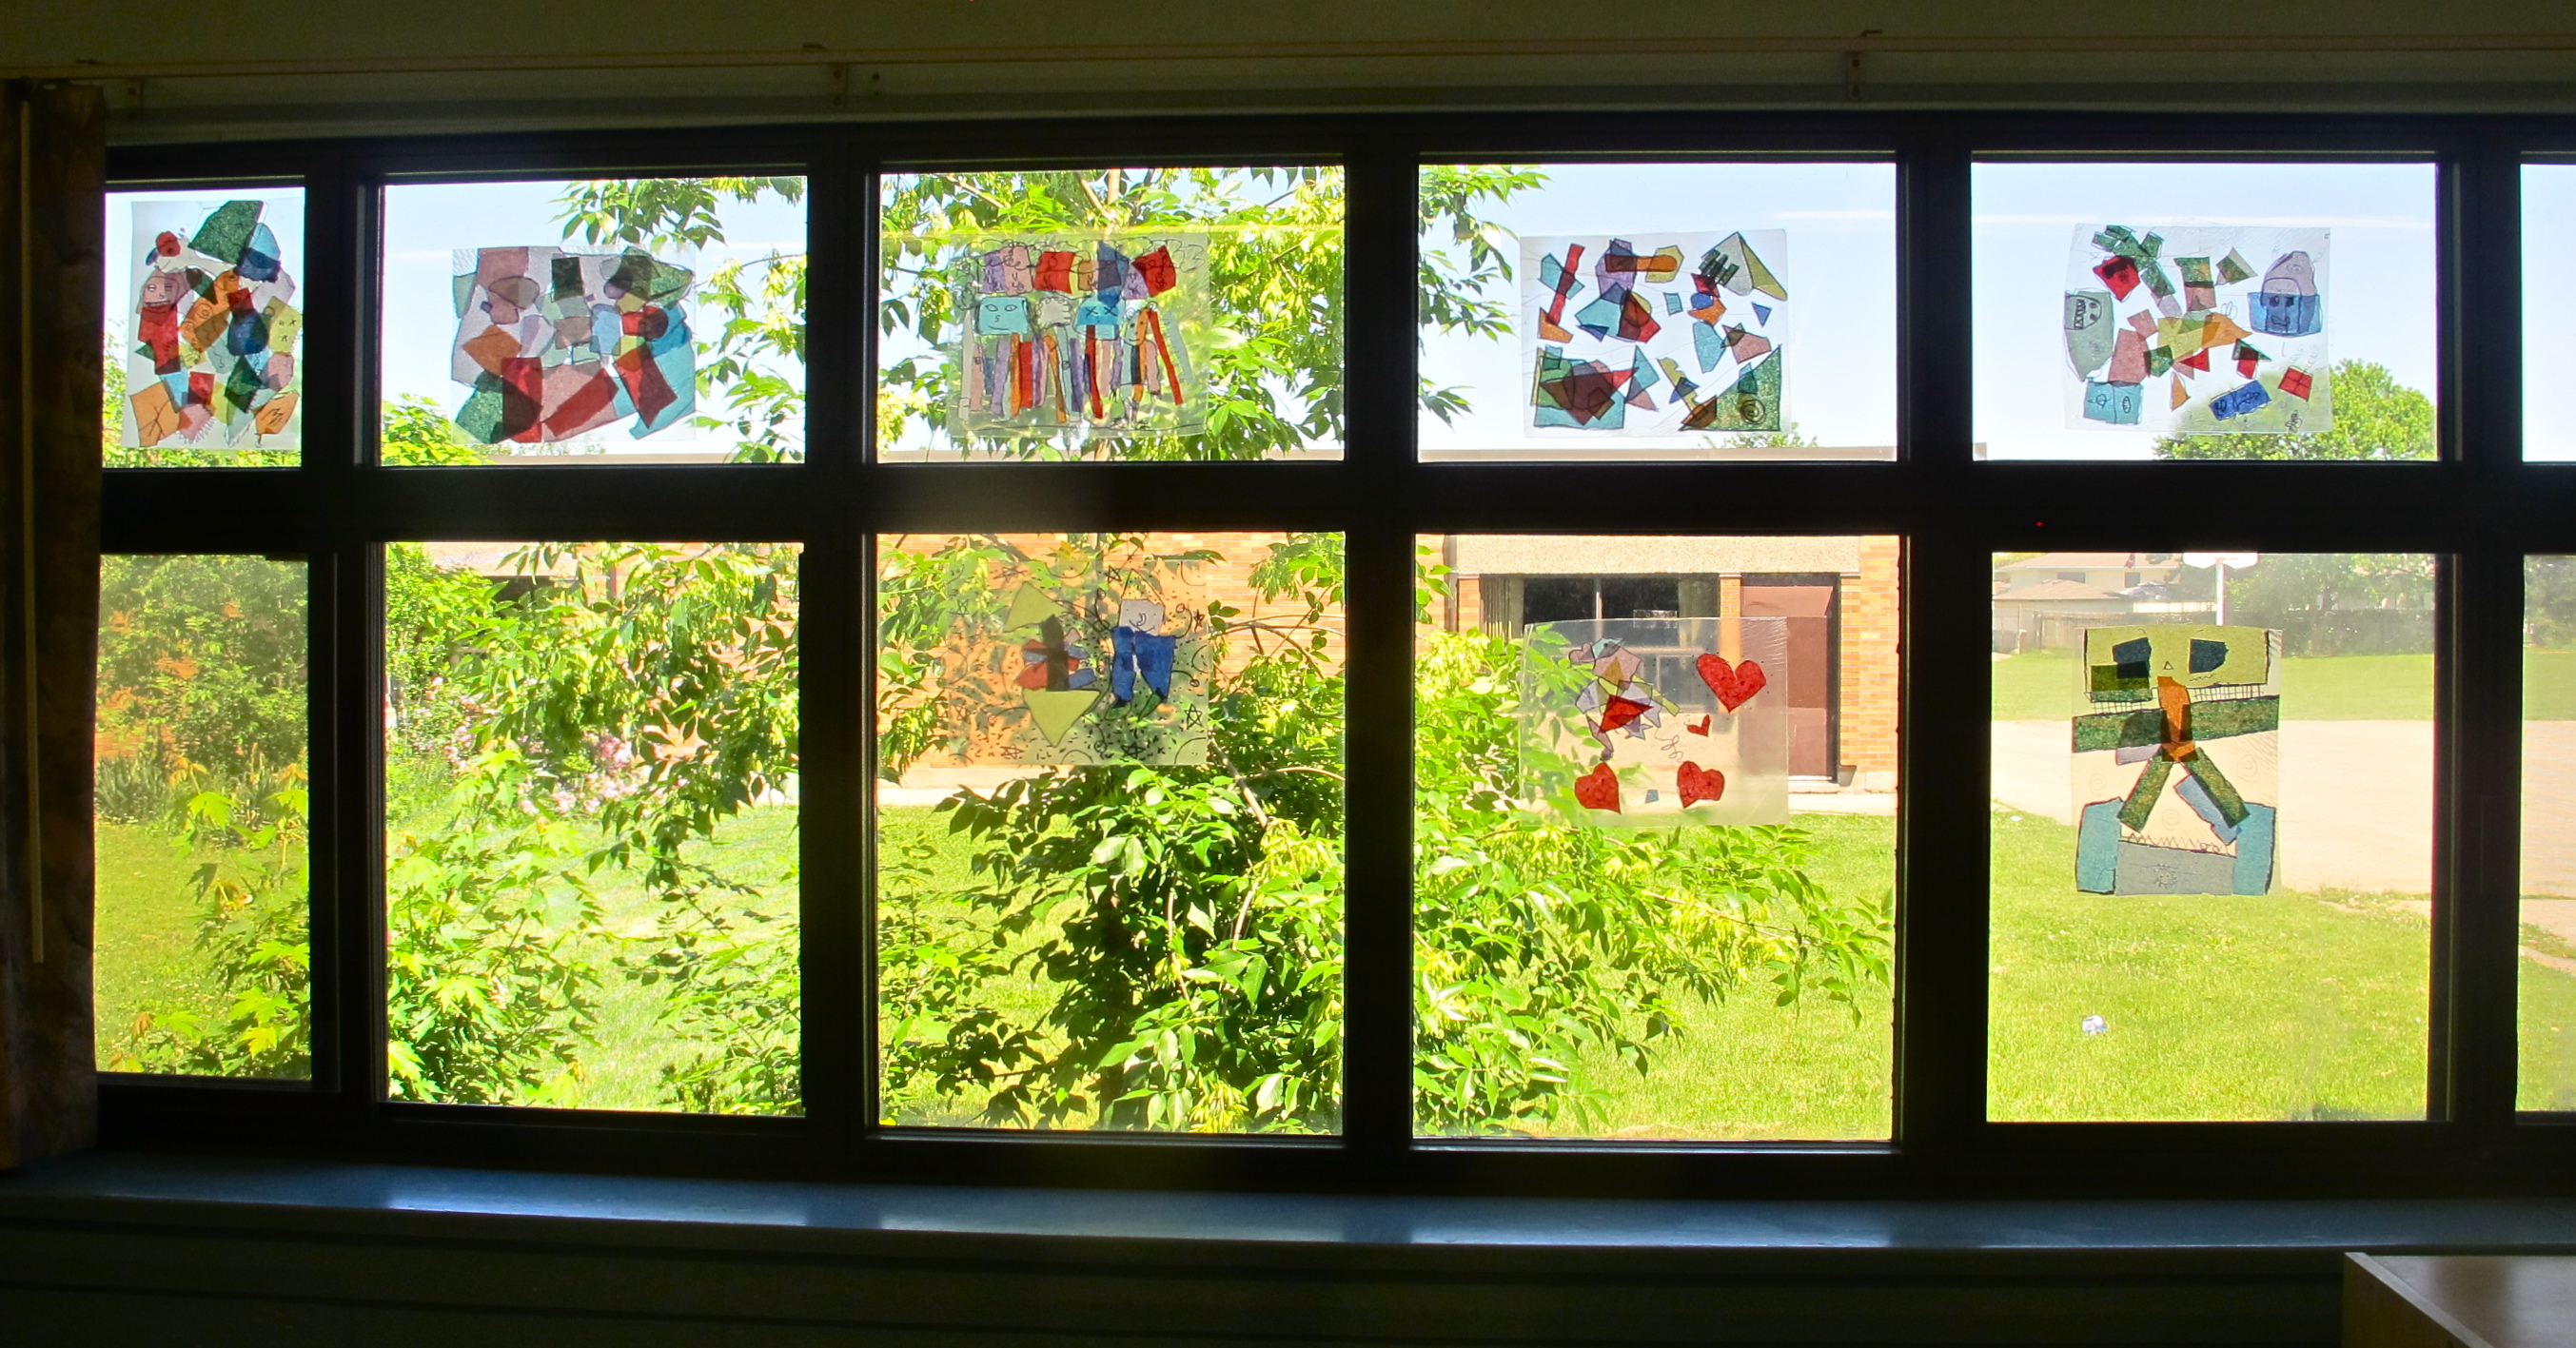
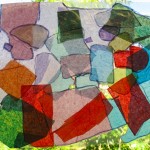
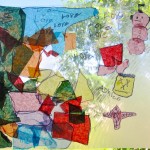
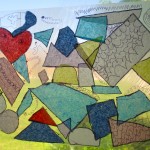
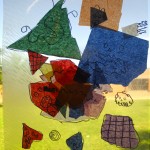
How they enjoyed the hanging of that artwork! Definitely worth doing with them, not after the class let out. We also noticed that they would change the way the light comes into the room at different times of day. Maybe some of them will be even ‘wearing’ the colours on their skin and clothes as a result. Hmmm.
Anyway, here are the close-ups. (I also like the way the background shapes and colours outside the windows become a part of them.) Ni-i-ice.

Spring 2013 / Ferndale School
You must be logged in to post a comment.