Warm & Cool Cityscapes

Grade 1/2:  Exploring Colour … in the City


Fall 2013 / Parliament Oak School

Posted in Art Education, Grade 1/2 Art Projects | Tagged , , | Comments Off on Warm & Cool Cityscapes

Can You Say Thaumatrope?

Grade 7/8:  Animation Part 1 (of 3)

From visual puns (with a clay project in between) we moved on to exploring animation.  We started with a basic example:  the thaumatrope.  This was an optical toy that was popular in the 1820’s, and it works on the principle of persistence.  That is our eyes’ ability to retain an image for a fraction of a second after the object is gone.  When you see a quick succession of  two images in flashes, the eyes perceive it as a single image.  A common example was an image of a bird on a perch on one side, and an empty birdcage on the other.  When the thaumatrope spins, the resulting images are combined:  you see a bird perching in the cage.

We came up with a list at the board of possible ideas that would suit this simple principle.  I had prepared circles of card stock with elastic bands to accompany. If needed, they could work out their idea on scrap paper.   It is helpful when the two images are in the same location so the eye doesn’t have to jump too much.  To register the images, they  used the light table or the windows.  What is most important is that one image is drawn upside down in relation to the other.  That is because the spinning motion is end over end.

Once you have that concept, it is pretty simple – it was nice to have a project complete in one session.

This slideshow requires JavaScript.

Fall 2013 / Parliament Oak School

Posted in Art Education, Grade 7/8 Art Projects | Tagged , | Comments Off on Can You Say Thaumatrope?

Tin Foil Fish

Grade 3/4:  Making Low Relief Fish and More

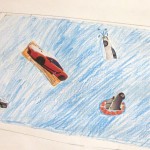
The grade 3/4 teacher said to me one day “We are making an underwater sea mural in the hall outside our class.  Do you think we could do something in art to add to that?”

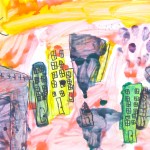
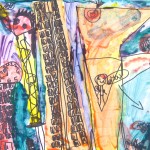
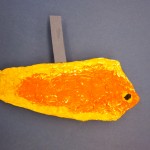
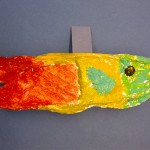
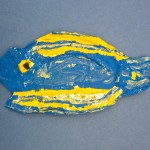
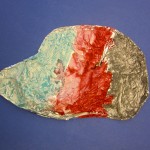
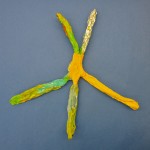
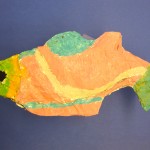
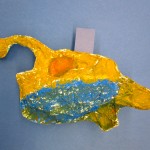
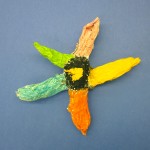
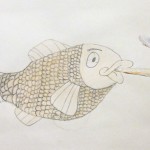
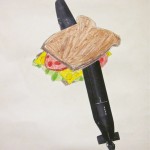
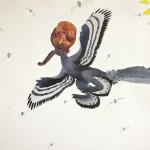
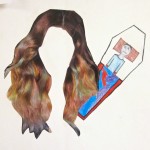
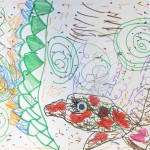
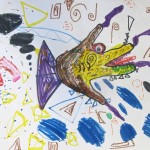
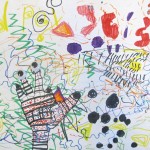
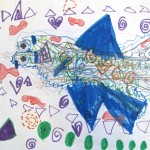
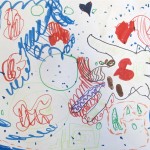
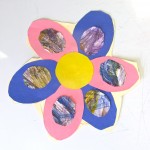
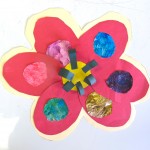
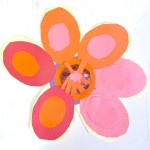
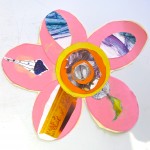
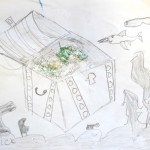
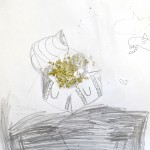
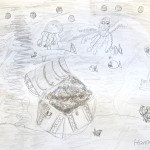
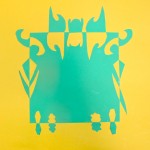
Awesome! That got my mind a’going – and my hands.  I made my own example right away.  Next class, and for a few following that, we all threw ourselves into making some low relief fish that could hang in front of the two dimensional background they were already making.  I decided to do our part by way of cardboard, applied textures, and tin foil glued over the whole and painted.  That is the process in a nutshell, and upon reflection I think it may have been a bit too advanced for some in the class BUT there are some wonderful results (I think, anyway) where they rose to the occasion.

Day One.

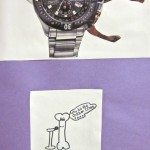
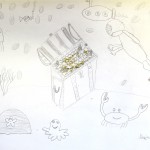
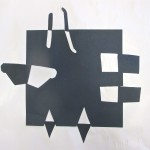
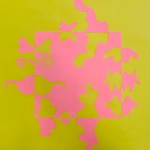
Their homework was to bring in a picture of a fish they would like to make, and to do a quick drawing of that, noting the colours and textures and other details that made that fish unique.  They could cut that out if they liked, and trace the outline on a small piece of corrugated cardboard, marking out the details in pencil: eye(s) and mouth, gills, fins, whatever. With some work, they managed to get the fish cut out then:  so, now it was time for relief.  (not the feet up on the couch kind, either)

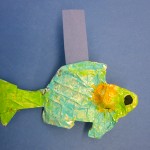
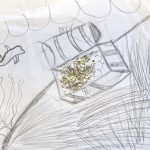
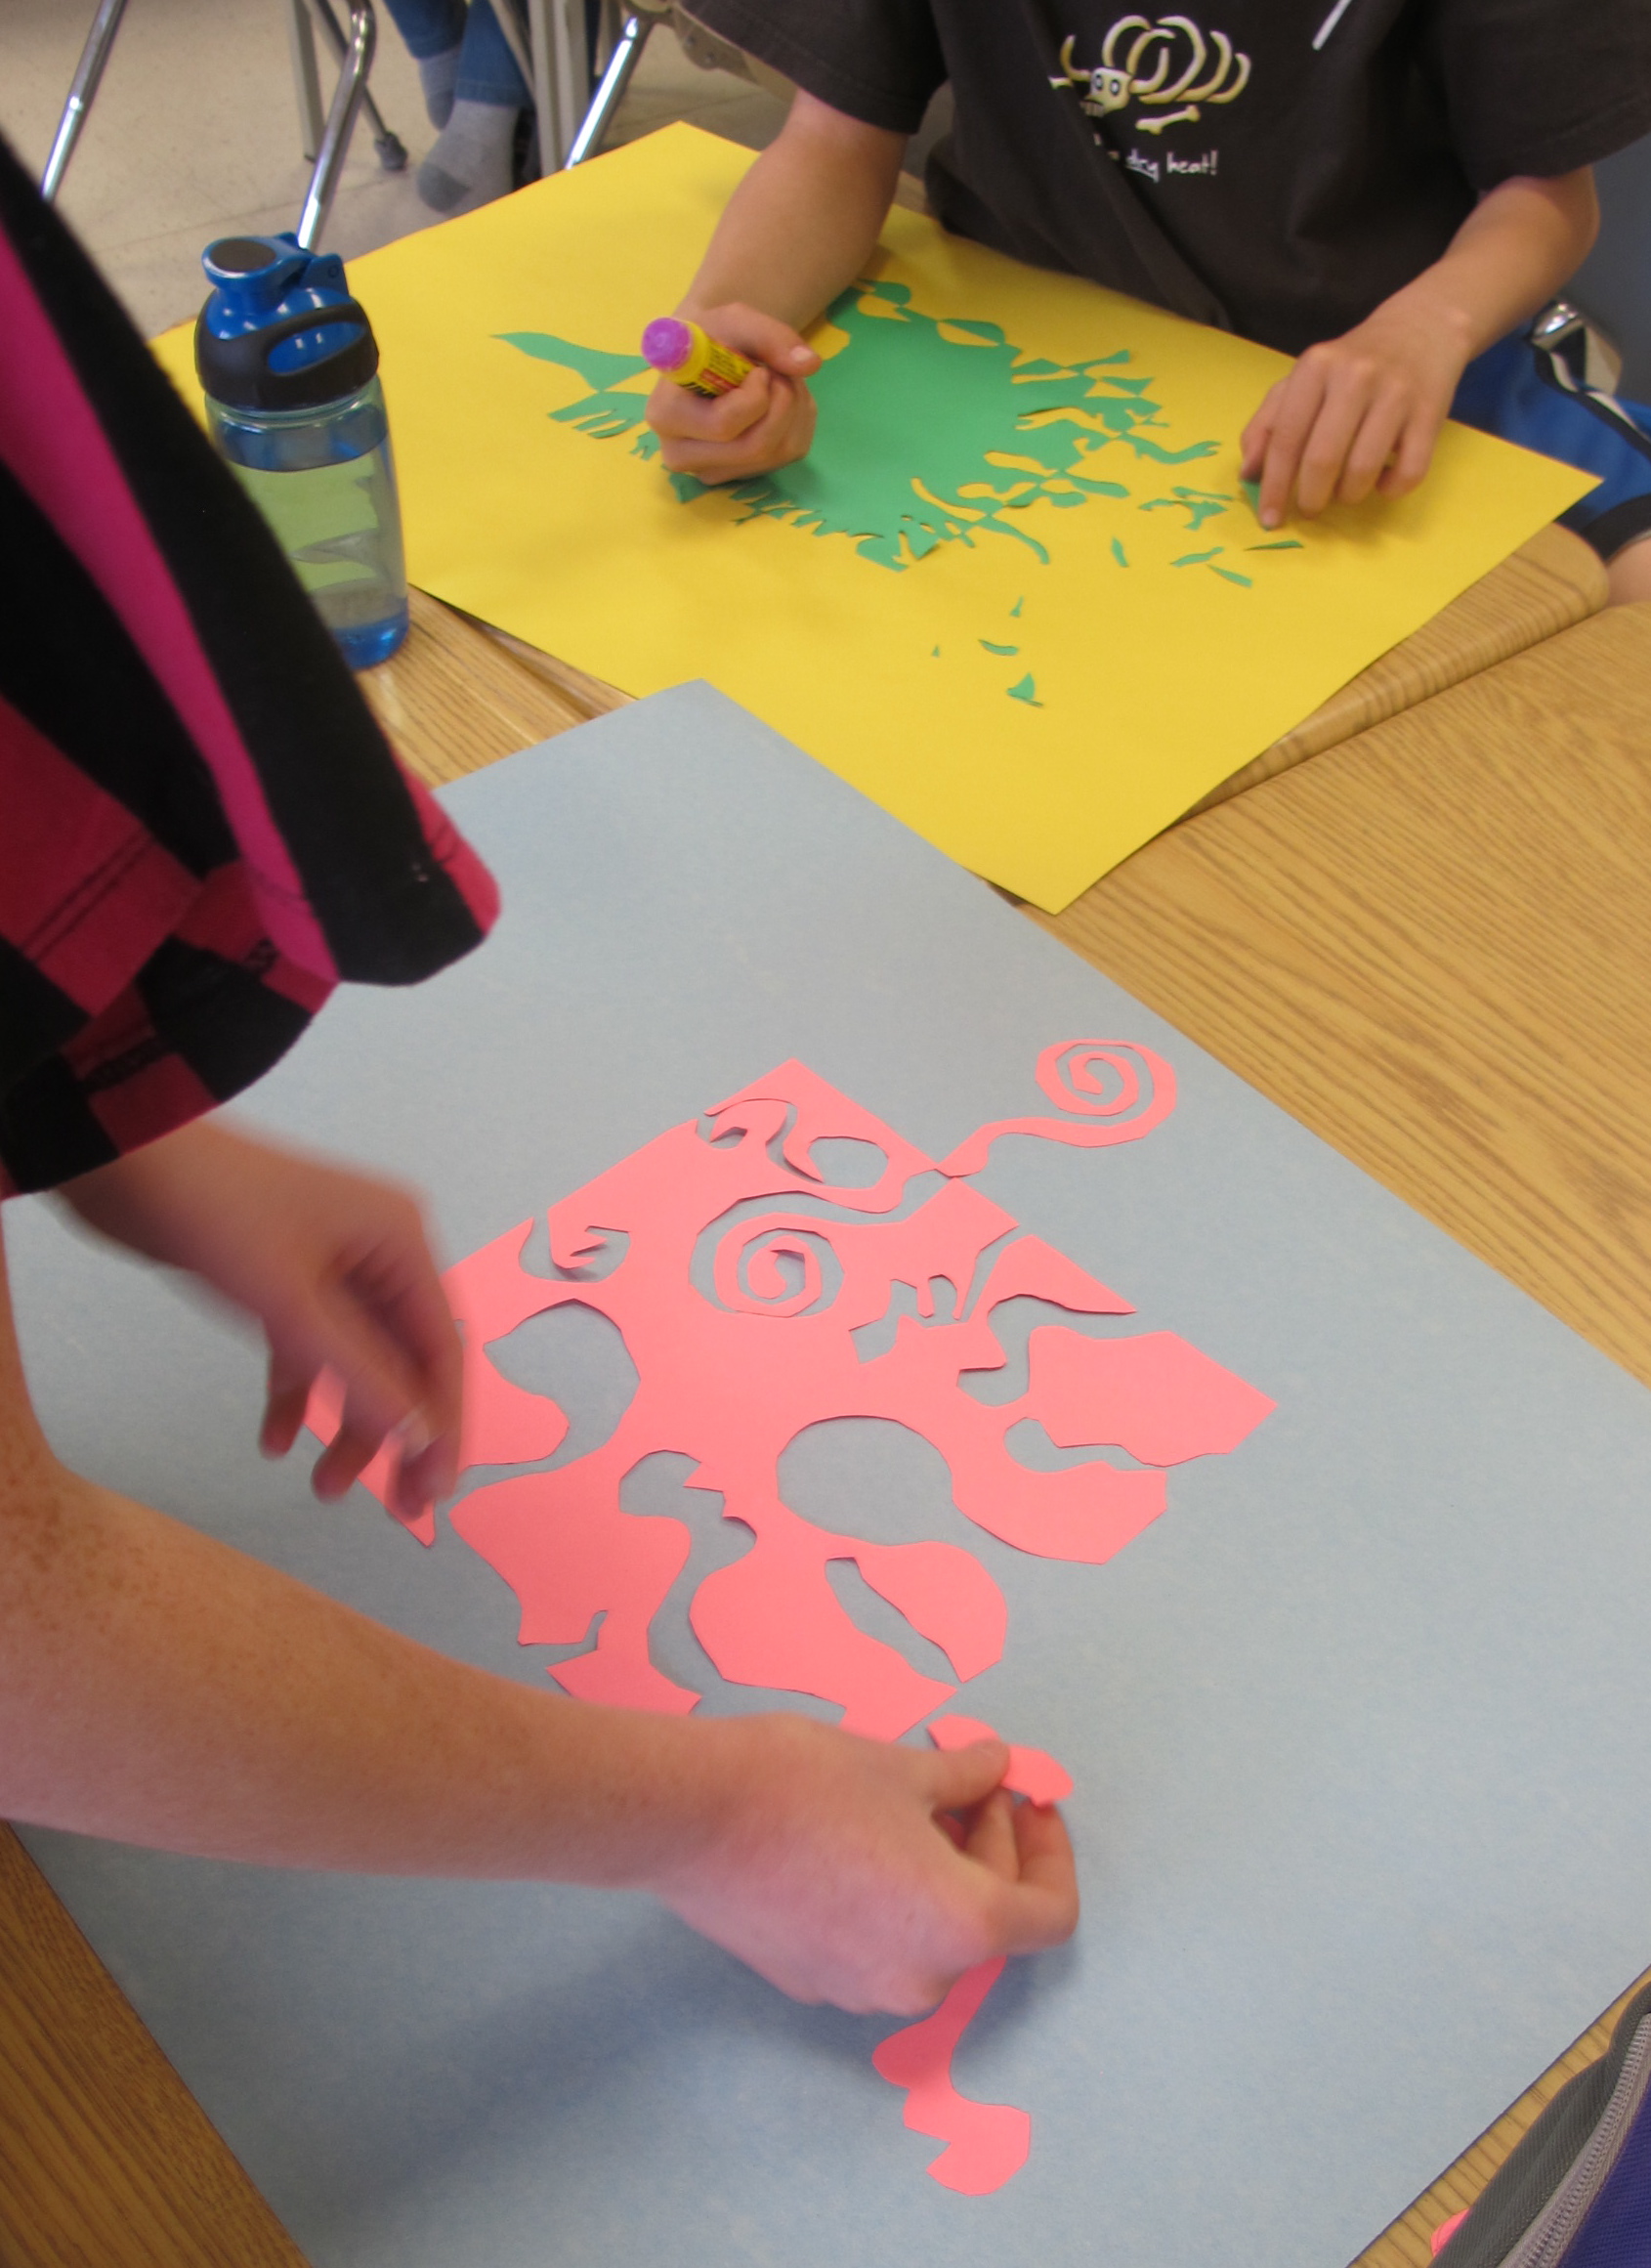
I had a box of possible texture materials (psst. onion/wine bottle netting and fine bubble wrap are good choices here) at the front of the class for them (plus, there is always the Free Cupboard – a scrounge depository, really).  With scissors in hand and pots of white glue nearby, they could ‘3D’ the details of their fish using texture and low relief elements only.  I reminded them that they wouldn’t ‘see’ the actual pieces of texture material at the end, so there would be no advantage to colours produced at this point.  I even had some different sized googly eyes available for glueing  – again,they wouldn’t see the actual googly, but they would make an easy way to get that fishy unblinking round eyeball for painting later.

Day Two.

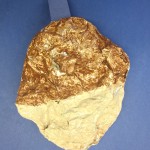
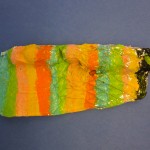
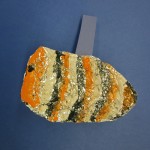
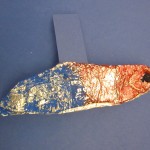
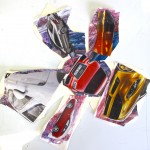
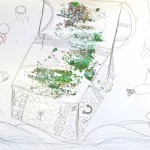
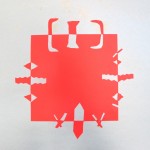
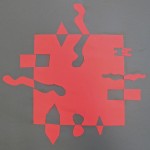
Any unfinished final textures and details were quickly added and glued; then it was time for the foil.  I gave each pair of students a small container of slightly watered-down white glue and two brushes (oh, and newspaper underneath, please – to save on clean-up.).  This was definitely a smock day.  They were to paint the glue mixture over the entire front of the fish.  A piece of tin foil came next, enough to cover it completely and wrap around to the back.  It helps to cut away excess foil where fins and other pointy bits stuck out, because it is important to be able to fold over the edges without it bunching up.  You can tell where that happened more with some students than others (those who got more hands-on with the teacher and I ).  Ahem. I showed them how to gently (but firmly) rub the surface of the tin foil, pressing down into all the little crevasses and folds on their fish.  Rubbing with their fingers, some wadded tissue, and a Q-tip for narrow crevasses – this revealed those fishy details better.  If the foil ripped a bit, it was still okay – it would be covered by paint, or could be repaired with some glued foil patching.  Once the front was finished, I had them glue down the foil at the back, filling in bare parts with more  foil.  This helps with the overall strength of the sculpture.  Now, on to the drying rack to wait for the next class.

Day Three.

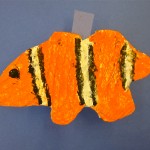
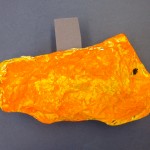
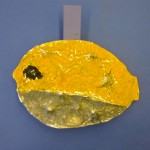
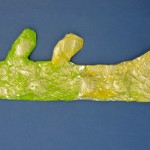
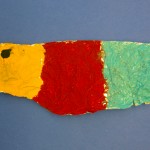
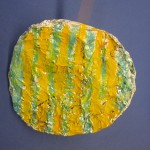
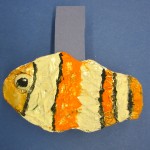
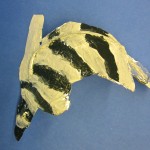
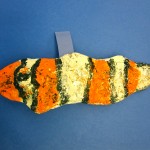
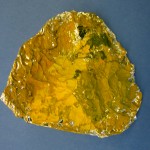
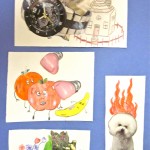
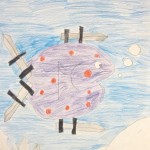
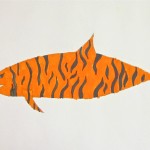
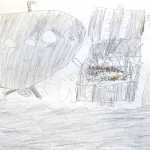
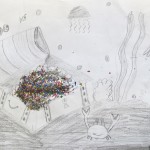
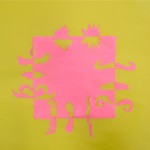
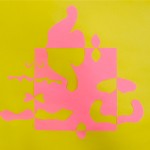
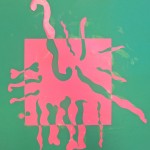
Time for paint.  We had a variety of craft acrylics donated to the Art Room, so I pulled these out for some interesting and more durable results.  How they had fun with this part!  As the brightly coloured fish began to emerge, the excitement over their work ramped up.  Coo-ool.  There was a distinct pot of black paint on the counter for the eye bump – a detail which really helped to ID the fish (and which end was which).  Those that missed out on that part – well, some of the fish look a little more like pancakes, I have to admit.

We realized it wasn’t going to work to hang the fish in front of the mural after all.  One, it could set off the motion alarms in the school.  Yikes!  Two, it would be awfully tempting to pull at them as students went by.   So, we decided attach tabs at the back with glue and tape.  This allowed the teacher to staple the fish right up onto the wall.

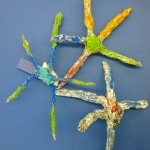
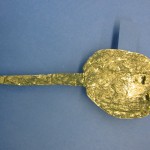
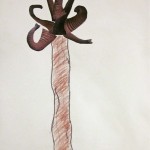
Students that finished early got to make some tin foil starfish and painted them.  (Look for an earlier posting for the ‘how-to’ on that, only we did not do the tissue paper mache this time)  Nice.

Unfortunately, I didn’t get to see the final mural because I was away in Alberta after that. We sure had some Arty fun making these in the Art Room, though.

When I do this kind of project again, I will try it with slightly older students – say, grades 5 & 6.

Fall 2013 / Parliament Oak School

Posted in Art Education, Grade 3/4 Art Projects | Tagged , , , | Comments Off on Tin Foil Fish

Visual Pun Fun

Grade 7/8:  Illustrating a Pun

IMG_2664


This lesson was one of the first in the year, and so was a kind of warm-up for the class.  It is a large mixed-grade class, and there are challenges because of it.  I have been doing art with most of them for 6 years now, and  so I hope to build on that with more ambitious projects this year.

To start, we brainstormed a list of words and clauses that could be rendered as visual puns.  They could choose something from that list or their own idea, and then find a way to speak/illustrate the pun using only visuals and no words.  I suggested they use pencil crayon drawing and collage images cut from magazines.  If they were to use the latter, there would need to be some drawn portions as well.  They were allowed to bring in Netbooks to find photographs to draw from.

I tried to encourage them to go beyond quick cartoon-like drawing; to use some of the techniques and ideas of composition from the previous year.  With one or two notable exceptions, I was disappointed to see that many were not willing to put that extra effort in.  Perhaps the comic ideas of their puns did not warrant such serious application. Still, I think they gained some amusement from one another’s puns…

Can you guess the puns?  Here’s a few to whet your whistle …

dragonfly                         hotseat                      swimming pool

musical chairs                 cloud nine                elephant trunk

nightmare                        ladybug                     birdbrain

(PS.  On display in the hallway, the work solicited quite a bit of conversation, as groups of other students and staff tried to guess the puns.  I liked that!)

Fall 2013 / Parliament Oak School

Posted in Grade 7/8 Art Projects | Tagged , | Comments Off on Visual Pun Fun

Monsters at the Prince

Grade 2:  Playing the Hand Monster Game

This is a great game to play with a new class, if you can get the kids on board.  Once again, I was in the school doing a one-off … so the kids didn’t know me.

After my introductions I told them we were going to play an Art Game.  Here’s how it goes:  everyone gets a piece of 11×17 paper to put their hand on and trace it with a pencil.  I demonstrated some different ways that they might do that, to get different shapes, and that they would want to close of the open end where the wrist would continue.

Why different shapes?  Because … they were going to continue to draw to make that hand some kind of monster (sea monster?) in it’s natural environment.  That would mean drawing inside the hand shape (Where is the eye or the mouth?  Does it have 3 noses?  How about teeth – or fangs?), and outside it (Does it have spikes or feathers?  What kinds of things might swimming or flying around it?  What does it eat?  Where does it live?)  Don’t start yet!

“Wait a minute.  Before anyone picks up a pencil crayon or a marker to continue, I am going to give you some directions about how you might draw these things.  Here’s the game.  I have two sets of cue cards with directions on them – one set with suggestions about what kind of line to draw (squiggles, circles, zig zags (always a favourite – that one), dotted), and a set of cards with the colour you will draw with for that turn. (BTW:  They all acquired a new skill in learning how to draw spirals at this point – we practised!) I also have a bell to tell you when to follow my directions and for how long:  each turn will begin and end when I ring the bell.

Oh, one more thing.  We are going to do this as a class, and you will all get to draw on each other’s papers.  (Here’s where some students get nervous – they want to and are excited to do their own.)  Every time I ring the bell to stop, you will pass the paper to the classmate on your right.”

(The drawings move around the classroom – not  the students.)  

I hastily let them know that, yes, they will get their original artwork back – yes, the one with their hand outlined.  The fun will be to see what their classmates did with it!  What kind of monster did they end up with?  

I reminded them that everyone should try their best with the directions given each turn, and not ‘wreck’ their classmate’s monster by just carelessly scribbling all over it.  It takes some doing to get kids to release their artwork to one another – trust, seeing the fun of the game, and letting go of their own monster ideas they were already formulating.

Time to get at it!  For the first turn of monster detail, each student got a chance to do their own, just to get it going.  Ding!  Pass it to your right.

Most kids threw themselves into the game, and enjoyed using their imaginations to create wacky monsters.  Everyone was excited to see what happened with their own, and I had to keep assuring them they would get it back for the final turn.  The classroom was noisy and excited, and punctuated by the sound of my bell.  They had an array of markers and pencil crayons at their desks so they could respond to the directions without leaving their seats (that is key).  How fun!

At the end, when they were finished exclaiming over their hand monsters now back in their hands – there was one more thing.  Googly eyes!  Of course, because they are just so much fun.  Of course, because I have thousands of them, scrounged from my mother.  Thanks again, Mom.  Some monsters just had one eye, some had three, and the teacher and I came around with a little white glue and the requisite eyes for that final touch.

I love this lesson.  Can you tell?

PS>  There was one boy who found the prospect of a collaborative game too stressful – he really wanted to do his own and needed that control – so the teacher took him aside and he carried on with my directional turns by himself, discreetly. 

Spring 2013 / Prince of Wales School

Posted in Art Education, Grade 1/2 Art Projects, Grade 2/3 Art Projects | Tagged , , | Comments Off on Monsters at the Prince

Daisies & Butterflies

Grade 3:   Recycled Paper Collages          Recycled Daisies

We painted the paper, we blow dried the paper, we cut the paper, we added more paper, we glued the paper, and we cut and glued more paper – and look what we got!

Happy flowers and happy butterflies.

Happy class!


Spring 2013 / Prince of Wales School

The enthusiasm in the class that day was AWESOME.  Way to go!


Posted in Art Education, Grade 2/3 Art Projects | Tagged , , , , | Comments Off on Daisies & Butterflies

A Little Bit of Op

Grade 5/6:  Floating Spheres and Op Art

This slideshow requires JavaScript.

There are many examples of this project on various art education websites – take a look at Fine Lines blogspot, for instance.  www.artfulartsyamy.blogspot.ca

Spring 2013 / Prince of Wales School

Posted in Art Education, Grade 5/6 Art Projects | Tagged , , | Comments Off on A Little Bit of Op

There’s Treasure in Them There Waters

Grade 4:  Pirate Treasure Chests, in Pencil

This was a one-time class project, in preparation for the school-wide art fair.  I had not worked with this class before, so I started with a quick demonstration in drawing … ice cubes!  Really, just boxes using the principles of perspective – but ice cubes are more fun.

I gave them some scrap paper to try it out a few times, and then it was time for the main event.  I demonstrated drawing a treasure chest with a rounded open lid – they could practise that as well on the scrap.  I must say they were quite pleased with their newly acquired skill at drawing boxes …  I could visualize them at the dinner table that night, showing off their “ice cube 101”.

Of course, for the project, it wasn’t all just about drawing a box.  The treasure is at the bottom of the ocean, so I had them draw it on the ocean floor.  What else might be in the picture?  We let them run with it, and have some fun with their imagination.

But there was one more thing (I kept it a secret):  gold glitter!  Because, of course, there’s treasure in them there waters.  Their eyes lit up at the prospect of glitter – once in a while, it’s just the ticket.  A little bit of white glue, and a few shakes – done!

Thanks to “Use Your Coloured Pencils” blogspot for this ‘spot-on’ idea.   http://useyourcolouredpencils.blogspot.ca/


Spring 2013 / Prince of Wales School

Posted in Art Education, Grade 3/4 Art Projects | Tagged , | Comments Off on There’s Treasure in Them There Waters

Circle Abstractions

Grade 6/7/8:  Drawing from Observation

It is still early in the school year, and I wanted to stretch the class in their drawing skills by giving them a project that would require them to look closely at proportions, details, textures, lights and darks  – and then draw them!

I presented the class with an array of laminated circles cut from magazine pictures, about 3″ in diameter.  Each was only a portion of an image, cut to abstract the original, moving beyond the literal and pictorial.  They each got a larger paper circle to draw on, measuring 8 1/2 “.  The challenge?  To translate/transpose while enlarging the image using pencil and pencil crayon.  There were enough circles to give them some choice:  I wanted them to at least like the image they would be spending some time with …

All along, I encouraged them to work out the composition lightly in pencil, paying close attention to the size and relationships of the different colour areas in the circle, using shading techniques to render the darks and lights and gradations therein, and to illustrate any textures visible.

Being one of the first projects this year, I had to encourage some students to keep at it and NOT do only the absolute minimum.  We persevered for two classes, as the teacher and I moved about the classroom, encouraging them individually.  Showing them their two circles, at a distance, from time to time – it helped to demonstrate what areas needed work.  This was a lesson in value study, and (for some) learning new ways to work with pencil crayon.

We then had a class critique once the results were posted in the hallway, and that proved a good exercise in getting them to talk about their own work, and assessing which drawn circles most looked like their original. (and which ones they just liked!)  Overall, the results looked a little like scientific data … perhaps multiple images of microscope slides?


This slideshow requires JavaScript.


Fall 2013 / Parliament Oak School

Posted in Art Education, Grade 5/6 Art Projects, Grade 7/8 Art Projects | Tagged , , | Comments Off on Circle Abstractions

Enter Again, Notan.

Grade 4/5:  Contrasts in Cut Paper

Notan work


Spring 2013 / Prince of Wales School

Posted in Art Education, Grade 4/5 Art Projects | Tagged , | Comments Off on Enter Again, Notan.