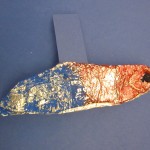
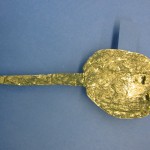
Grade 3/4: Making Low Relief Fish and More
The grade 3/4 teacher said to me one day “We are making an underwater sea mural in the hall outside our class. Do you think we could do something in art to add to that?”
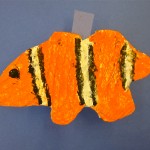
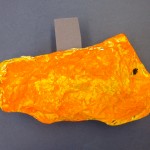
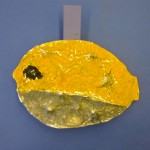
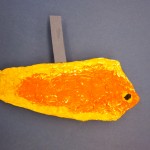
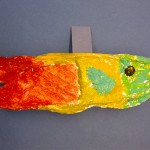
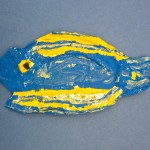
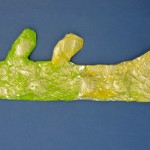
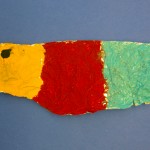
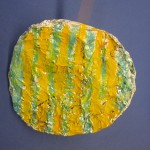
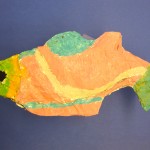
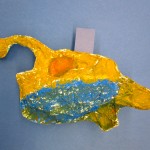
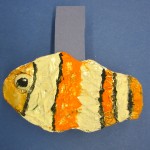
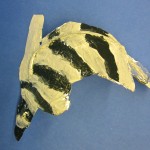
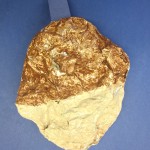
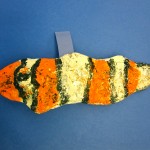
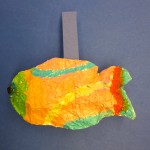
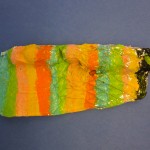
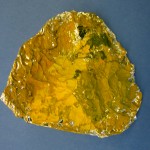
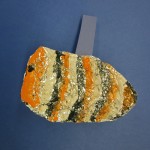
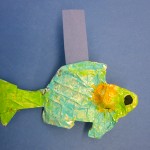
Awesome! That got my mind a’going – and my hands. I made my own example right away. Next class, and for a few following that, we all threw ourselves into making some low relief fish that could hang in front of the two dimensional background they were already making. I decided to do our part by way of cardboard, applied textures, and tin foil glued over the whole and painted. That is the process in a nutshell, and upon reflection I think it may have been a bit too advanced for some in the class BUT there are some wonderful results (I think, anyway) where they rose to the occasion.
Day One.
Their homework was to bring in a picture of a fish they would like to make, and to do a quick drawing of that, noting the colours and textures and other details that made that fish unique. They could cut that out if they liked, and trace the outline on a small piece of corrugated cardboard, marking out the details in pencil: eye(s) and mouth, gills, fins, whatever. With some work, they managed to get the fish cut out then: so, now it was time for relief. (not the feet up on the couch kind, either)
I had a box of possible texture materials (psst. onion/wine bottle netting and fine bubble wrap are good choices here) at the front of the class for them (plus, there is always the Free Cupboard – a scrounge depository, really). With scissors in hand and pots of white glue nearby, they could ‘3D’ the details of their fish using texture and low relief elements only. I reminded them that they wouldn’t ‘see’ the actual pieces of texture material at the end, so there would be no advantage to colours produced at this point. I even had some different sized googly eyes available for glueing – again,they wouldn’t see the actual googly, but they would make an easy way to get that fishy unblinking round eyeball for painting later.
Day Two.
Any unfinished final textures and details were quickly added and glued; then it was time for the foil. I gave each pair of students a small container of slightly watered-down white glue and two brushes (oh, and newspaper underneath, please – to save on clean-up.). This was definitely a smock day. They were to paint the glue mixture over the entire front of the fish. A piece of tin foil came next, enough to cover it completely and wrap around to the back. It helps to cut away excess foil where fins and other pointy bits stuck out, because it is important to be able to fold over the edges without it bunching up. You can tell where that happened more with some students than others (those who got more hands-on with the teacher and I ). Ahem. I showed them how to gently (but firmly) rub the surface of the tin foil, pressing down into all the little crevasses and folds on their fish. Rubbing with their fingers, some wadded tissue, and a Q-tip for narrow crevasses – this revealed those fishy details better. If the foil ripped a bit, it was still okay – it would be covered by paint, or could be repaired with some glued foil patching. Once the front was finished, I had them glue down the foil at the back, filling in bare parts with more foil. This helps with the overall strength of the sculpture. Now, on to the drying rack to wait for the next class.
Day Three.
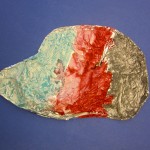
Time for paint. We had a variety of craft acrylics donated to the Art Room, so I pulled these out for some interesting and more durable results. How they had fun with this part! As the brightly coloured fish began to emerge, the excitement over their work ramped up. Coo-ool. There was a distinct pot of black paint on the counter for the eye bump – a detail which really helped to ID the fish (and which end was which). Those that missed out on that part – well, some of the fish look a little more like pancakes, I have to admit.
We realized it wasn’t going to work to hang the fish in front of the mural after all. One, it could set off the motion alarms in the school. Yikes! Two, it would be awfully tempting to pull at them as students went by. So, we decided attach tabs at the back with glue and tape. This allowed the teacher to staple the fish right up onto the wall.
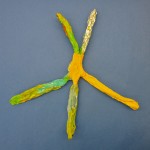
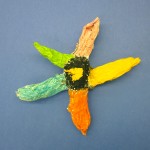
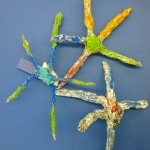
Students that finished early got to make some tin foil starfish and painted them. (Look for an earlier posting for the ‘how-to’ on that, only we did not do the tissue paper mache this time) Nice.
Unfortunately, I didn’t get to see the final mural because I was away in Alberta after that. We sure had some Arty fun making these in the Art Room, though.
When I do this kind of project again, I will try it with slightly older students – say, grades 5 & 6.
Fall 2013 / Parliament Oak School

