Grade 6: Taking Contour Drawing Further
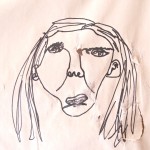
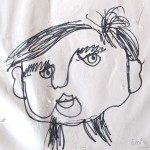
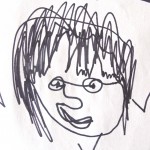
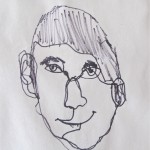
In the class following the first blind contour drawings, we continued with drawing self portraits. Everyone got a mirror, and with fresh instruction about drawing from close observation – out came the Sharpies again. They really had to trust the process and not be impatient with the results.
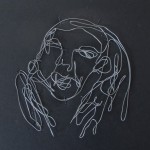
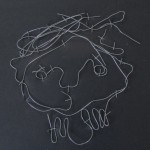
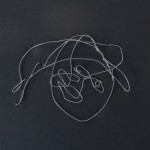
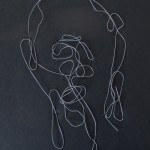
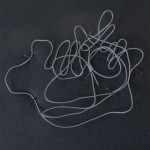
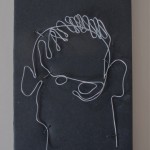
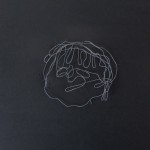
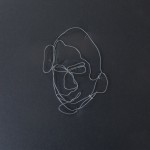
After several drawings were done, they picked the one they thought most interesting. We got out the galvanized wire, needle nose pliers, and masking tape.
Carefully following the lines of the drawing, they bent the wire to replicate. At first, I directed them to do it, as with the pen drawing, in one continuous line. Masking tape was used to hold it in place as they went along. This proved problematic as the twisting caused the paper to lift and made it difficult to get all the details. It was better to cut the wire when needed, though not too often. Too many small pieces would not hold together. This took a few classes to complete.
-
- Beth
-
- Beth
-
- Warren
-
- Warren
-
- Max
-
- Warren
-
- Warren
-
- Samuel
-
- Samuel
When finished, we lifted the finished wire drawings carefully from the paper and stapled them to black foam core. Further revisions meant attaching plywood behind the foam core. This gave the staples something to bite into and hold, and to attach a hanger on the back. Quite lovely results, I think.
Winter 2013 / Parliament Oak
You must be logged in to post a comment.