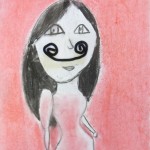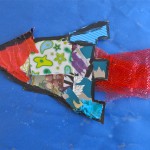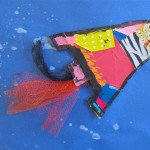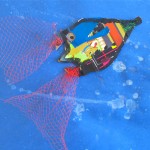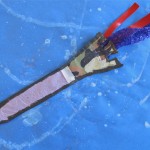
Grade 3/4: Making Observations and Drawing Peacocks
Whenever I walk through the door into this class, I am greeted with gasps of “Mrs. Godwin!”, big broad smiles, and even a few hugs here and there. They LOVE art!
So, I am always pleased to bring them a fresh new challenge, especially when it involves colour.
Day One.
This time it was – of course, peacocks! My intro to the project included a discussion of what the female and the male peacocks look like, why they fan out their tail feathers, the kids’ own experiences of seeing peacocks, finishing up with my loud vocal impression of a peacock.
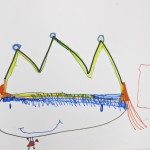
Right! Time to get to it. Each student got two sheets of white paper: a large one for the tail feathers and a regular 8 1/2 x 11 for the torso. I reviewed the basic how-to’s of drawing each, identifying the geometric shapes to start with.
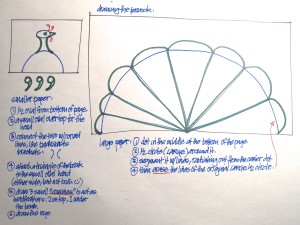
This was done in pencil, working it all out. They followed up with black paint over the lines, and that was pretty much as we could get to on that day.
Day Two.
We had a bonus this day because my daughter had finished her exams the week before, and was able to come in as my assistant. The kids had already heard about her from me previously, so they were very happy to have her there as well. She proved invaluable in helping one boy who missed the previous class to get caught up. That left me and Mrs. Burton free to carry on with the rest of the class. Thanks, Leah!
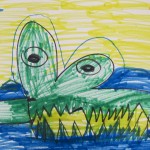
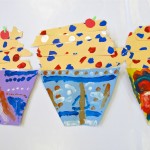
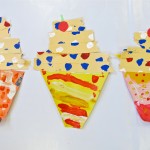
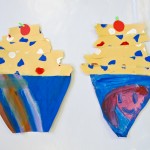
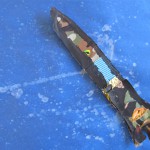
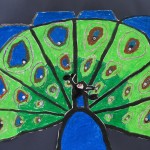
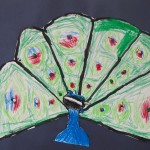
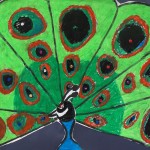
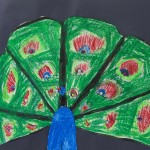
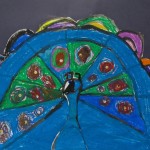
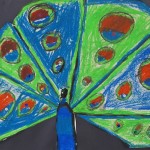
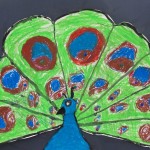
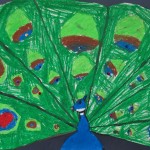
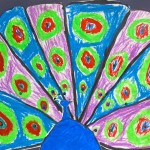
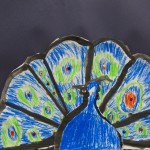
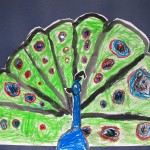
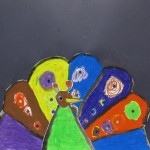
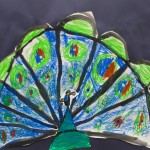
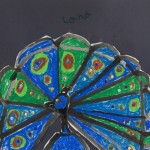
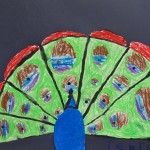
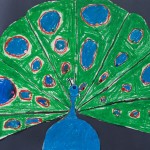
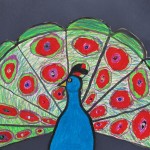
The black paint now dried, it was time to go on with the oil pastels. We had photographs of peacocks up on the screen at the front of the class, and so we talked about the colours and features and details we could see. I also brought in some tail feathers I had at home. They were fascinated with them! Several students kept coming up to look at the feathers over the course of the class period, because they wanted to make sure they made their drawn eyes just like them.
I had them colour their bodies first, and then move on to the feathers. It was at this point I had them draw the eye circles, 3 or 4 per section – going from large to progressively smaller. They filled in around the circles, chatting happily and encouraging one another when they visited each other’s desk to see what they were doing – “Oooh, that looks nice!’. (What a great class.)
They cut out both parts, mounting them on the black paper (with white glue) which really made those luscious colours pop. I had to remind a few students to place the torso of their peacock right at the bottom of the page, since it already had a horizontal cutoff. In a couple of instances that – um – didn’t quite happen. No matter, they were so proud of the results. And well they all should be!
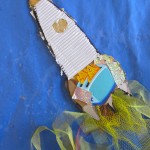
The final coup de gras was for them to place a sequin on each their feather eyes AND one on the eye of the peacock. Love that!
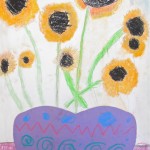
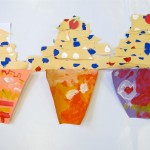
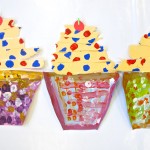
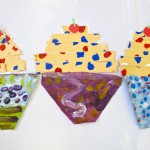
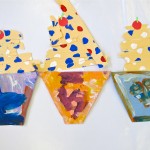
BTW, these masterpieces are the talk of the school now that they are hung in the hallway. Yes, sir.
-
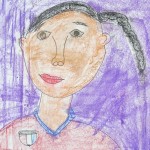
- Ariana
-
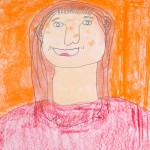
- Avery
-
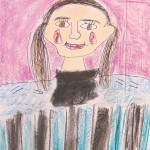
- Darby
-
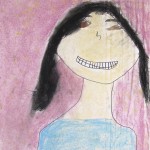
- Eddie
-
- Elaf
-
- Ethan
-

- Haidyn
-
- Hannah
-
- Hayley
-
- Shaynesse
-
- Lucas
-
- Brayden
-
- Joshua
-
- Jason
-
- Lana
-
- Lebron
-
- Noah
-
- Portia
-

- Sam
Winter 2015 / Ferndale Elementary School