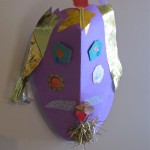
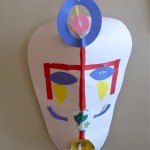
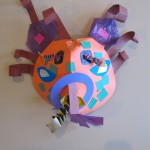
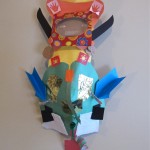
Grade 5 Paper Masks: Symmetry, Repetition, Layering

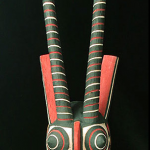
Folk Mask / Nicolae Popa, Transylvania, Romania

Salish Mask / John Gibson, Nanaimo, BC

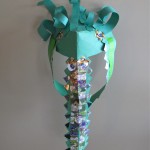
Kaan Mask / Bobo people, Burkino Faso
Part I.
This was an extremely popular project I did with two classes in two schools. It spanned several week’s work, but the processes and results were well worth the investment of class time. I will do this again in other years, and grade 5 is well-suited to it.
Class 1. We spent our time discussing masks: functions, history, cultures (including our own contemporary one), and their own experiences with them. I showed them some examples of masks, highlighting materials and design elements, as well as function/meaning, as far as it was known. Their homework was to find a picture of a mask, and come equipped with some details about that mask to present to their classmates.
Class 2 on. Students presented the pictures of the mask they researched, and we pinned them up around the room to serve as possible references for the next step. Very quickly, all of our visual vocabularies expanded when it came to masks.
I got the idea for this project from one of my favourite websites: www.incredibleart.org
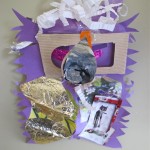
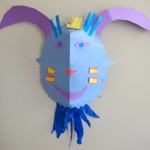
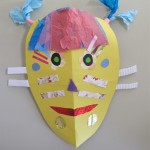
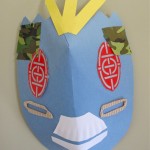
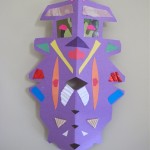
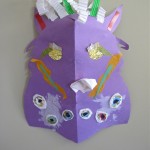
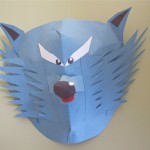
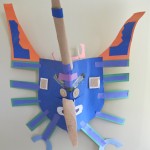
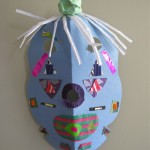
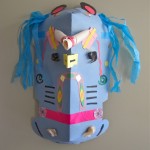
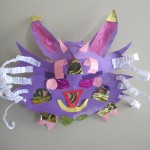
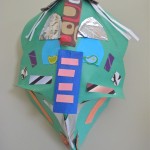
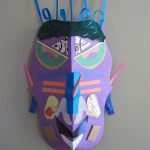
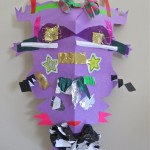
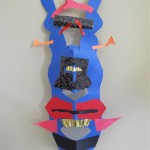
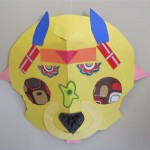
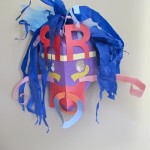
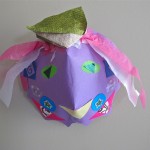
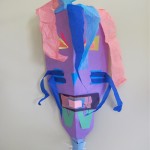
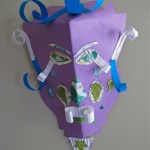
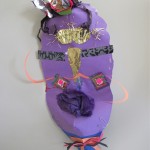
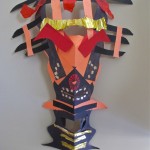
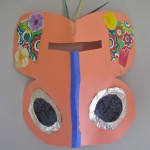
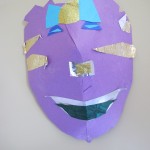
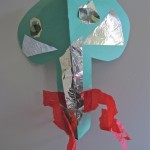
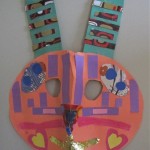
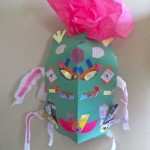
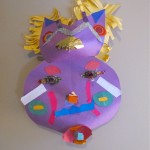
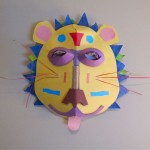
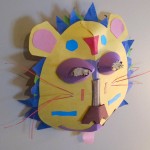
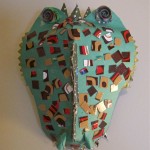
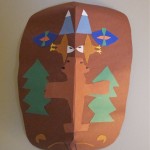
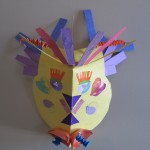
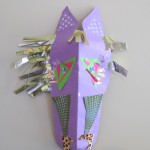
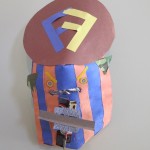
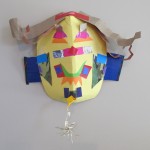
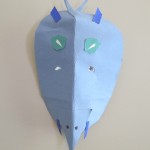
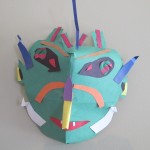
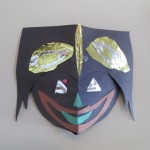
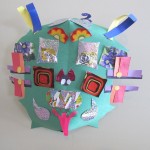
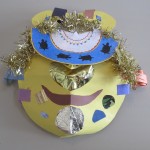
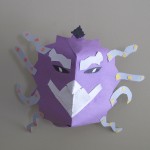
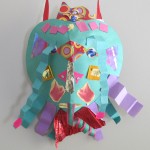
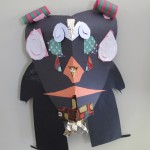
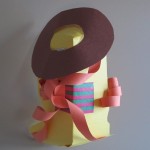
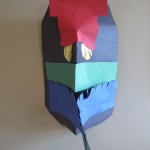
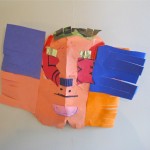
Let’s get makin’ masks!! Each student gets a medium-sized piece of construction paper (their colour choice), to fold it in half length-wise. Then, cut out 1/2 of the face shape, using as much of the paper so the masks don’t get too small. They should have already have decided a rough idea of the shape and overall look of their mask. At either end of the fold, cut a 1″ or 2″slit along the fold, and then fold one flap over the other. use white glue for that, and use a paper clip as a clamp until the glue dries. This will make the face 3 dimensional, giving it a forehead and a chin, even the bridge of a nose.
You can start with quick preparatory pencil sketches, if they are having trouble deciding on ideas. However, if the class is visually adept and adventurous, no pencils are needed.
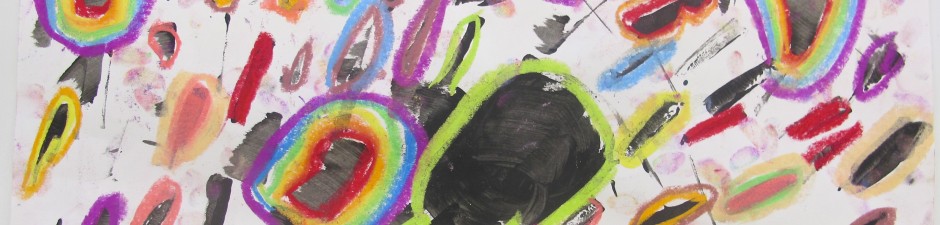
By using the scissors and glue to build their mask directly, they can respond more directly to the papers available and what they can do. Different paper shaping and cutting techniques were covered, and I encouraged them to cut multiples of shapes to achieve layering, repetition, and a balanced symmetry. The idea was not to replicate any given mask, but to use their imagination and ideas from those gathered to make their own. Along the way, I nudged them to go a little further with details to create interest. Since it was purely a cut paper construction, I resisted their desire to use pencils or markers for fine details.
The energy and enthusiasm (and mess) throughout the classroom was just great, as bits and pieces of paper I have collected over the years found use as ears and noses and eyes and whiskers. The masks weren’t meant to be worn, so a support made of a popsicle stick was attached to the back with generous applications of masking tape, and then hung with monofilament.
We wrapped up this session with a review of the masks, encouraging remarks on design from me, and inviting comments from the students. We hung them in the classroom, and I think they were quite pleased with their efforts over all. I’d agree!
(4 classes needed for Part I)
-
- Courtney
-
- Evan
-
- Makayla
-
- David
-
- Paul
-
- Hannah
-
- Harry
-
- Tyler
-
- Alicia
-
- Leah
-
- Tyessa
-
- Kyla
-
- Sidney
-
- Sebastian
-
- Kirztyn
-

- Max
-
- Leanne
-
- Isaiah
-

- Anna
-
- Alyssa
-
- Gabe
-
- Lily
-
- Zoe
-
- Caleb
-
- Emily
-
- Jane
-
- Kaan Mask / Bobo people, Burkino Faso
-
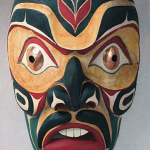
- Salish Mask / John Gibson, Nanaimo, BC
-

- Folk Mask / Nicolae Popa, Transylvania, Romania
-
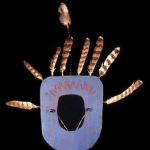
- Yup’ik Women’s Mask / Alaska
-
- Aila
-
- Nathan
-
- Carrie
-

- Alice
-
- Edwin
-
- Cierra
-
- Emilie
-
- Emilie
-
- Diego
-
- Ethan
-
- Paige
-
- Molly
-
- Ben
-
- Hannah
-
- Giorgios
-
- Michael
-
- Bailey
-
- Julia
-
- Jimmy
-
- James
-
- Teniya
-
- Chris
-
- Caleb
-
- Josh
-
- Katie
Winter 2011 / St. Michael School
If you want to see some more masks:
www.masksoftheworld.com www.mnh.si.edu/arctic/features/yupik/intro.html
(just to get you going)