Grade 5/6: Observational Drawing a Live Subject
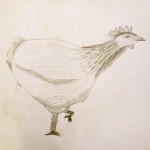
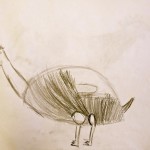
Juanita
Juinter
A few years ago I brought in one of our chickens for couple of my classes to draw. Having a live chicken in the school creates quite a buzz – I love those showy moments! The most showy chicken we had, and for all of her life, was Juanita. Named after a pretty girl in my son’s grade two class some years before; our Juanita was quite pretty, but (truth be told) a bit of a bully around her sisters. Smart, though – she was always one of the first to put herself right on the spot to get the worms when I was digging in the garden …
I planned to bring her in this year after the Christmas break for one more session in her dotage but – alas. She died (in my arms) just a few days before she was scheduled to appear. Sad to say goodbye to Juanita, the last of our first chickens.
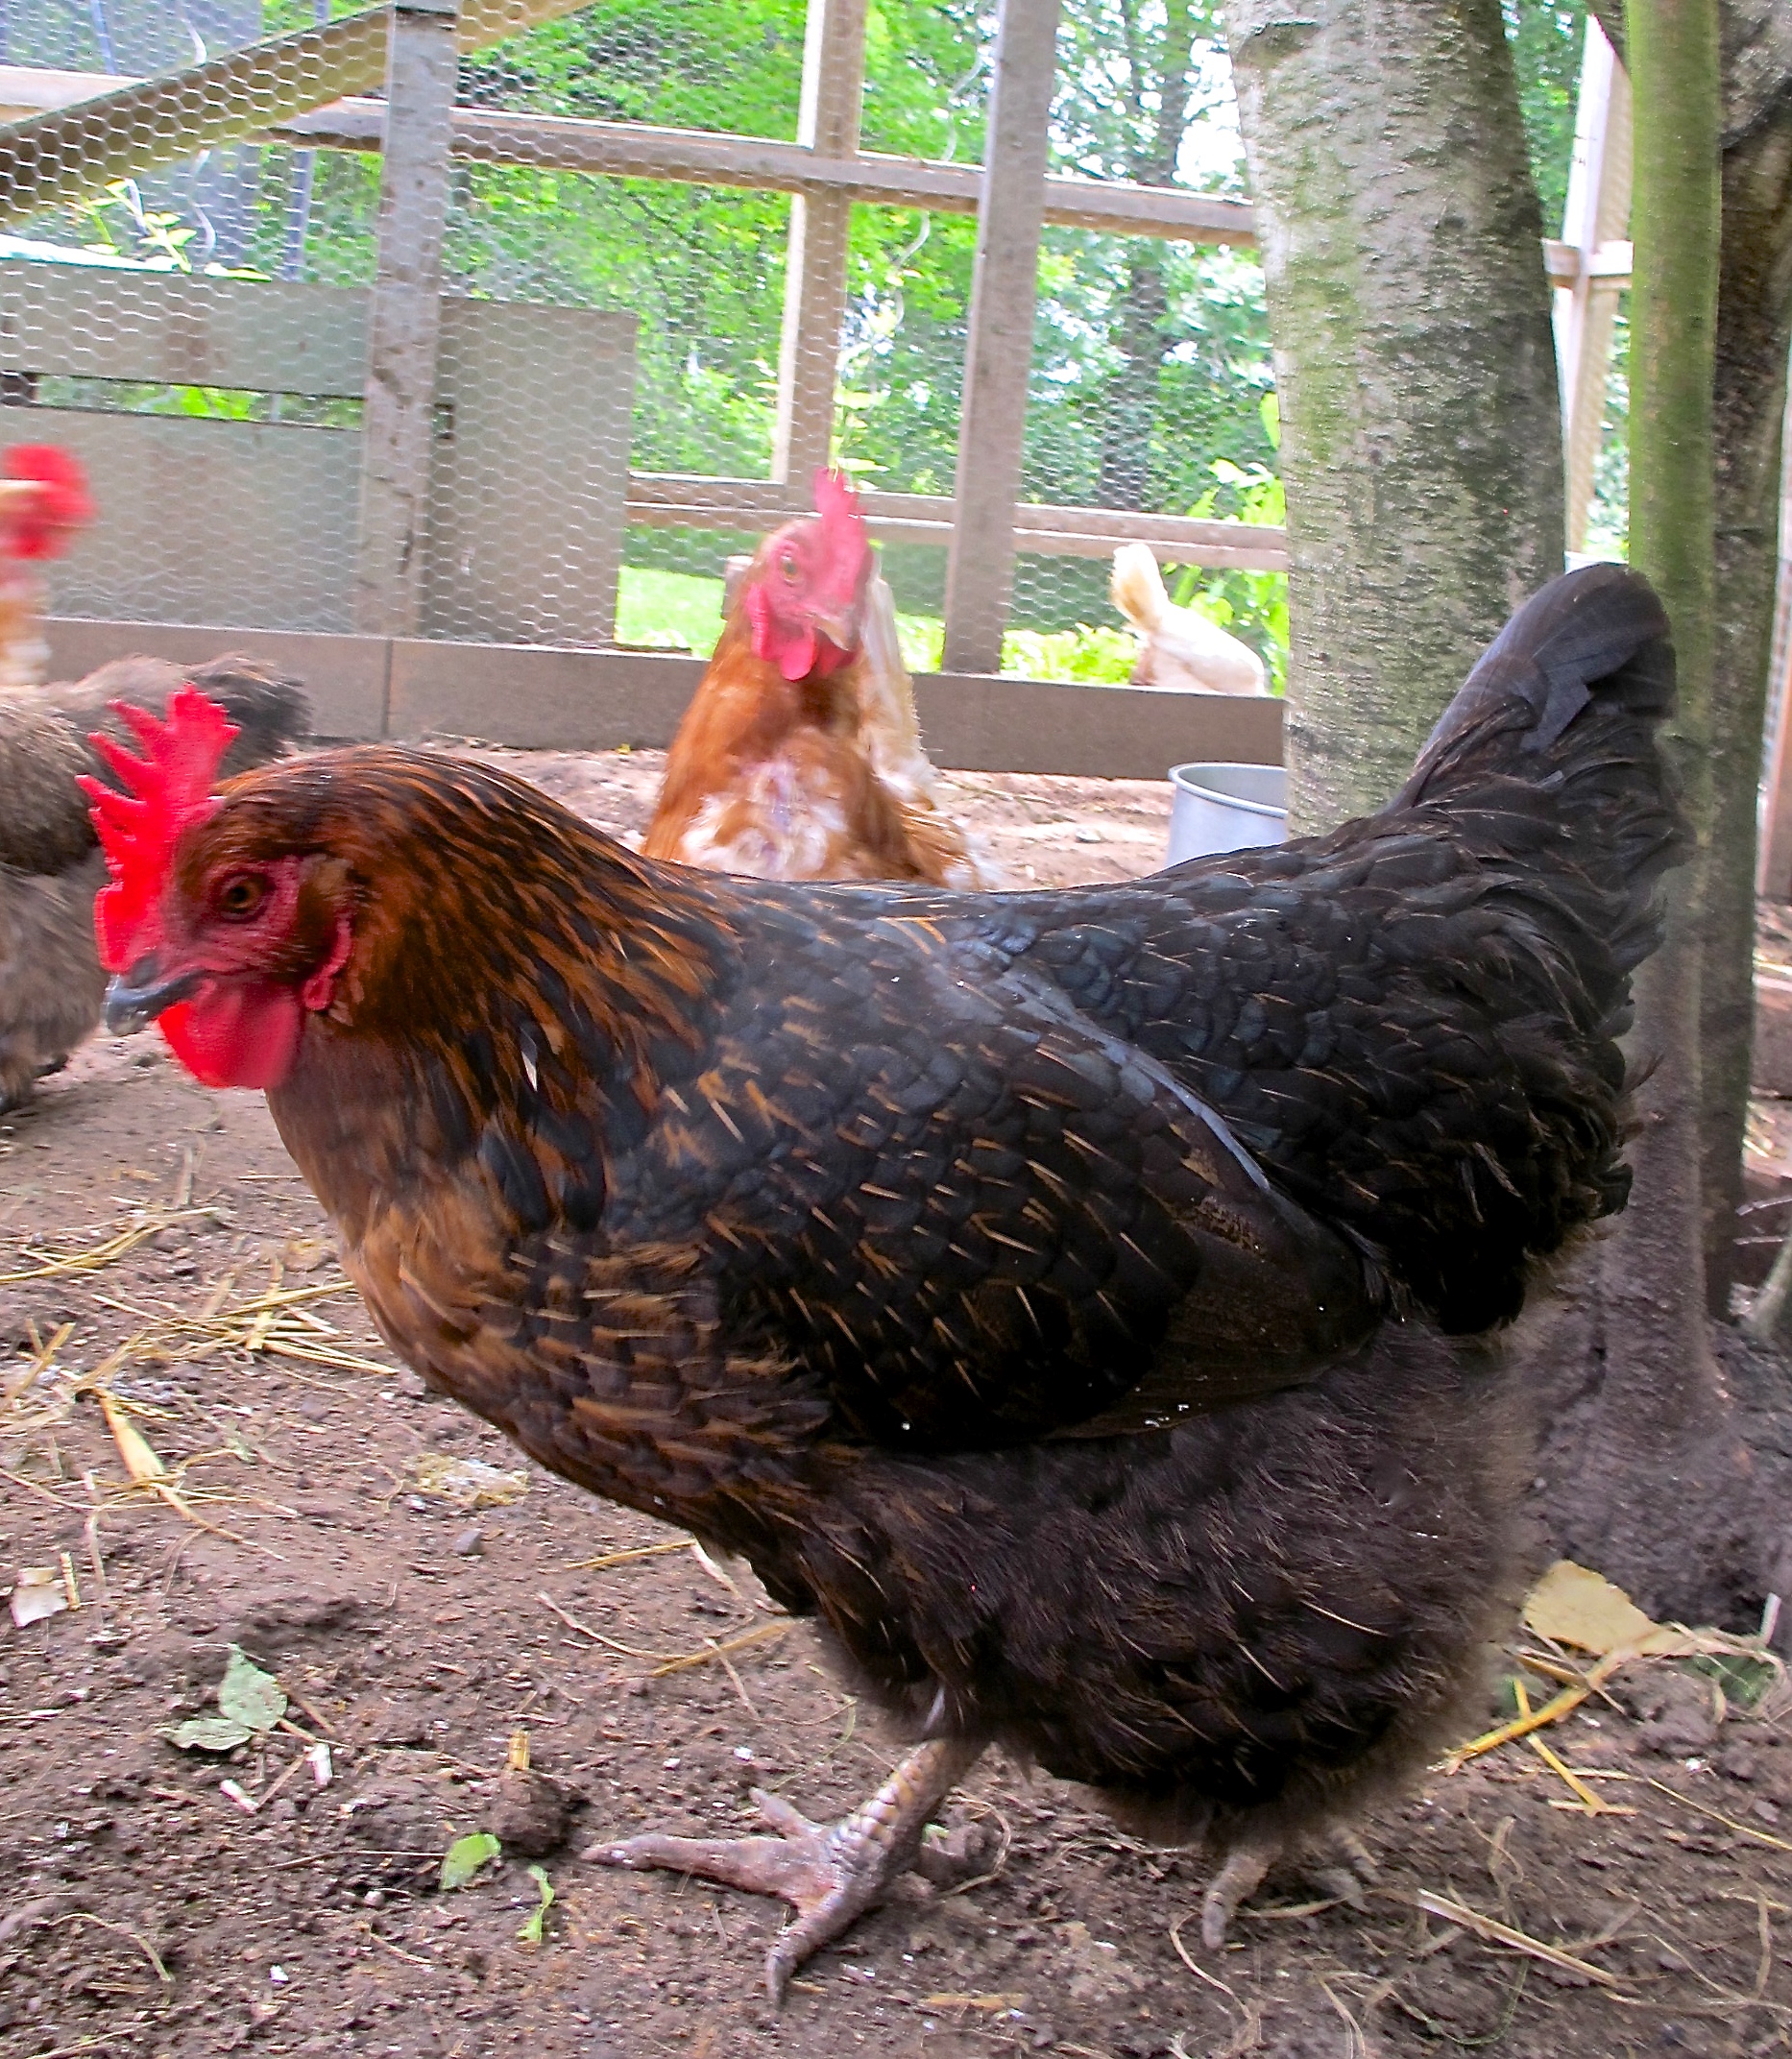
So, it was time to appoint another diva. I selected one amongst our newest (a Columbian Rock x Red, for those of you in the know), packed her into the car, and – it was showtime once again. The kids were very happy and surprised to see a real chicken (in a cage, btw) when they walked into the Art Room that morning! They were hoping she would lay an egg during the class (she didn’t – divas do their own thing), BUT they did get to name her at the end of the time (after they got to know her a bit, of course).
The name “Winter” won the vote. Maybe had a bit to do with the time of year. After the class, as I was leaving (or should I say, heaving, that big cage), the school secretary (Debra) suggested “Winter” be spelled “Juinter”, since Juanita didn’t – um – quite make it. And so, a true chicken diva arises! Somewhat puffed up by her sudden debut, I do hope she does not make life hell for her industrious sisters back home … ha ha.
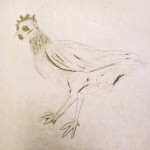
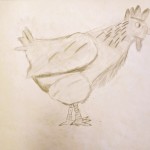
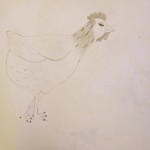
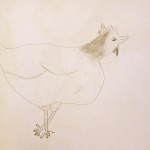
Now, to the actual session. I grouped the tables in a circle around Juinter, and talked about the basic geometric shapes that make up the form of the chicken: an oval for the body, a smaller one for the head, a wide cone for the neck. Details such as the swell of the wings and the chest, the shapes of the wattle and comb, the texture and pattern of the feathers, even the angle of the legs in relation to the body.
To help them start, I drew some examples on the board of how to start rendering the shapes. Details after that. Above all, I encouraged them NOT to draw just an anonymous cartoon chicken, but to observe all these things and try to incorporate their observations in their drawing.
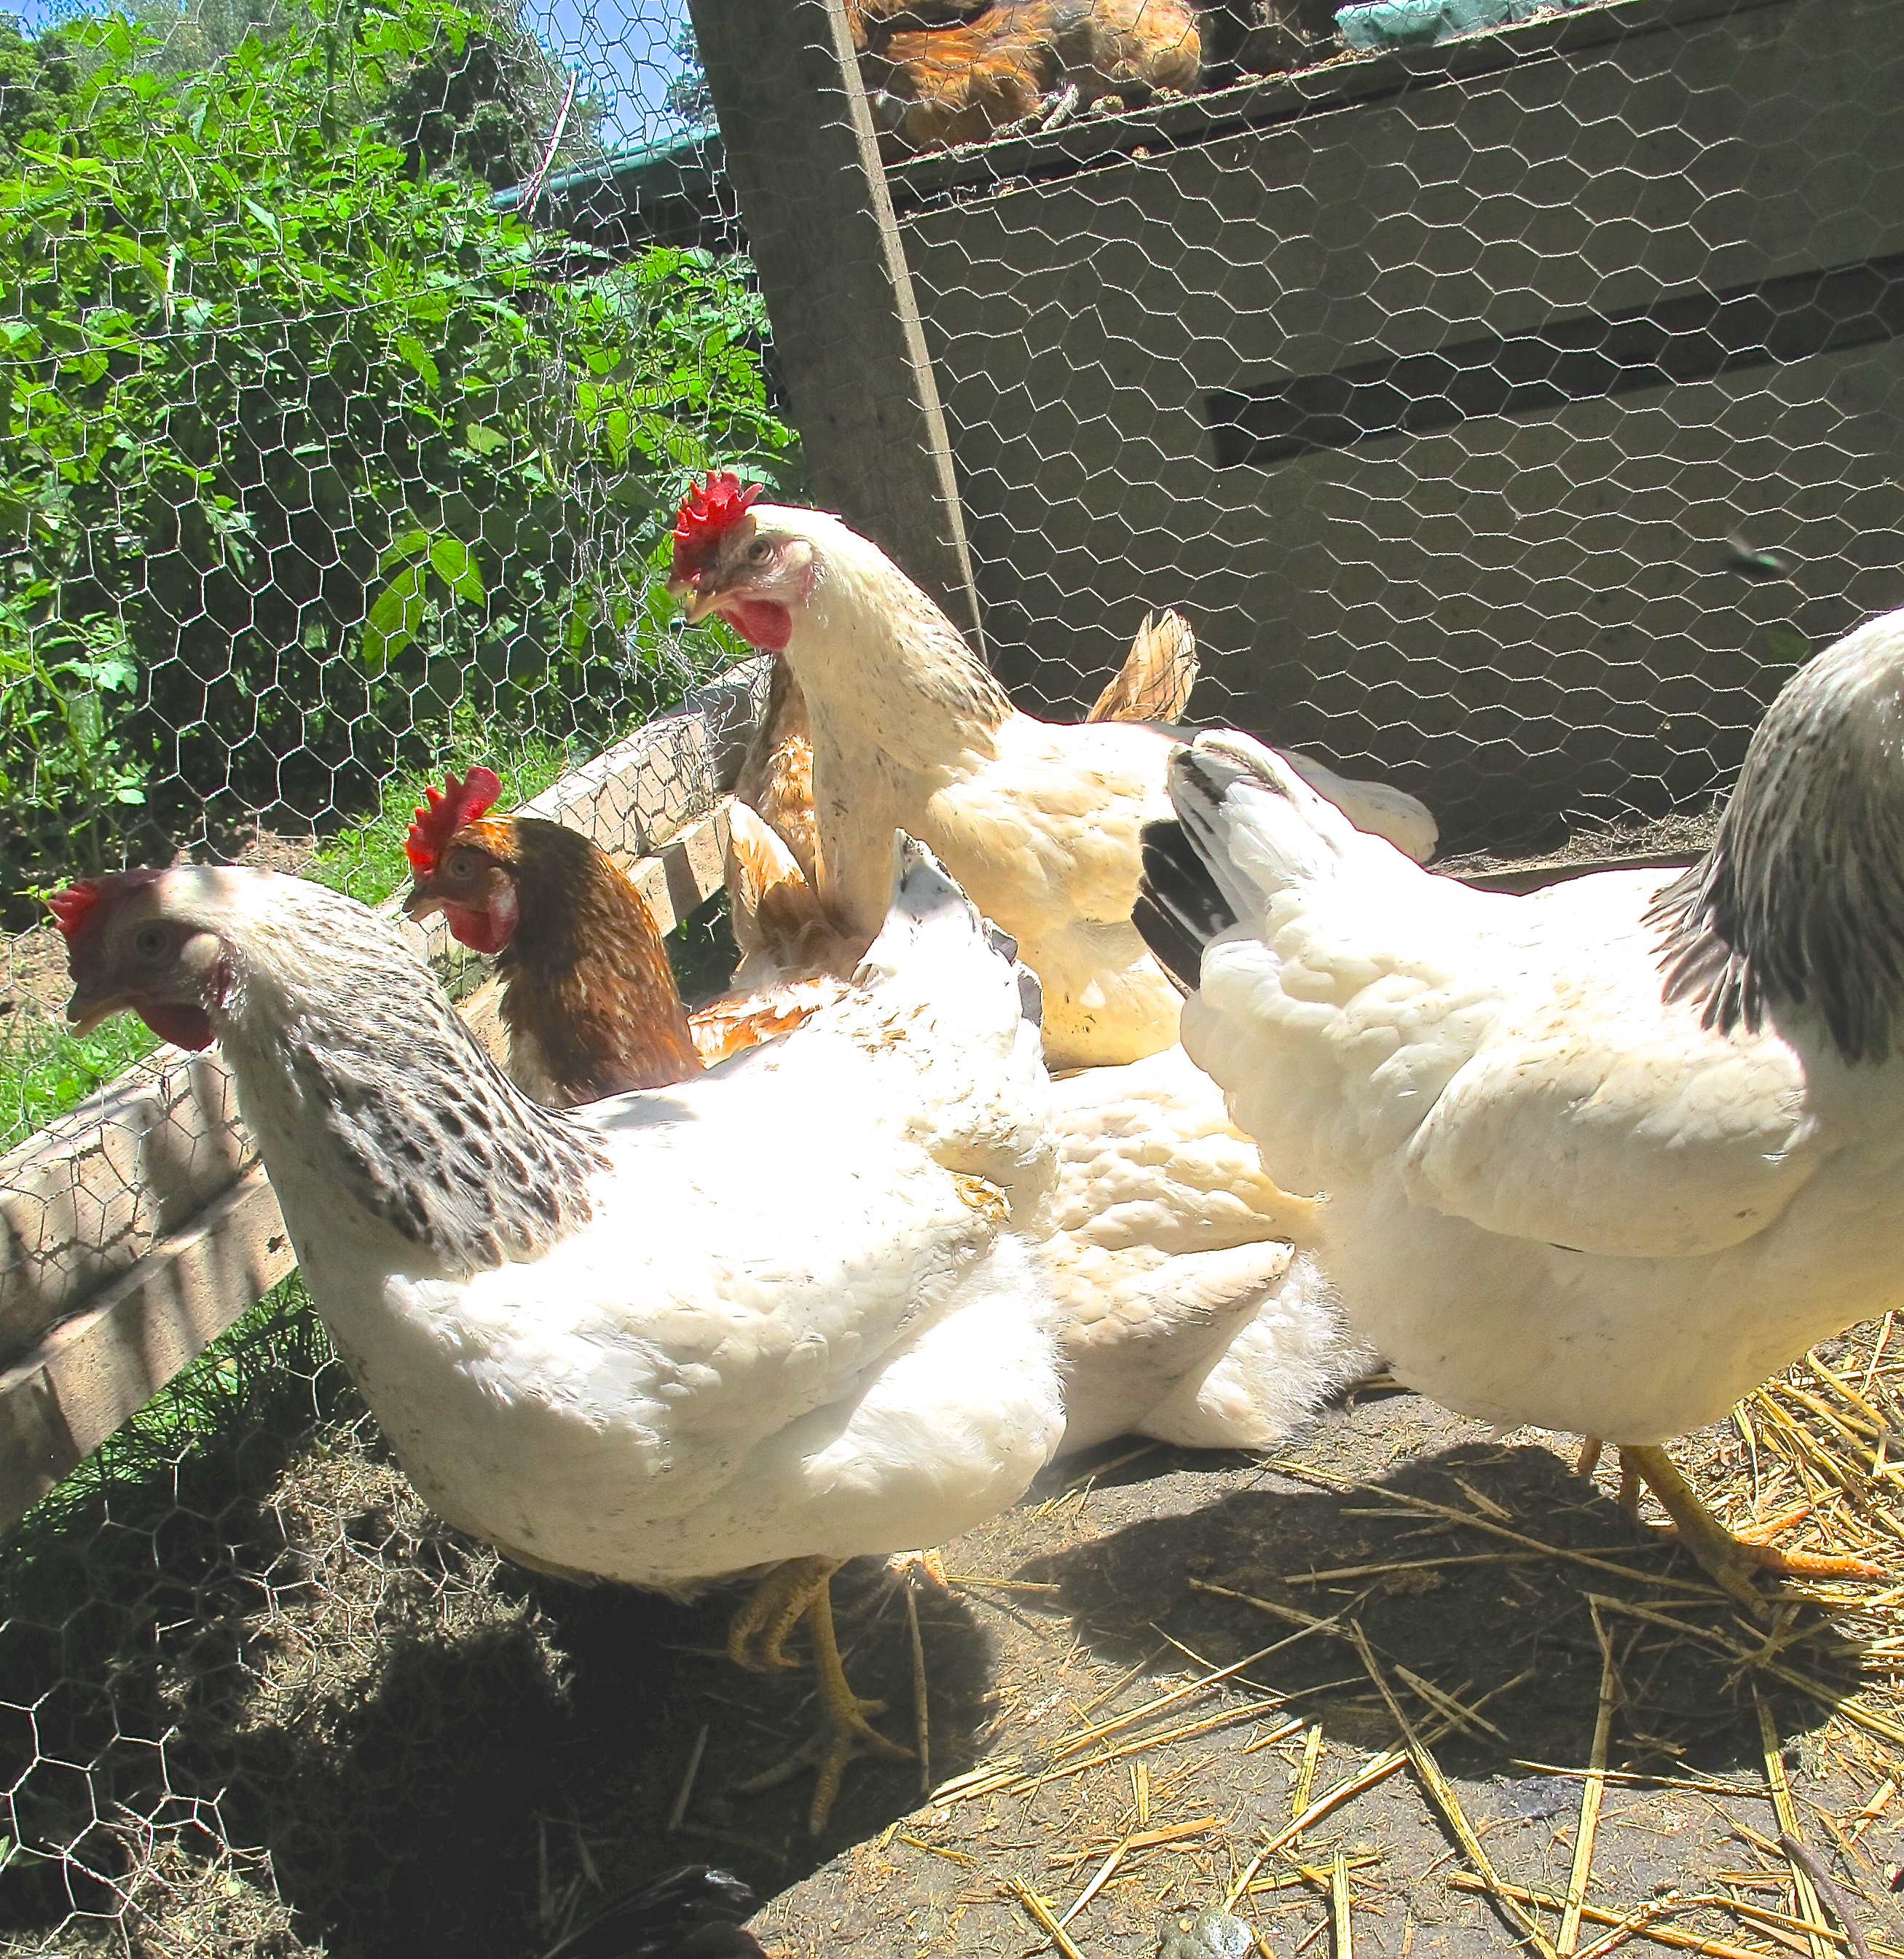
The other aspect of this exercise is that the subject moves and that not everyone in the class is going to get a side view. I suggested that they choose a view, and would have to wait sometimes until that view showed up again as Juinter moved about. Not surprisingly at this age (and how many of you have ever drawn a live chicken anyway?), they all chose the side view. Sigh.
Oh well, no fluffy chicken butts for us that day.
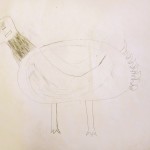
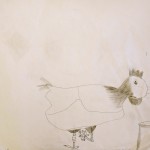
Two thirds of the class time was spent on these pencil drawings, as the teacher and I walked around, encouraging them and making suggestions, pointing out details. I gave some instruction on shading techniques, pointing out how lights and darks help to show the form, the 3 dimensionality, of the chicken’s body.
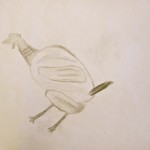
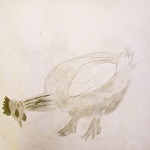
The remaining third of time was spent doing a second drawing. FASTER, a line drawing only, using Sharpie markers only. Forget the pencil, but still look to details and get the form down – now that they were more familiar with the subject. (still no egg)
This completed the day; you can see the results of the second drawings on the post Chicken 2.
-
- Rachel
-
- Benjamin
-

- Ella
-

- Ava
-
- Mercedes
-

- Emira
-
- Abby
-
- Katherine
-
- Tina
-
- Olivia
-
- David
-
- Brendan
-
- Dawson
-
- Ethan
Winter 2015 / Parliament Oak School
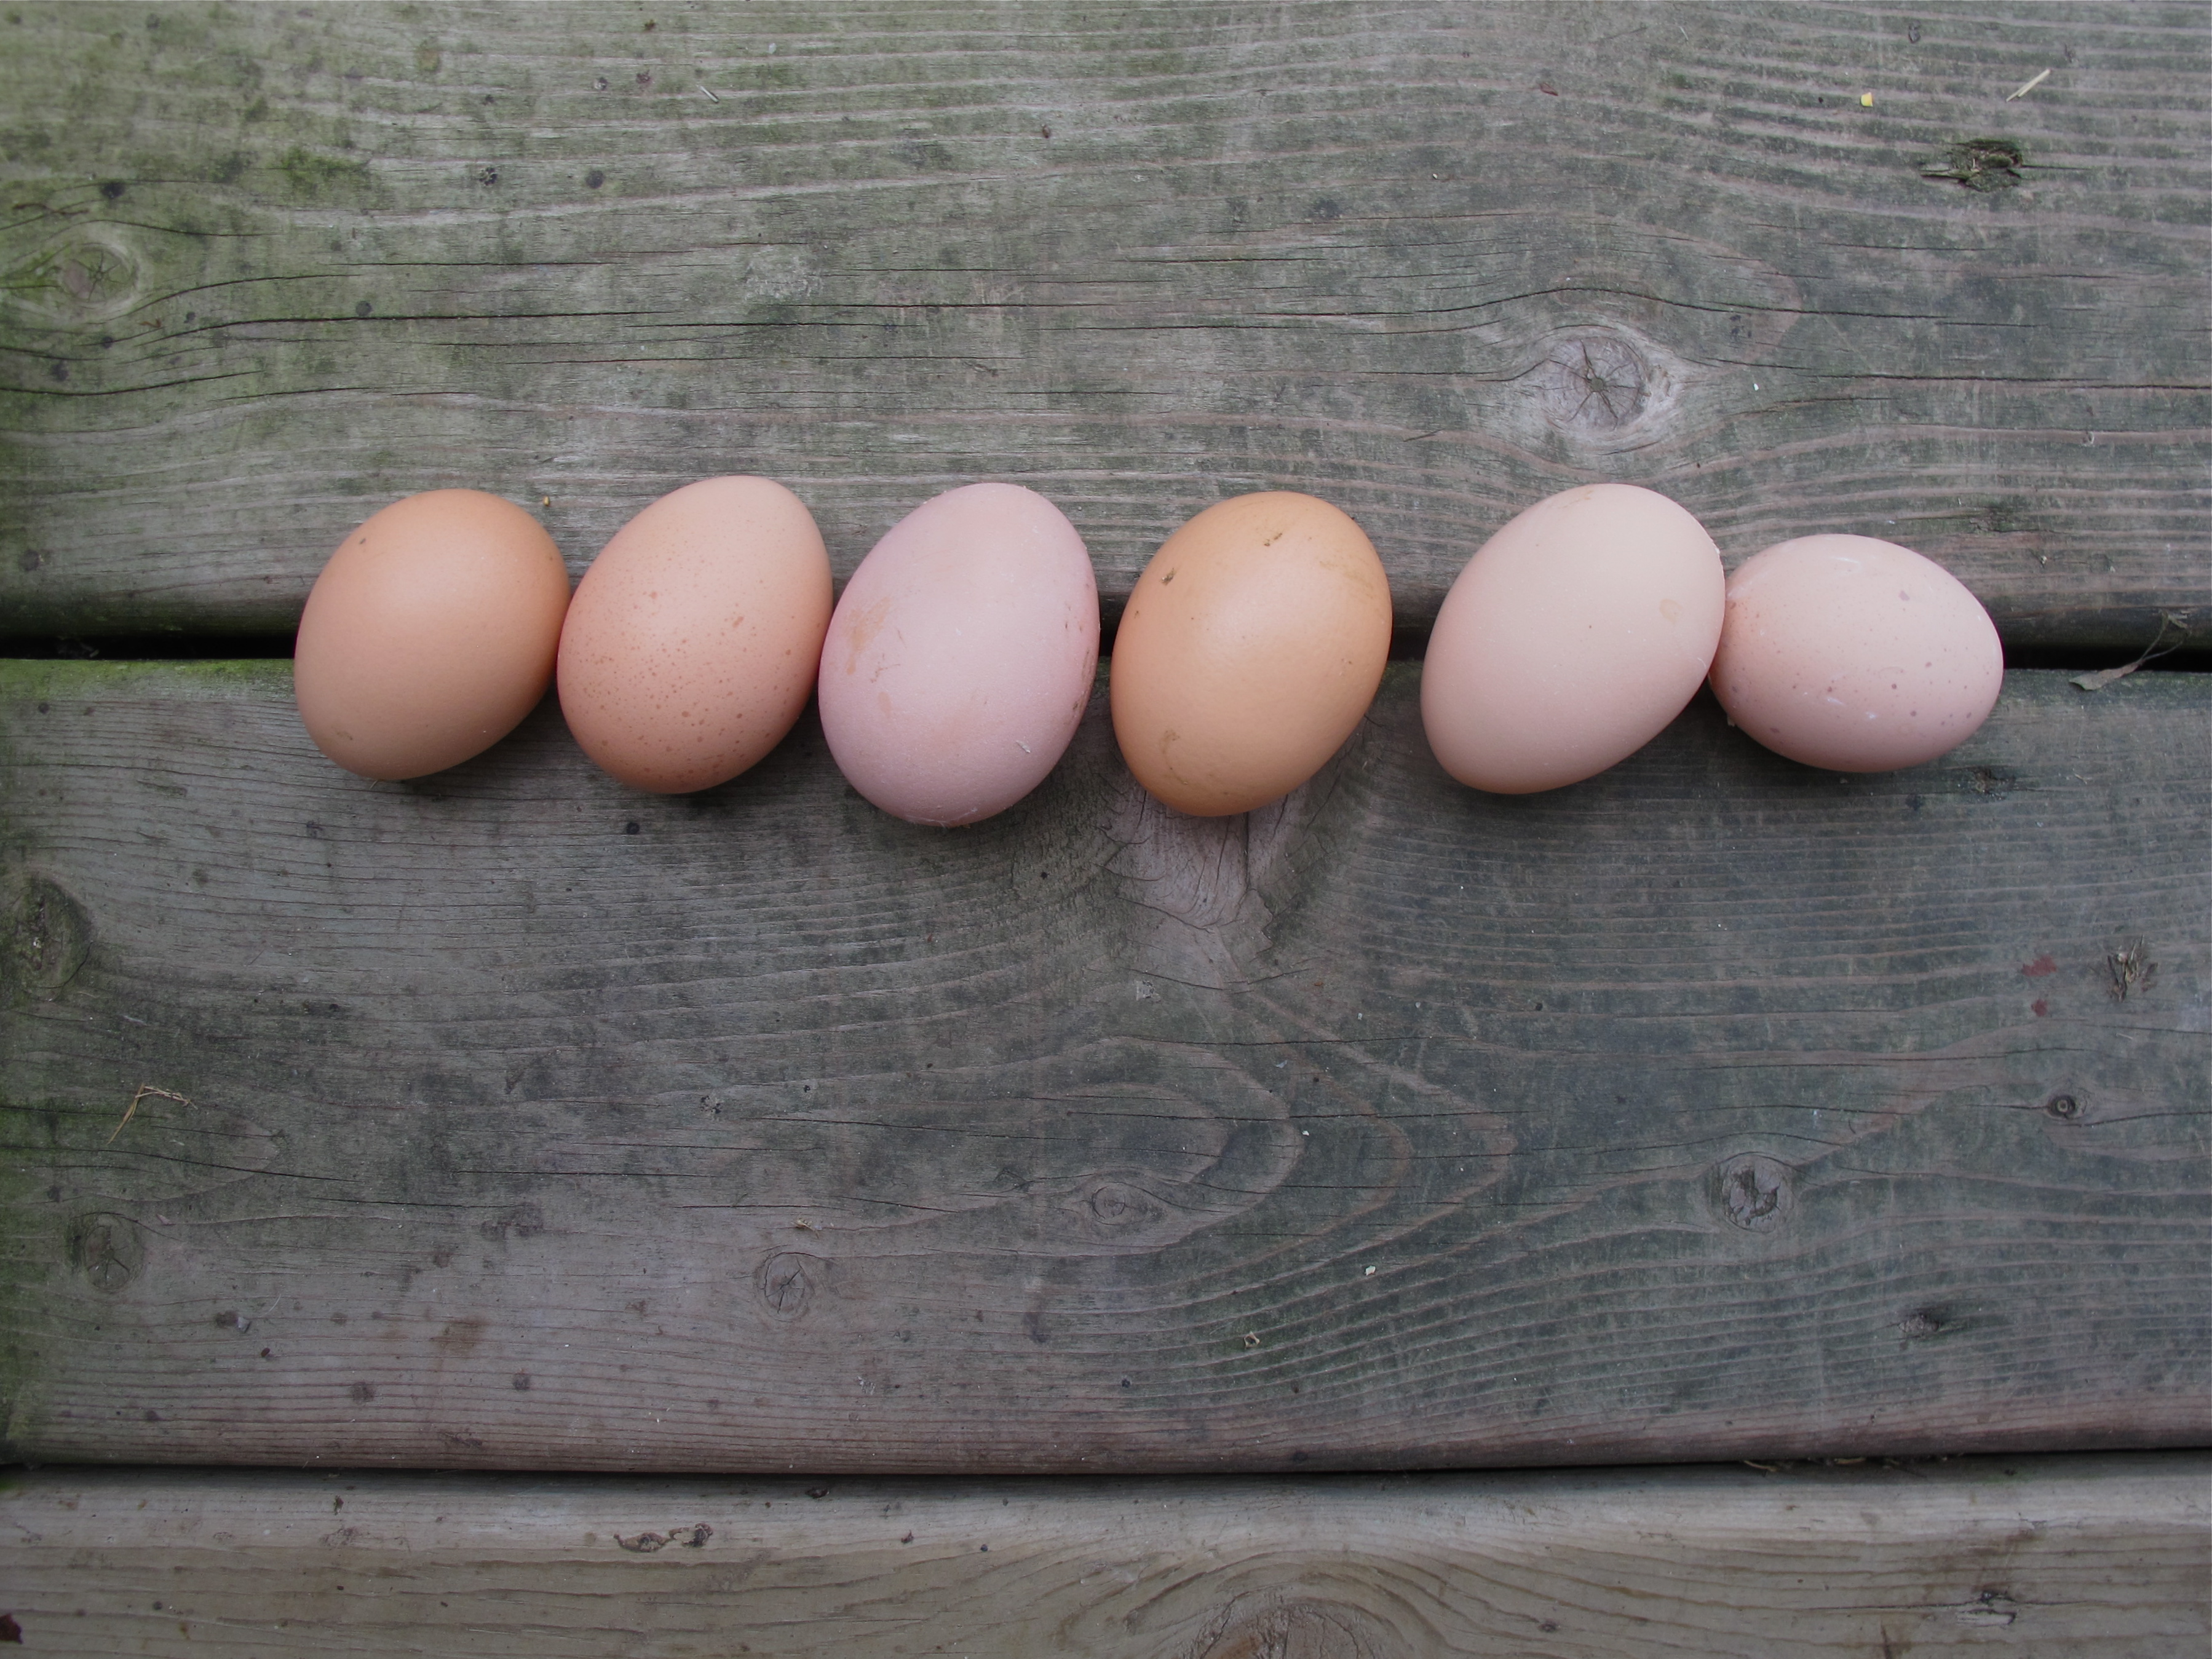 Just one more (or 6).
I can’t stop taking pictures of the eggs. So beautiful.